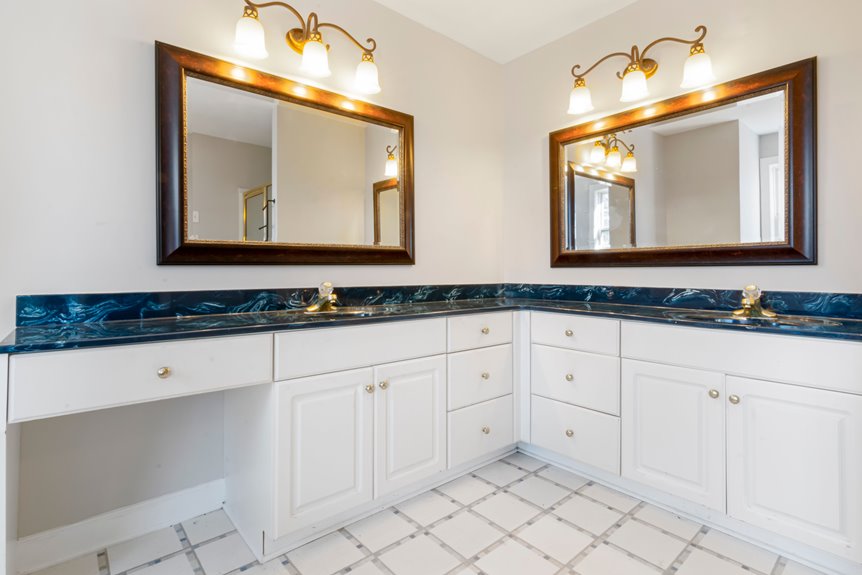
I’ll remove cabinet doors, drawers, and hardware, labeling every piece so reassembly stays simple. Next, I clean and degrease all surfaces, sand them with 220-grit paper, and fill holes with wood filler. I apply a bonding primer like INSL-X Stix for strong adhesion, then add two thin coats of enamel, sanding between layers. Finally, I wait the full cure time before reinstalling everything. The details of each step follow below.
Remove and Label Bathroom Cabinet Parts
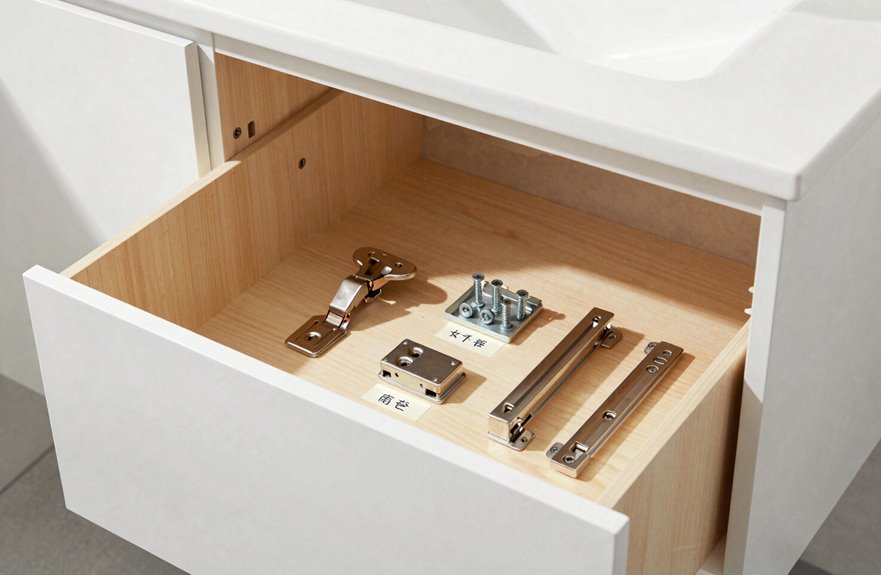
Where do you begin when painting bathroom cabinets? Start by taking everything apart.
The secret to a flawless cabinet finish? Complete disassembly before you ever open a paint can.
Remove doors and remove drawers completely. Unscrew all cabinet hardware: hinges, knobs, pulls. This exposes the frame for proper prep work.
Label everything. Take photos and write notes on masking tape: “upper left hinge,” “vanity drawer front.” Labeling prevents mistakes during reassembly.
Create an organized workspace. Place removed pieces on a drop cloth in another room. Store small hardware in labeled bags so nothing gets lost.
If you’re upgrading hardware, drill holes before reassembly. Proper alignment is critical. Measure twice, mark carefully, then drill.
Wait until final paint cures, one to two days, before completing reassembly. Rushing causes damage.

CABINET TRANSFORMATION: Refresh outdated cabinets, vanities, furniture and trim with rich Pure White color and a smooth semi-gloss finish
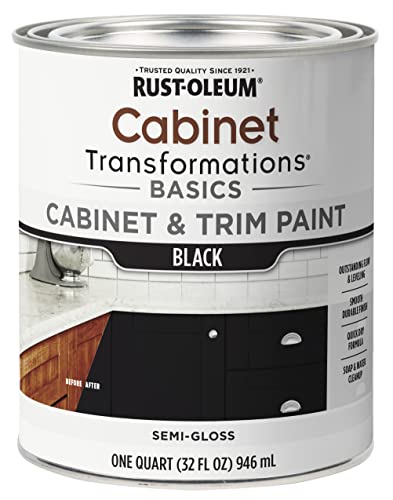
CABINET TRANSFORMATION: Refresh outdated cabinets, vanities, furniture and trim with rich Black color and a smooth semi-gloss finish

The ultimate acrylic cabinet paint for a “factory-like” finish when refurbishing kitchen and bathroom cabinets, shelving, furniture, trim, and crown molding.
Clean, Degrease, and Sand Bathroom Cabinets
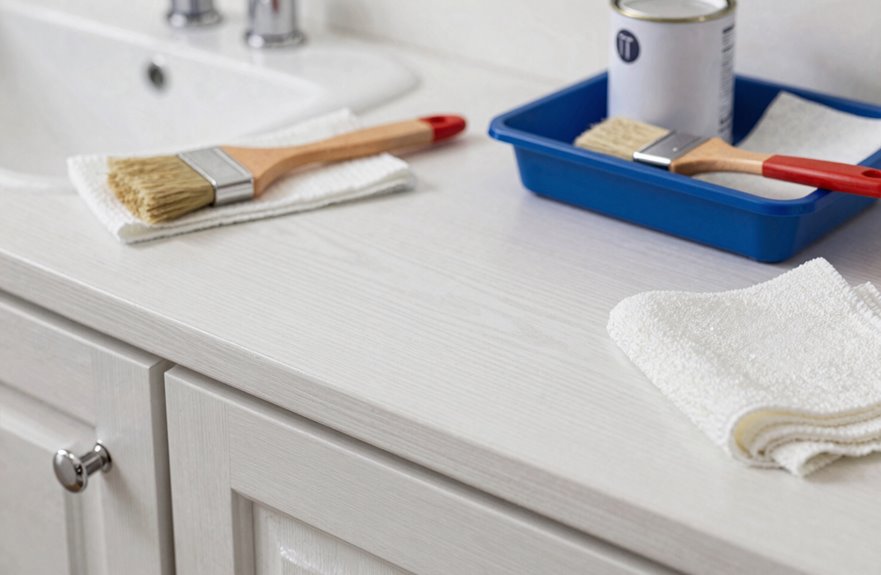
Because bathroom cabinets collect soap residue, moisture, and daily grime, I’ll start by stripping every surface clean. I’ll first degrease the vanity cabinets and every door with a TSP substitute, rinse thoroughly, and ensure they’re completely dry before I sand. Then I’ll fill holes and nicks with white wood filler. After it dries, I’ll sand everything smooth using 220 grit sanding. I’ll vacuum the dust, wipe with a microfiber cloth, and finish surface prep with liquid deglosser immediately before primer. This process creates a properly prepared surface that accepts paint evenly and resists peeling over time.
| Step | Product | Outcome |
|---|---|---|
| Degrease | TSP substitute | Grime dissolves completely away |
| Fill | White wood filler | Holes and nicks vanish fast |
| Sand | 220 grit sanding | Surfaces turn glass smooth |
| Clean | Microfiber cloth | Surface prep shines ready |
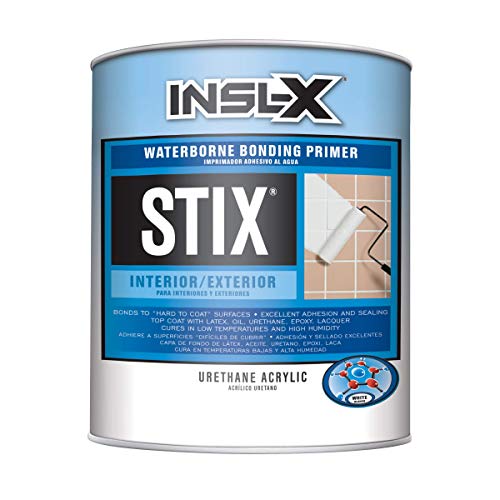
Premium-quality, acrylic-urethane bonding primer-sealer with unparalleled adhesion to the most challenging surfaces, including glossy tile, PVC, vinyl, plastic, glass, glazed block, glossy paint, pre-coated siding, fiberglass, and galvanized metals.

Exterior/interior use, great for galvanized steel, wrought iron, railings, furniture, laminate, PVC, porcelain, masonry, glazed brick and more

PROBLEM SOLVING PRIMER – Bonding BOSS is a water-based paint primer that blocks odors, stains, and stops bleed through. Bonding BOSS is a problem solver product and not needed for every project. In two coats, Bonding BOSS tackles tough set-in stains including permanent marker, water stains, and much more. Bonding BOSS even masks smoke odors and nicotine smells and helps slippery surfaces to have something for the paint to adhere to.
Prime Cabinets for Maximum Paint Adhesion
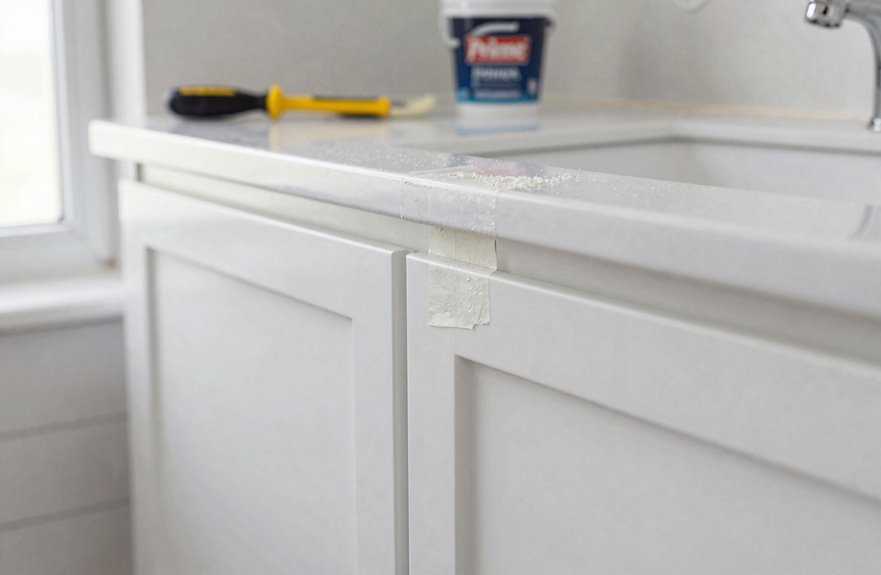
Durability demands a solid foundation, so applying primer locks paint onto these cabinets for years of steam-filled mornings. Good primer adhesion starts with thorough surface prep, because even the best bonding primer fails on dusty bathroom cabinets. INSL-X Stix is a waterborne primer that grips slick surfaces and delivers maximum adhesion without shellac primer odors. This cabinet painting step bridges all the hard work and the final paint topcoat for lasting results.
- Apply bonding primer evenly across all bathroom cabinets after careful surface prep.
- Allow the waterborne primer to dry fully before adding your first paint topcoat.
- Add a second coat when switching from dark to light colors for better coverage.
Proper primer application ensures paint durability and professional results.

KITCHEN CABINET DEGREASER THAT WON'T STRIP THE FINISH - Built on 50 years of family cabinet refinishing, not by a chemical company. This cabinet cleaner degreaser lifts cooking grease off wood and painted cabinets without attacking the factory coating underneath.

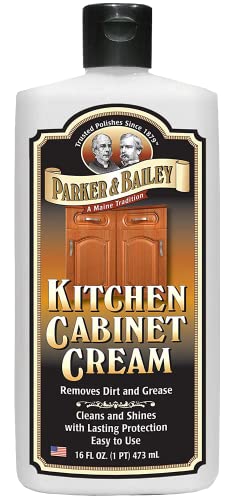
Cleans years of built-up grease and food stains from kitchen cabinets without harsh chemicals or sticky residue
Paint Bathroom Cabinets in Two Thin Coats
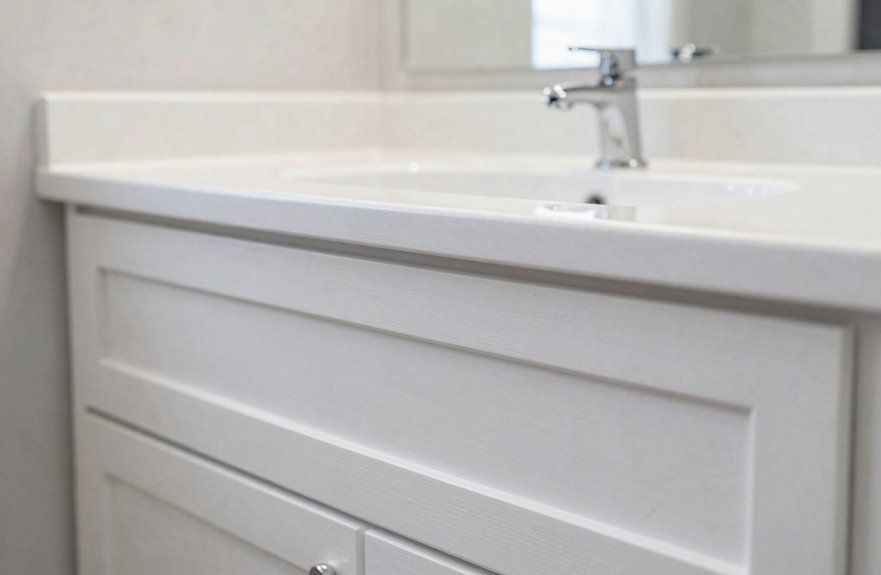
With primer fully cured, I’m ready to lay down the finish that’ll face daily humidity and wear. This bathroom project will last when following a proven process that carefully balances speed with precision.
With primer fully cured, I’m ready to lay down the finish that’ll face daily humidity and wear.
- I apply two thin coats of Emerald Urethane Enamel in satin finish, ensuring each layer bonds properly.
- I respect primer dry time, then start with cabinet doors and edges before tackling broader areas next.
- I grab a brush for detail on frames and a roller for flat surfaces to maintain even, consistent coverage.
- After the first coat, I perform light sanding between coats and wipe away dust with a clean tack cloth.
- I follow manufacturer dry and cure times strictly, letting surfaces harden fully before any handling occurs.

Premium European High-Density Foam – Engineered with 85-density foam (significantly denser than standard 65-density), our robust sanding blocks deliver superior rebound resilience, minimal deformation, and exceptional longevity for heavy-duty hand sanding

【ASSORTED GRIT SANDING BLOCKS】 8 sand blocks, 4 sizes from coarse to ultra-fine sand, 60/80/120/220 grit, 2 blocks for each grit. There are four different colors, grey (corresponding to grit size - 220), blue (120), green (80), and orange (60), with different numbers of grains for different colors.

6 Pack 220 Grit Superfine Sanding Sponge, Washable and Reusable Sanding Blocks
Reassemble Bathroom Cabinets After Full Cure
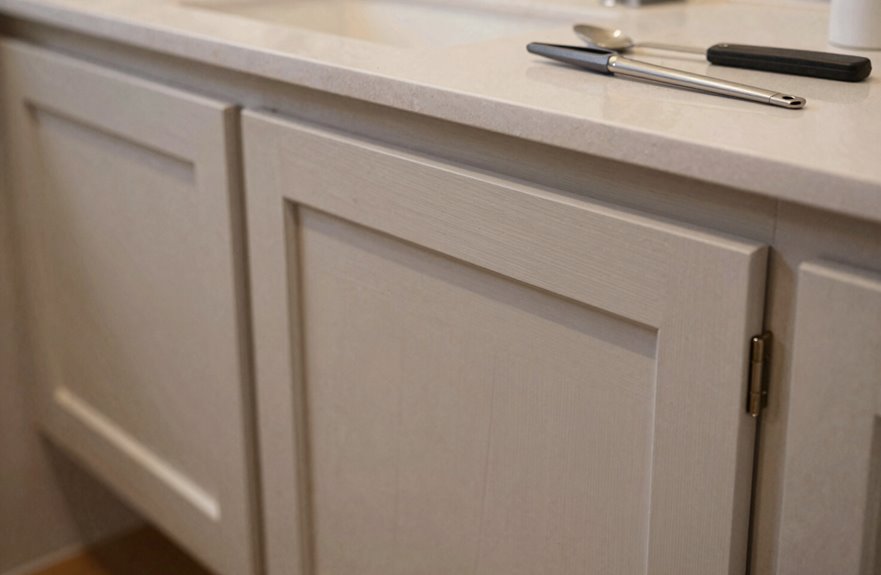
How do I know when the cabinets are ready for reassembly? I wait the complete cure time listed on the paint product, typically one to two full weeks, before I begin cabinet reassembly. Rushing risks ruining the finish on my bathroom vanity.
- I use my labeling to return doors and drawers to their exact original positions.
- I’ll reattach the hardware, drilling new holes first if I’m updating those pieces.
- During reassembly, I check alignment by opening and closing each unit to ensure smooth operation without rubbing.
- I reassemble shelves last, confirming everything fits securely.
Following this method after full cure prevents damage to the finish, and careful labeling prevents confusion. These steps complete the project with professional results.

KIT INCLUDES our most powerful wood repair compounds, so you can repair all levels of damage to wood furniture by yourself. Includes 12 touch up fillers, 8 touch up markers, 1 wood putty, 1 beewax, 2 brushes, 2 sandpaper, 1 sponge and 1 scraper

Refresh Your Furniture! Mohawk Fil-Stik wood filler wax stick helps to repair scratches, gouges, and other imperfections in wood furniture, cabinets, trim, and more

Quick Hole Repair: White wood fill stick fills nail holes in baseboards and cabinet dings. Fill & scrape for a smooth white finish—restoring boards, walls & painted surfaces. A bit of elbow grease may be needed, but it's still a renter-friendly move-out essential.