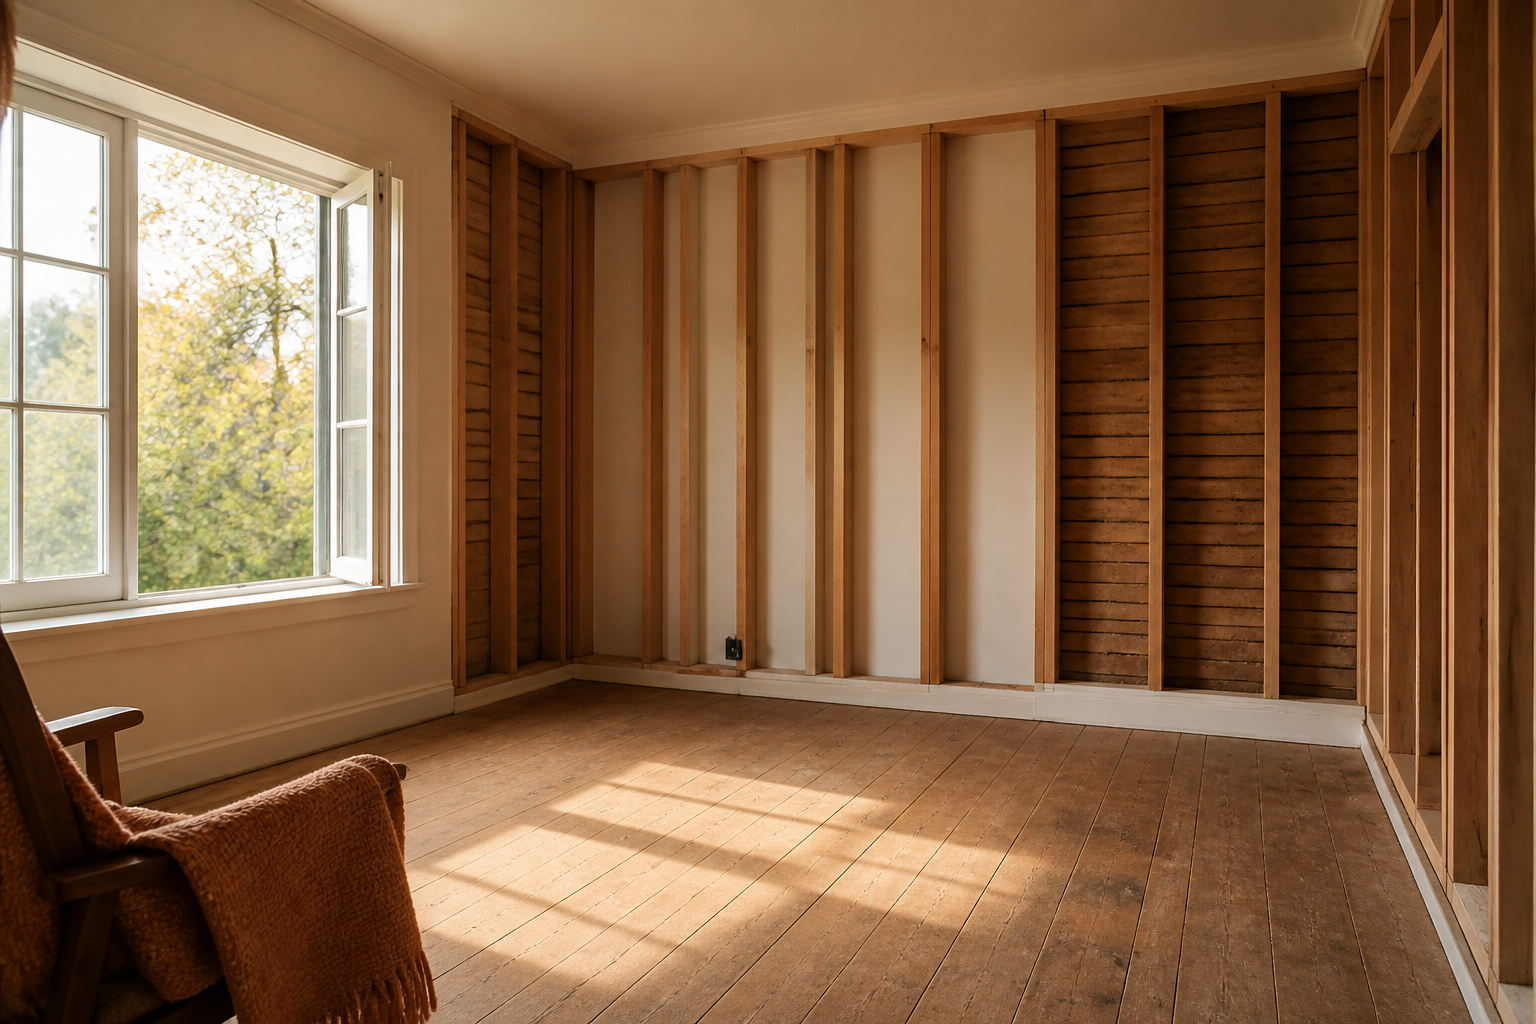
Converting a room into a walk-in closet means stripping the space to studs, deciding whether the flooring survives, and building a system that fits the studs you actually have, not the ones you assumed were there. The price lands under $4,000 for a 200-square-foot room if you assemble a pre-made kit yourself, but the real cost is the bedroom you no longer have when buyers come through. I pulled carpet and stapled engineered hardwood the same weekend, and every fraction of inch of that low profile mattered once the hanging rods went up.
Assess the Space
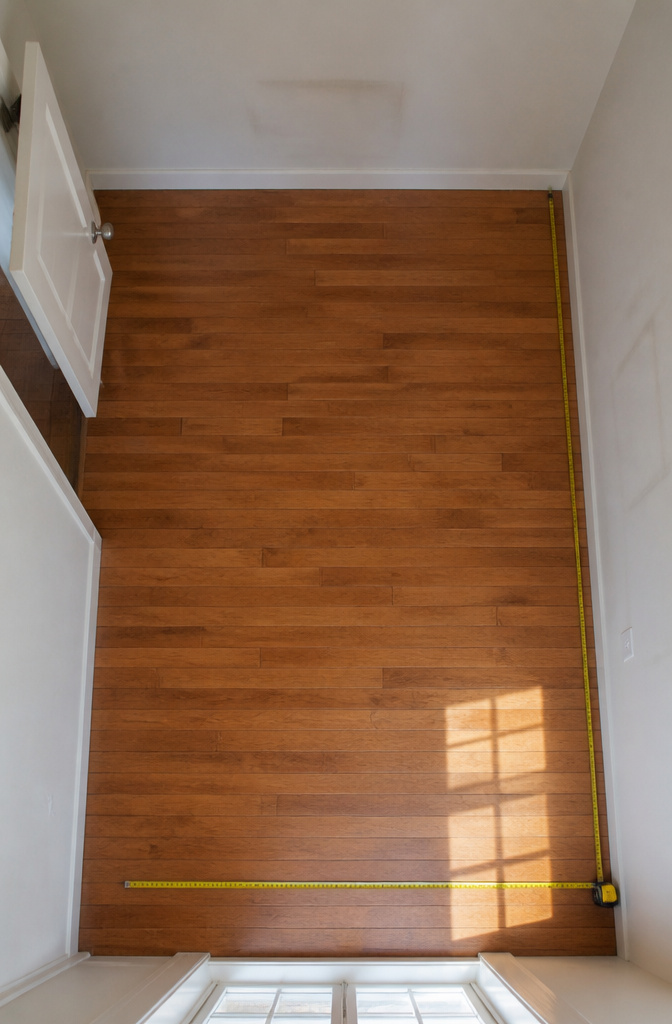
A walk-in closet needs at least 8 feet by 5–6 feet to feel functional, though smaller rooms can work if every inch is planned deliberately. The first move is measuring the room yourself, tape in hand, noting where the door swings, which wall holds the light switch, and whether a vent or window breaks up the usable wall space.
Access matters more than square footage. A spare bedroom that connects directly to the master through a Jack-and-Jill bathroom, like the setups that tend to get converted, means you are dressing where you already end up in the morning. A room at the far end of the hallway, even if larger, means hauling clothes back and forth and usually abandoning the project after a few months.
Check the existing flooring before you sketch anything. Carpet in a closet collects dust and shows wear fast; hardwood or laminate already there saves you a step, but note its condition now because heavy shelving will leave marks you will notice later.
Draw the layout on actual paper, not software. A rough floor plan with wall lengths and door placement lets you test a rod-and-shelf run against a U-shaped system before you buy a single bracket. Mark where the studs are if you know them; if not, that becomes step two.
Clear the Room
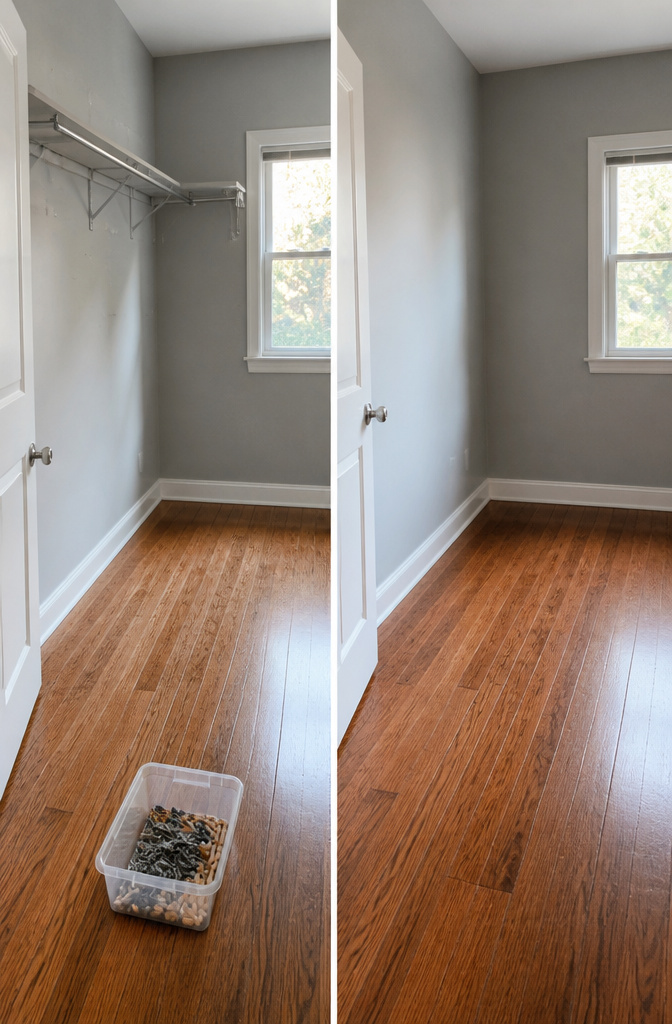
The spare bedroom I started with was roughly 200 square feet, which sounds generous until every piece of furniture is sitting in the hallway and the space suddenly feels both larger and more complicated than expected. Pull everything out, including the closet rod and any shelving still mounted to walls; anything left behind becomes an obstacle you will work around instead of starting fresh. Carpet came up next in my case, which added a morning to the timeline but saved the trouble of installing engineered hardwood around baseboards I planned to remove anyway. If the existing floor works with your design, leave it and move straight to layout. Ripping it out only makes sense when the material underneath or the new surface you have chosen demands a clean slate, and even then, budget for the disposal run or the stack of bags that will sit in your garage until trash day.
Install New Flooring
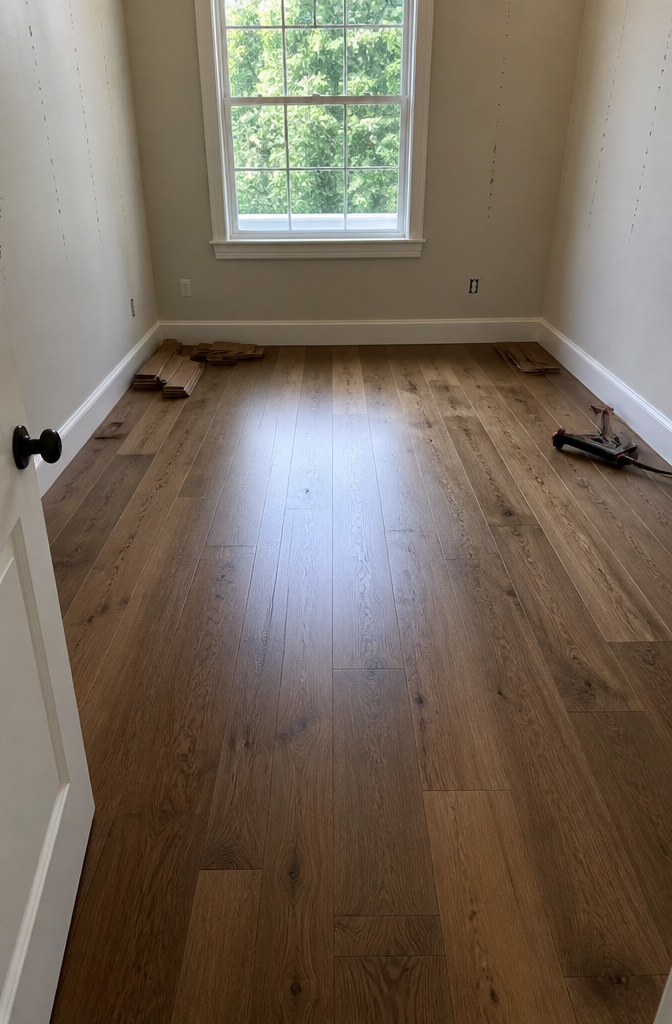
The carpet in my spare bedroom had to go before anything else could happen. Walking on it in socks while sorting clothes felt wrong, and the padding underneath held years of guest-room dust that no vacuum reached. I pulled both layers out in an afternoon, then faced the actual decision: what belongs under a closet system that will never see the traffic of a hallway or living room.
Engineered hardwood won out, installed with staples the same weekend. The sources I read before starting all pointed to the same thing: laminate handles closet weight fine, but hardwood or engineered hardwood feels like a room that was always meant for this purpose. Staple installation kept the height low, which mattered more than I expected once the closet system went in and every fraction of an inch counted for hanging length.
Budget two to three dollars per square foot for mid-grade engineered hardwood if you are watching costs, or stretch toward laminate at roughly half that. The difference shows in resale conversations later, but only if you are staying long enough to care. Either way, run the new flooring wall-to-wall and under where the island will sit; stopping at the closet system edges creates a future repair headache if you ever reconfigure.
My install finished Saturday evening. Sunday morning the closet system went up on a surface that actually belonged in a dressing space.
Install the Closet System

The wall studs in a converted bedroom are usually 16 inches on center, but measure before you order anything. A closet system that spans four feet needs to hit at least three studs, and guessing leaves you with a rail that pulls loose in six months. I learned that the hard way on my first shelving job, and now I keep a stud finder in the same drawer as the drill.
Ready-to-assemble kits run from a few hundred dollars up to about $4,000 for a 200-square-foot room if you start adding islands and jewelry drawers. The one I ended up with came in something like twenty boxes, every hole pre-drilled, which meant the only tool I needed was a screwdriver and a Saturday. Building from raw lumber costs less in materials but eats the weekend twice over, and the finished look depends on whether your circular-saw cuts stay square.
The real savings come from skipping labor, not from skipping planning. A pre-made system still beats hiring a custom company, but only if you map the hanging rods, shelves, and any drawer banks on paper first. Tape the layout out on the floor if you have to. Moving paper rectangles costs nothing; moving drilled holes costs spackle and a second Saturday you already promised to something else.
Organize What Goes Inside

Clothing sorts itself into three behaviors once you watch it for a week. The blouse you grab without thinking needs a front rod at eye level. The sweater that crept onto a hanger last year now has shoulder bumps that never relaxed, so fold what tolerates folding and stack it where you can see the full edge. Shoes worn daily live on an open shelf near the door; the pair for weddings can drop to a low bin or a high shelf you reach twice a year.
I learned the height rule after installing my first system too high, thinking vertical space meant more storage. The result was a top rail of jackets I wore constantly but hated to lift down. Now the zone from my knees to my shoulders holds everything I touch before coffee. Below that, bins for off-season items. Above it, luggage and the one formal coat.
Accessories are the test of honesty. Scarves looped on a single ring tangle less than stacked in a drawer. Belts on a pull-out rack stay visible; belts in a basket become a single knotted rope. Jewelry needs a shallow tray, never a deep box, because the piece you cannot see does not get worn.
Add Accessories

A center island gives folded clothes a home and puts jewelry storage within reach without crossing the room. The pull-out drawer organizers from EasyClosets sit right there, rings and necklaces laid flat where you can see them. Valet rods mounted to the side wall do the same job for hanging outfits: one rod pulls out to hold tomorrow’s clothes, a second one keeps a steamer or iron close by in the bottom drawer beneath. These pieces add up, and they eat floor space a narrow room may not spare. Budget matters too. The jewelry insert and valet rods run as extras on top of the core system, and a full island with drawers lands well past the starter cost. Skip the island if the room is under about six feet clear in the middle, but keep the valet rod if you lay out clothes the night before. The rods install after the main hanging is done, so the decision can wait.
What It Costs
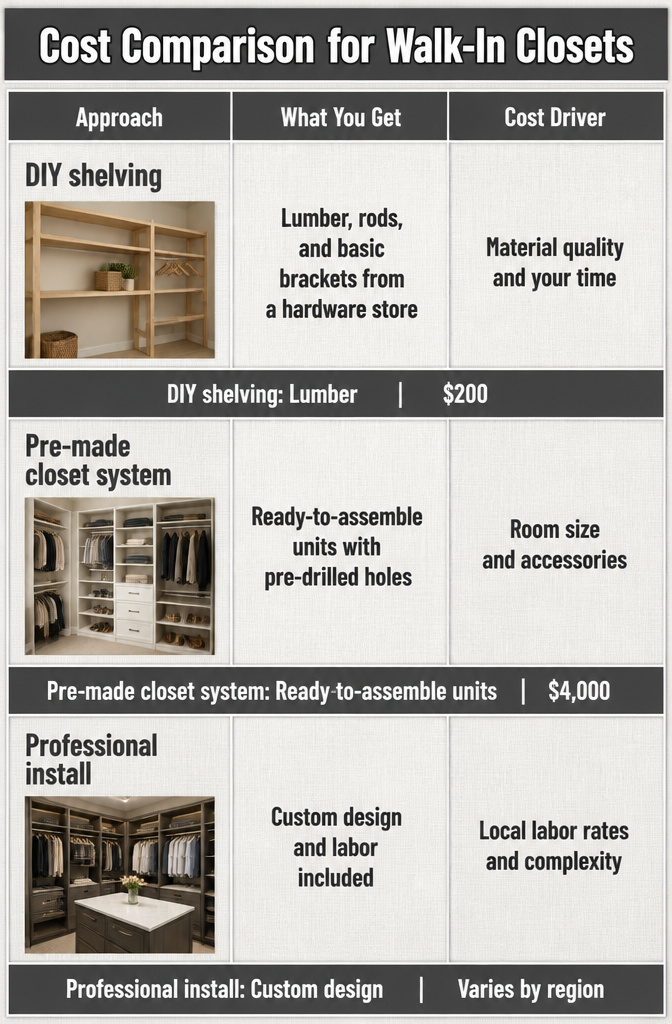
A 200-square-foot room converted with a pre-made closet system runs under $4,000 for the system alone, which is where most people land who want drawers, rods, and a finished look without paying custom-installation rates. The total you actually spend depends on room size and the materials you choose, since a larger space needs more uprights and shelves, and add-ons like jewelry drawers or a center island stack up fast.
Three paths cover most projects:
| Approach | What You Get | Cost Driver |
|---|---|---|
| DIY shelving | Lumber, rods, and basic brackets from a hardware store | Material quality and your time |
| Pre-made closet system | Ready-to-assemble units with pre-drilled holes | Room size and accessories |
| Professional install | Custom design and labor included | Local labor rates and complexity |
The pre-made route sits in the middle on price but saves the labor cost if you handle assembly yourself. A custom company doing the full job costs more than the boxed system, though how much more varies by region and what you spec out. DIY shelving is the cheapest entry point, and it works fine if you only need hanging space and a few shelves, though the finished look and adjustability take a hit.
Space You Actually Need

An 8′ by 5–6′ footprint gives you enough width to walk between parallel hanging rods and still breathe, but plenty of workable closets start smaller. The real limit is what happens when you subtract the storage from the walkable part.
In a room narrower than five feet, you lose the center aisle if both walls carry rods. One wall of hanging space plus shallow shelving opposite keeps the path clear. A room shorter than eight feet still fits double-hung rods front and back; you just bend more and store less below the lower bar. Irregular shapes, sloped ceilings, or that chunk of wall behind the door all call for the same move: measure the usable wall lengths, not the floor area, and design to those. My own preference, reading how these projects actually land, is to skip the island unless you have a true 8-foot span left after the rods go in. Drawers in the island sound luxurious, and they are, but they eat the floor space that makes the "walk-in" part function. In a tighter room, a slim console or nothing at all leaves you room to turn around without choreography.
Storage Needs to Settle First

The three questions that matter most when converting a room into a walk-in closet are what you actually wear, how much of it hangs long, and whether you already have drawers elsewhere in the house.
Run through this before you price a single shelf:
- What types of clothing will live here? Sweaters folded on shelves take up different space than jeans on hangers. Mixing both changes every dimension you sketch.
- How much long-hang space do you need? Dresses and long coats eat vertical height that double-hang rods won’t cover. Measure your longest piece with the hanger included, then add clearance.
- Do you need built-in drawers? Socks, underwear, and pajamas have to land somewhere. If your bedroom bureau stays put, skip the drawer bank and save the budget for rods and shelves. If not, an island or drawer tower becomes non-negotiable.
Answer these three and the rest of the system builds itself around the storage you already own.
Resale Value
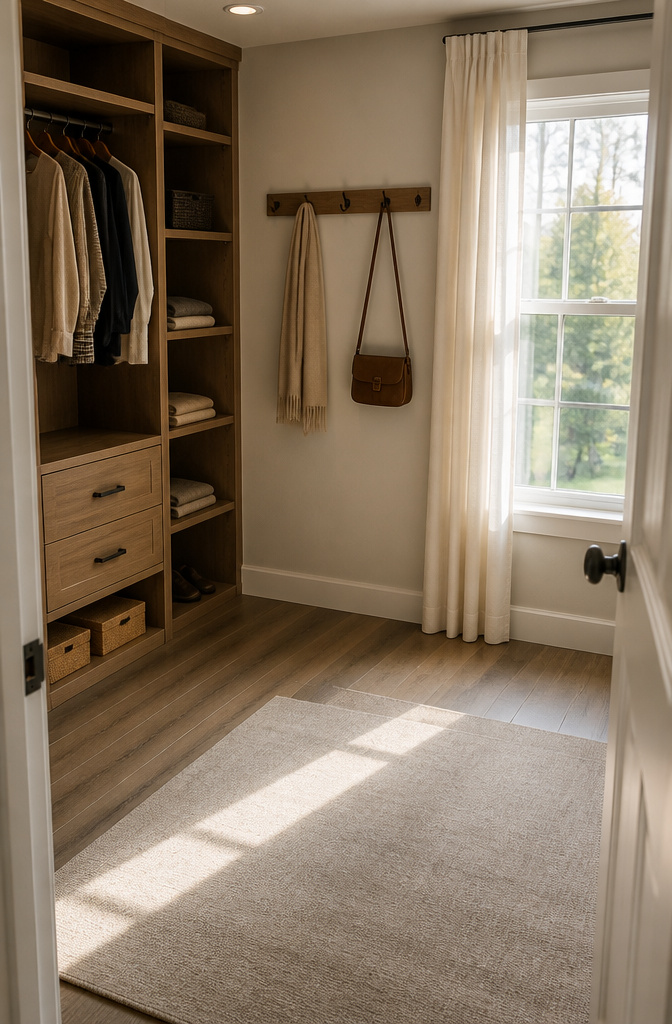
Dropping from three bedrooms to two is where the math gets real. Most agents will warn against it, and they’re not wrong: a two-bedroom home shrinks the buyer pool no matter how stunning the closet looks. If you’re starting with four or five bedrooms, the risk thins out. You still have a family-sized house, just with a better owner’s suite.
The safer middle path is to leave the room convertible. Built-in shelving, a dressing table, and good lighting read as a closet in daily life, but the space can be repainted and sold as a bedroom with minimal work. I like this approach because it keeps options open without giving up function now.
If you do take walls down, look for where a bedroom could land elsewhere. Basements, attics, even first-floor nooks can sometimes absorb the loss. A spacious owner’s closet adds appeal, but only when the bedroom count still meets what buyers expect for the neighborhood.
Dressing Room Touches
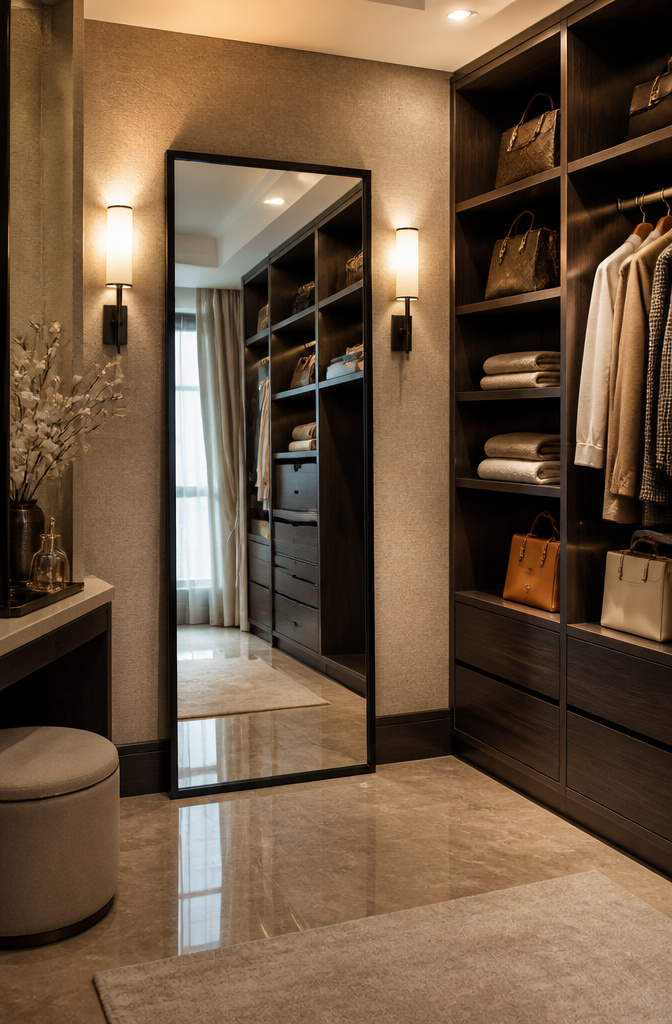
A full-length mirror changes how the space feels more than any shelf upgrade. I hung mine on the back of the door first, then moved it to the wall after realizing the door swung too close to the hanging rods. Wall placement needs about three feet of clear floor in front; anything less and you’re checking your outfit from an awkward angle.
Lighting is the other piece most guides skip. Overhead fixtures alone throw shadows that make navy look black and leave you guessing about hems. I added a plug-in sconce on each side of the mirror at roughly shoulder height, which cost under sixty dollars total and runs off existing outlets. The difference between that setup and the single ceiling bulb I started with is what actually makes the room feel like a dressing room rather than a storage closet with a mirror in it. If your space has no windows, budget for two light sources minimum, not one brighter bulb.
Timeline and What Goes Wrong
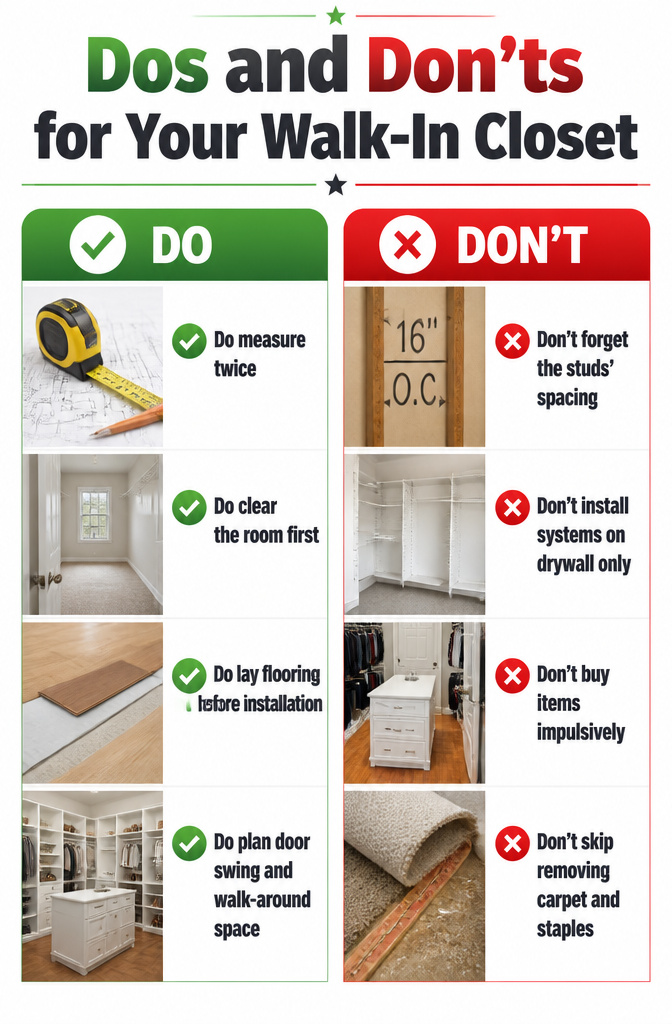
A weekend is enough if you clear the room first. The projects that stretched into Monday started with the system already bought and the furniture still inside. Measure twice, and write the numbers down, because the wall studs will not move to match a kit you ordered on impulse. Standard stud spacing is 16 inches on center in most American framing, and a closet system anchored only to drywall will sag by spring. The carpet has to come up before you think about hardwood or engineered flooring; one couple I followed laid their Easyclosets white system over fresh staples and called it the best project they had done, but only because they ripped everything out first. The real mistake is buying the center island before you know whether the door swing leaves room to walk around it. Two days goes fast when you are cutting floor trim to fit around new uprights.
Frequently Asked Questions
Is it a good idea to turn a bedroom into a closet?
Yes, if you have extra bedrooms to spare. A walk-in closet adds daily function and can be converted back to a bedroom later by removing the system and repainting. The risk drops sharply if you start with four or five bedrooms rather than three, since dropping to two bedrooms narrows your buyer pool significantly.
How much does it cost to turn a bedroom into a closet?
A pre-made system for a 200-square-foot room runs under $4,000 before flooring or accessories. DIY shelving with lumber and brackets costs less but eats more time and looks rougher; professional custom install runs higher depending on local labor rates and complexity.
How much space do you need for a walk-in closet?
Eight feet by five to six feet is the practical minimum to walk between parallel rods without feeling cramped. Smaller rooms still work if you use only one wall for hanging and keep the opposite side shallow, or skip the center island entirely to preserve aisle width.