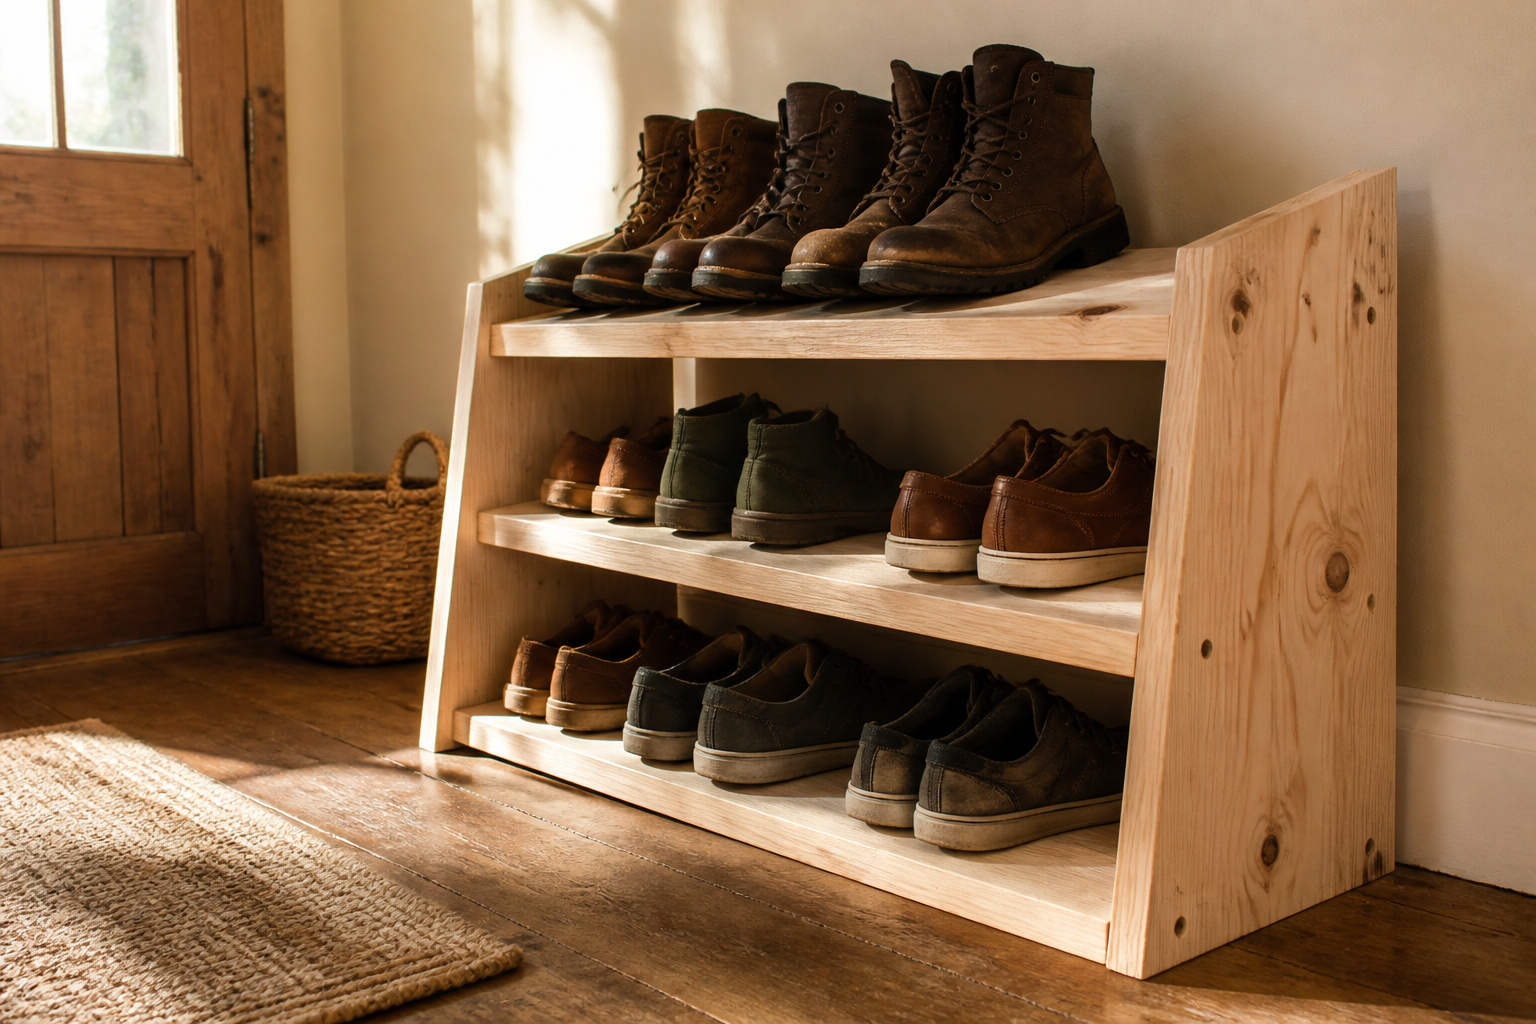
A pocket hole jig and roughly 45 screws turn rough pine boards into a shoe rack that survives winter slush, not another MDF casualty bowing outward by March. The catch is the slope: shelves must sit 7 inches up in front and 9 in back, or your boots slide straight onto the floor.
1. Gather Materials
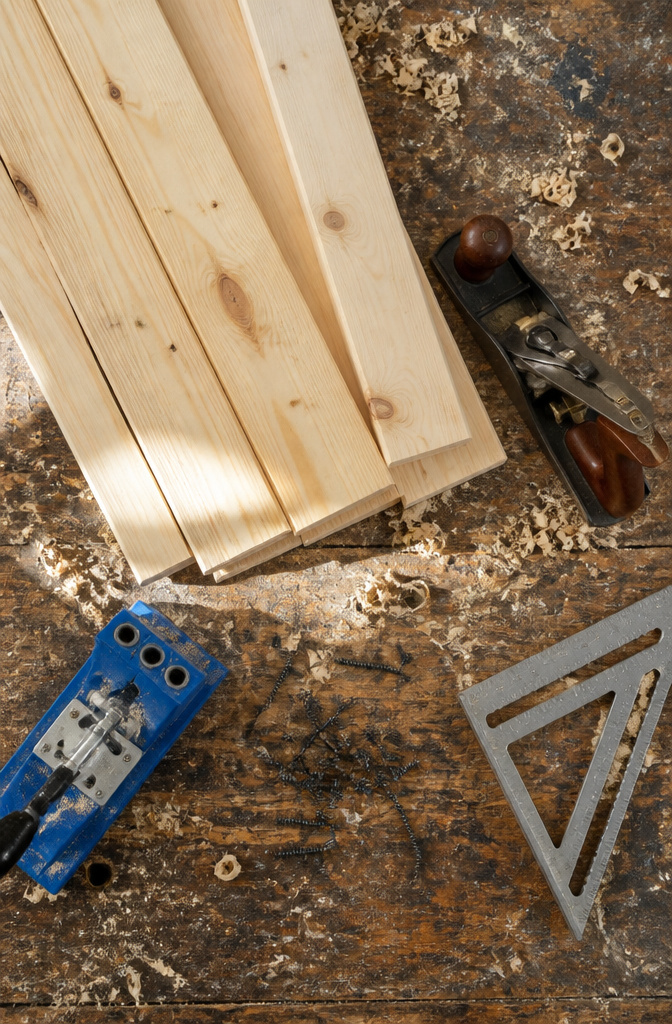
Rough pine boards are the right call for a shoe rack that actually lives in an entryway. I learned that the hard way after watching a roommate’s MDF unit drink up winter slush and bow outward like a smile by March. Pine costs less than finished 1 x 12 stock, and the grain takes tung or mineral oil well enough if you decide to finish it later. Just run your hand along the cut edges before assembly; a quick sanding saves you splinters where socks and shoe leather will slide past every day.
Skip MDF entirely unless you plan to seal every surface with an oil-based primer. The fibers swell with moisture, warp, and never go back. For a rental or a first home where this rack might move with you, that risk is not worth the few dollars saved.
For hardware, a pocket hole jig and roughly 45 pocket hole screws do the structural work. The screws should be 1¼ inches, sized to bite through the ¾-inch boards without punching out the face. A speed square and level keep your corners honest, and a standard drill drives the screws home.
2. Cut Lumber to Size
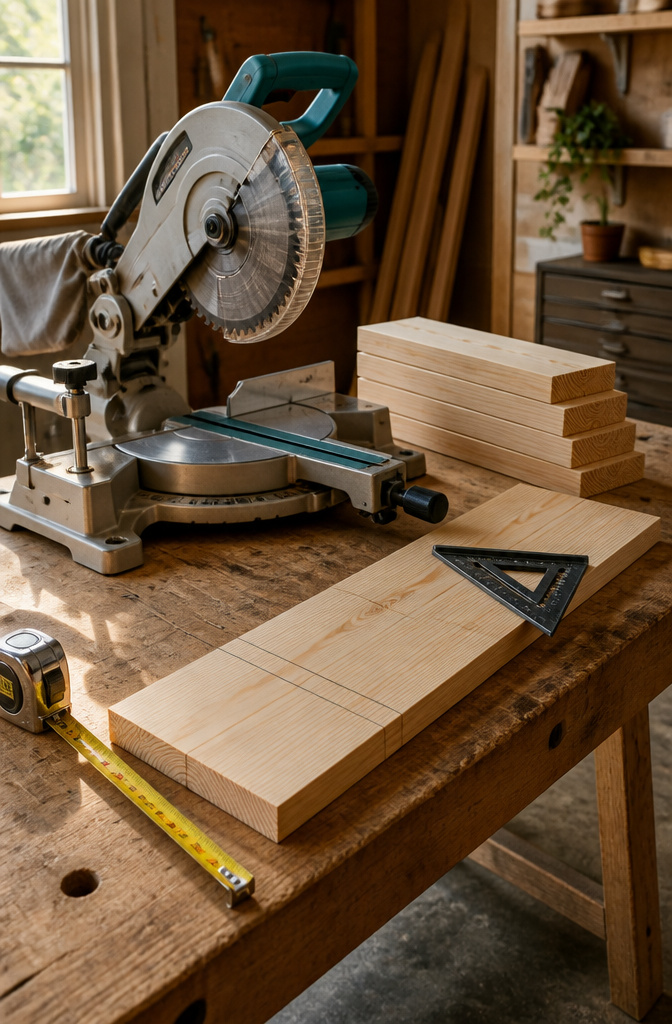
The miter saw came out first, and the tape measure saw more action in ten minutes than it had in the previous month. Two boards needed to land at 58 1/4 inches for the uprights, and seven more at 55 inches for the shelves that would sit between them. I measured each length twice, marking with a pencil and knocking the mark square across the face with a speed square before the blade touched anything.
My first cut on the uprights came up short. I had measured from the factory end, which looked clean but carried a slight roundover that ate into the dimension once the saw kerf passed through. After that, I started measuring from a fresh crosscut I made myself, and every board hit its mark within a sixteenth. The speed square also caught a blade drift I hadn’t noticed; the saw fence was reading square, but the blade itself had wandered a hair off ninety after a season of rough cuts. A quick adjustment saved the remaining lumber from ending up slightly rhomboid, which would have thrown off every joint later.
3. Drill Pocket Holes
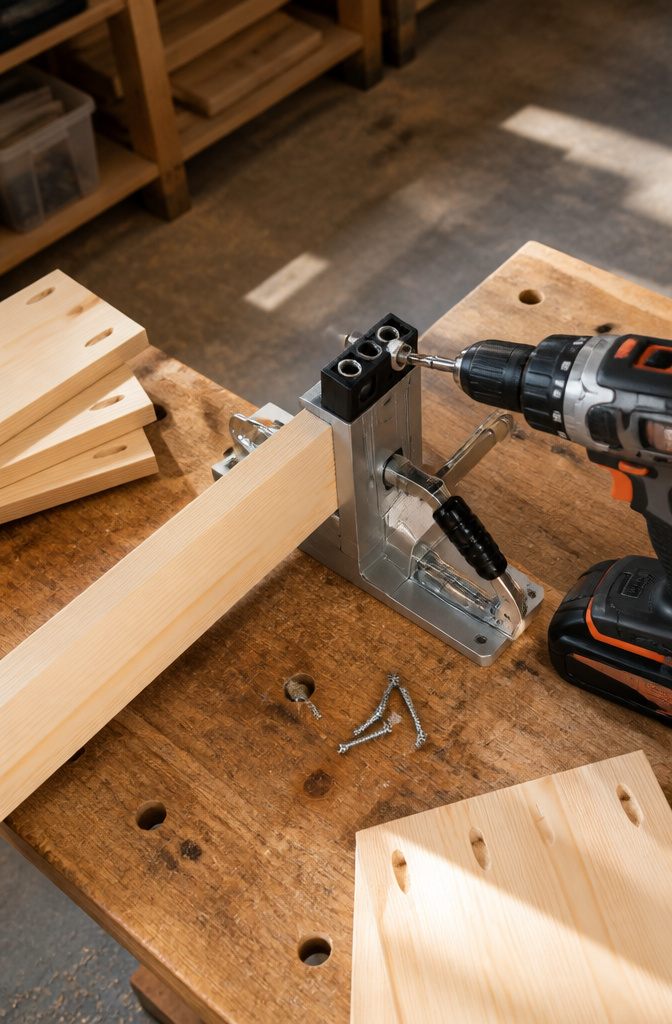
A pocket hole jig turns the 55" boards into joinery-ready pieces with three holes drilled on each end. The first time I clamped one in place, the drill bit wandered slightly before the collar caught the guide, leaving a scarred entry that still holds glue but taught me to start the bit straight and level. Set the collar depth for 1 ¼" screws and check it against the jig’s scale rather than eyeballing it; half a turn too shallow and the screw head sits proud, too deep and it blows through the face.
The whole rack drinks roughly 45 pocket screws total, so running a quick count before you start saves the mid-project hardware run I made last spring. A standard drill handles the torque fine; no need for anything bigger. Work through the stack of 55" boards assembly-line style, all holes on one end, flip the jig, then the other, rather than resetting for every board.
4. Assemble the Base Frame
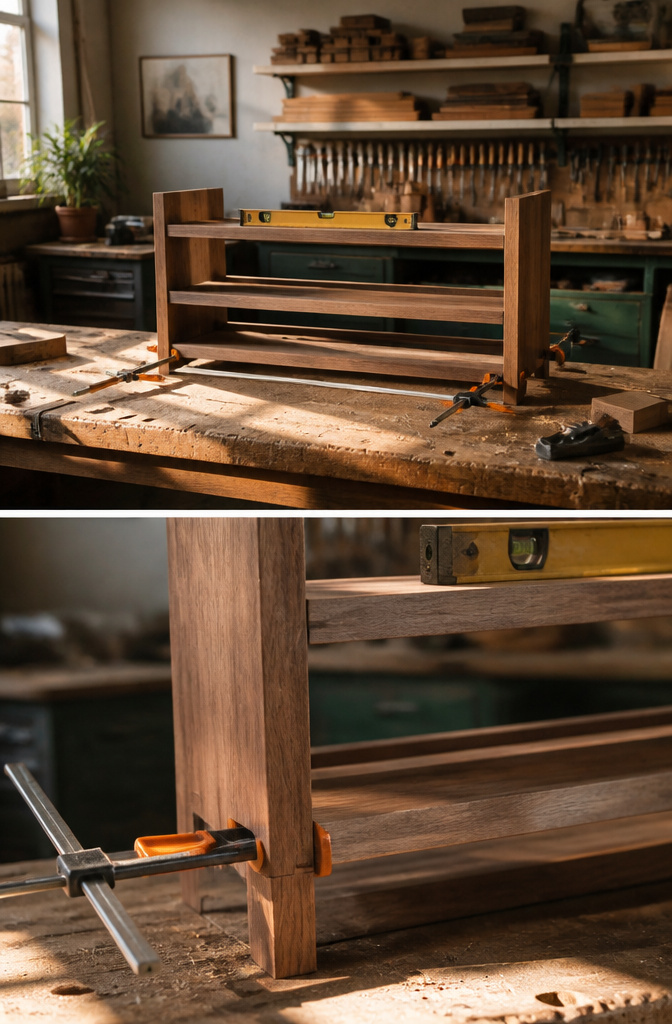
The base board and the first shelf board meet the side panels at a 90-degree angle, and this is where a speed square earns its keep. I clamp the pieces on my work surface, set the square in the corner, and watch the gap disappear before driving the first 1 ¼" pocket screw. The frame feels wobbly right up until the third screw bites; then something shifts and the whole L-shape suddenly stands on its own, and that small moment is why I still build things instead of buying them flat-packed.
A level matters here too, especially if your garage floor slopes for drainage like mine does. I check the base board in two directions before the screws go in, because a rack that leans now will lean worse with twenty pounds of boots on it. The spacing between base and first shelf is 16 inches, which clears Sorels and ski boots without wasted height, though you could tighten it for flats and sneakers.
5. Install Angled Shelves
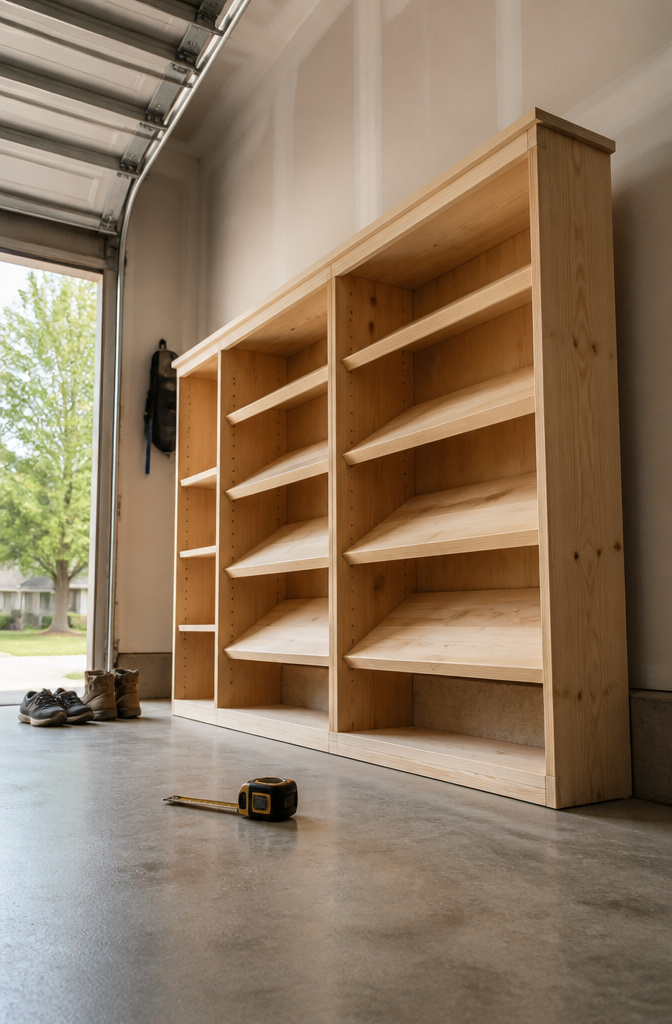
The side boards need marks that create a slight slope so shoes sit at an angle without sliding onto the floor. I measured 7 inches up from the front of each side board and 9 inches up from the back, then drew a straight line between those two points. No protractor or angle gauge is necessary; the shelf edge simply follows that line.
My first shelf went in at that angle, checked with a level. The garage floor sloped slightly for drainage, so I measured against the board itself rather than trusting the concrete. Each additional shelf sits 7 inches above the previous one, front and back, which keeps the same angle running up the rack. The 16 inches of vertical space between shelves leaves room for ski boots, Sorels, skates, or cleats without cramming.
If the slope gets steeper than this, shoes will need a lip or molding to stop them from slipping off. The top board stays at 90 degrees to the sides for flat storage up above.
6. Finish the Structure
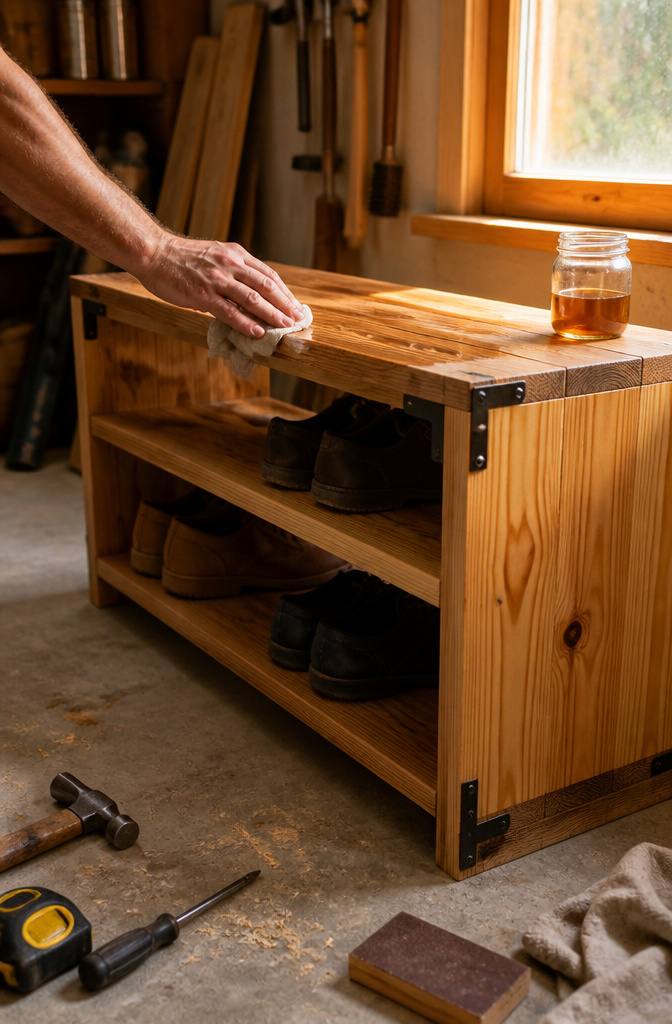
Corner brackets add rigidity without much visual weight, and they are worth the few dollars if the rack will sit on carpet or uneven floors where wobble shows up over time. I install them on the inside faces where shelves meet legs, oriented so the screws bite into the grain rather than the end.
For the finish, tung oil and mineral oil both darken raw pine slightly, but they behave differently in use. Tung oil polymerizes as it dries, so two thin coats build a satin skin that resists water rings from wet boots. The catch is the wait: each coat needs a full day before you can buff it, and the faint nutty smell lingers another day or two. Mineral oil never fully hardens, which means you can wipe on a coat, let it soak in overnight, and call it done. The surface stays softer and will need a refresh every few months if the rack lives near a door that sees rain or snow. I keep a bottle under the sink for cutting boards anyway, so the maintenance costs nothing extra.
The final look with tung oil is closer to furniture; mineral oil reads more like a practical kitchen piece. For a shoe rack that hides in a closet, mineral oil in a single coat saves a weekend and looks fine in dim light. If the rack sits in an entryway where guests see it, tung oil rewards the patience with a little more depth.
Tools Required

A miter saw makes the angled cuts quick, but a simple miter box and handsaw will get the same result if you are starting out and do not want to buy one. The pocket hole jig is harder to substitute; I borrowed mine from a neighbor rather than spending the thirty or forty dollars, and for this many joints it was worth the ask. Here is what else actually hit the workbench:
- Tape measure and speed square for layout; the square is what keeps your base board and first shelf at a true 90° to the sides
- Drill plus roughly 45 of the 1 ¼" pocket hole screws; count your joints before you buy so you do not stop mid-assembly
- Level to check each shelf after you drive the screws, and remember garage floors often slope for drainage so trust the level, not the floor
- Pencil for marking the 7" and 9" points that create the shelf angle; no protractor needed, just a straightedge between the two marks
I already owned the drill, tape measure, level, and pencil. The speed square was five dollars and lives in my toolbox now.
Design Considerations
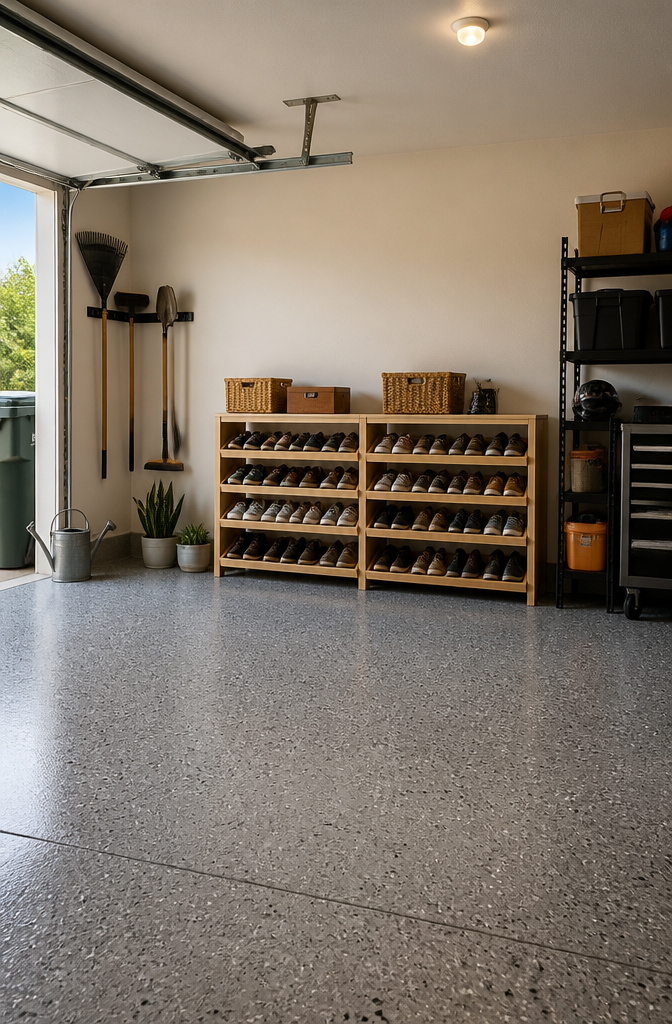
Shelf spacing at 16 inches apart leaves enough room for ski boots, Sorels, or skates without the stack turning into a wall of hidden pairs. The first time I laid out a rack with tighter gaps, winter gear ended up in a pile on the floor anyway, so that extra two inches above typical shoe height matters more than it looks on paper.
Angled shelves sit with the front edge 7 inches up from the base and the back edge 9 inches, a shallow slope that keeps shoes visible from the doorway. Steeper angles need molding or a lip to stop slides from slipping off, which adds cuts and cost for little gain. Each shelf above repeats that same 7-inch front-to-front spacing, so the slope stays consistent without protractors or guesswork.
The top board goes flat at 90 degrees to the sides, giving you a surface for boxes or a basket. Cleats and bulky boots are the outliers here; if one person in the house lives in them, build one 16-inch bay and keep the rest standard. A speed square checks the first corner, and a level checks the shelf after, though garage concrete with its drainage slope can lie to you if you trust the floor instead of the tool.
Wall Mounting and Safety
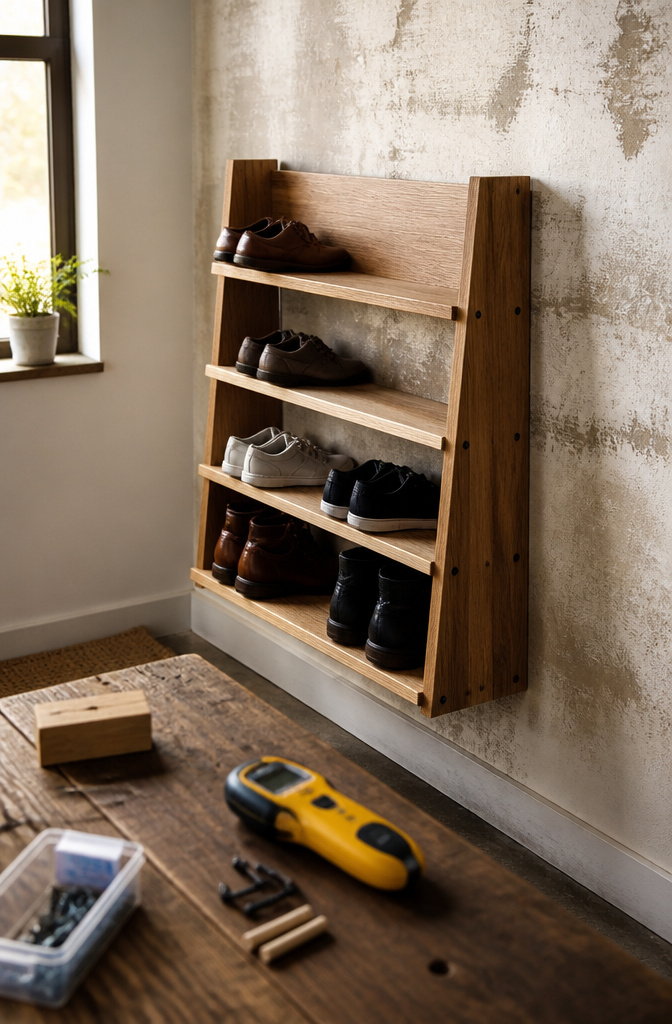
A freestanding shoe rack six feet tall and four feet wide is going to lean if it is loaded unevenly, and a child pulling on it makes the math ugly fast. The rack needs a stud behind it, not just drywall. I used a French cleat on a later build, a beveled rail that locks the whole unit to the wall and carries the weight close to the studs. For the first one I simply drove a long screw through the top stretcher into a single stud I located with a cheap stud finder. It held, but I wish I had used the cleat instead; the screw left a visible point of stress and made the rack harder to remove when I moved apartments. The cleat spreads the load and hides entirely behind the frame. Either way, locate the stud before you finish the front, because patching stain or paint over a missed hole is a weekend you do not get back.
Finishing Options Compared
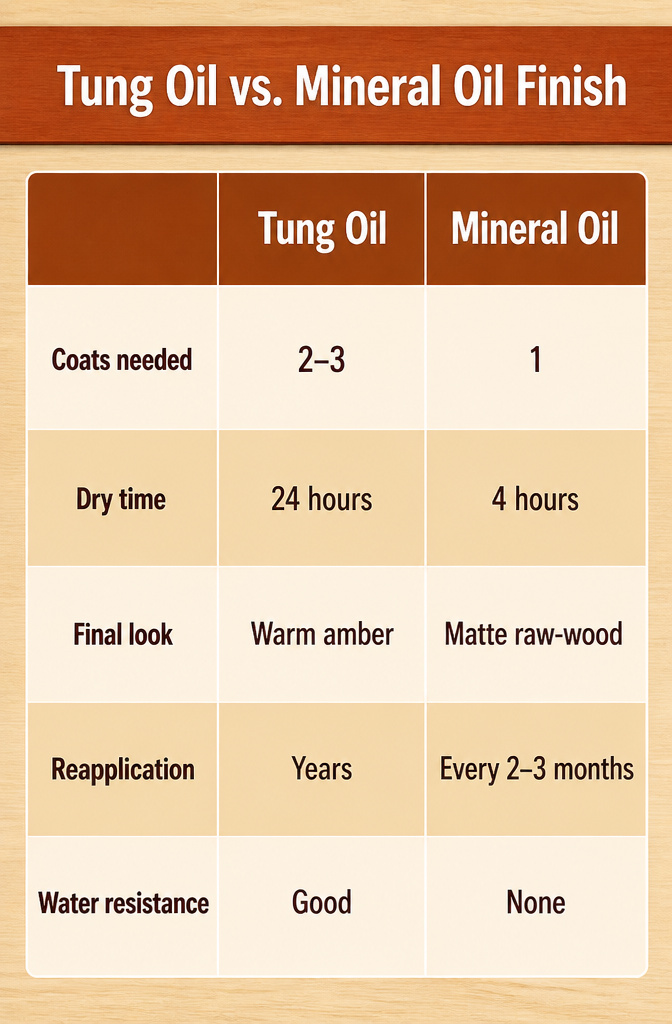
Tung oil and mineral oil both protect the wood, but they behave like different animals once the rag hits the grain. Tung oil polymerizes as it dries, building a hard, water-resistant film that needs two or three coats with a full day between each. Mineral oil never cures; it sits in the pores and stays slick to the touch, so you wipe on a coat, wait four hours, and call it done. The catch is you reapply every few months or the finish goes dull and the wood starts drinking shoe scuffs.
| Tung oil | Mineral oil | |
|---|---|---|
| Coats needed | 2–3 | 1 |
| Dry time between coats | 24 hours | 4 hours |
| Final look | Warm amber, slight sheen | Matte, raw-wood look |
| Reapplication | Years, if ever | Every 2–3 months |
| Water resistance | Good | None |
I used tung oil on my first rack and liked the depth it gave the pine, but the three-day wait tested my patience. For a shoe rack that lives in a closet and never sees a spilled drink, mineral oil gets you finished by Sunday night. If I built another for a mudroom or garage, I would switch back to tung oil and just buy a second cheap brush so the first one isn’t ruined by the time the second coat is due.
Frequently Asked Questions
How do I build a DIY shoe rack?
Start by cutting two uprights at 58 1/4 inches and seven shelves at 55 inches. Drill three pocket holes on each end of every shelf board, then attach the base and first shelf at a 90-degree angle to the sides using 1 1/4 inch pocket screws. Mark the sides 7 inches up from the front and 9 inches up from the back for each angled shelf, install them working upward, and finish with a flat top board.
What materials do I need for a DIY shoe rack?
Rough pine boards, roughly 45 pocket hole screws at 1 1/4 inches, and a pocket hole jig for joinery. You will also need a tape measure, speed square, level, drill, and pencil. Skip MDF unless you seal every surface with oil-based primer; pine handles moisture better and costs less than finished stock.
How do I secure my shoe rack to the wall?
Anchor it to a wall stud, not just drywall. A French cleat spreads the load and hides completely behind the frame, making the rack easier to remove later. A long screw through the top stretcher into a single stud works but leaves visible stress and complicates moving. Locate your stud before finishing so you do not have to patch stain or paint over a missed hole.