
A walk-in closet is a storage room large enough to step inside and close the door behind you, but the difference between one you tolerate and one you use daily comes down to planning your layout around the clothes you already own before a single shelf gets drawn. The inventory is tedious: measuring every coat’s drop, every shoe line’s length, every dress’s clearance. Yet skipping it is how you end up with rods hung too low and winter formal wear pooling on the floor.
Custom Walk-In Closet Design
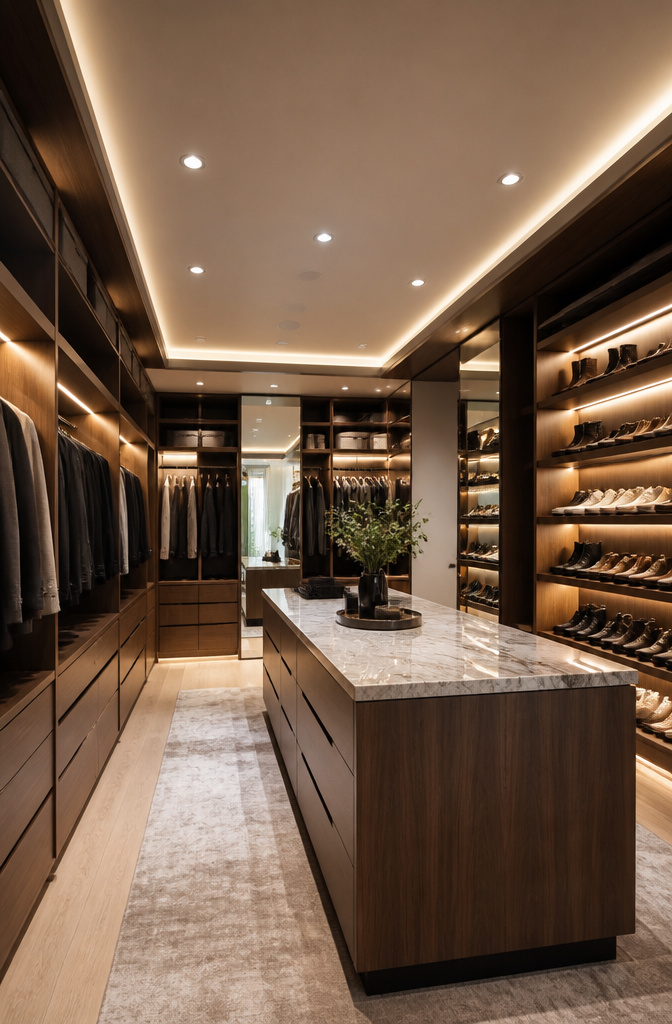
A custom walk-in closet starts with taking full inventory of everything you own before a single shelf gets drawn. That means every blazer, every shoe, every scarf that has been living in the basement or a guest bedroom closet needs to land on the list. The conversations that follow are about how your wardrobe actually lives: which pieces hang daily, which fold, and whether you need an island for accessories or a seat for putting on boots. The designer measures your space, then builds rods, shelving, and drawers around those habits rather than forcing your clothes into a standard grid. I have seen layouts that feel luxurious simply because the long dresses have room to breathe and the shoe collection is not crammed into a single rack. The finishes and hardware come last, but they only work once the layout has answered what you actually reach for each morning.
Organization Tips
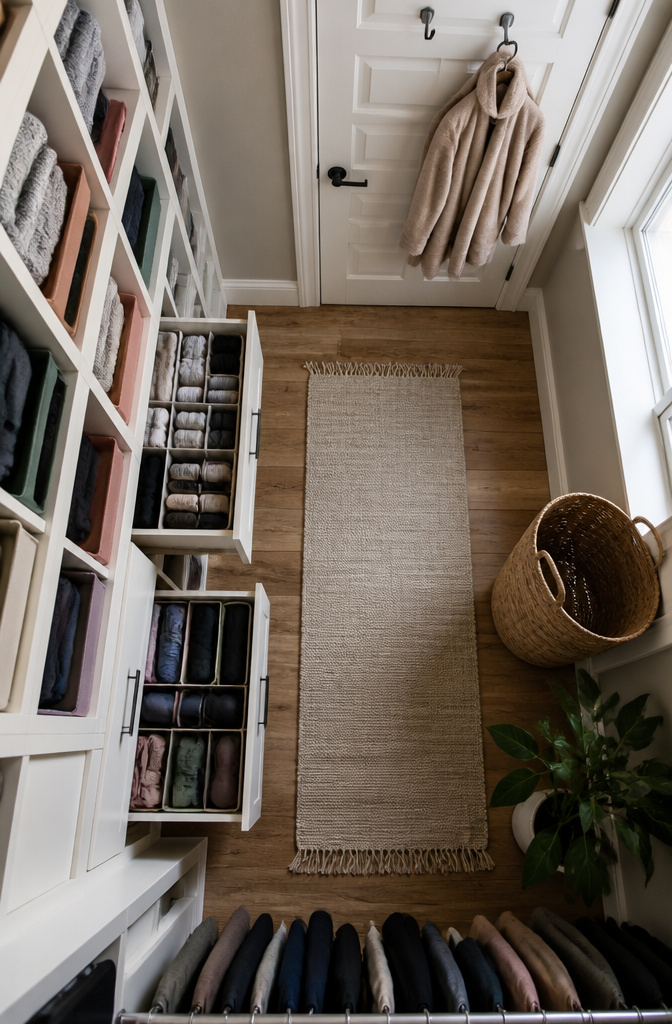
The first thing that goes wrong in most walk in closets is the shelf that sits too high to reach. 12 to 18 inches from the ceiling is the practical limit for storing out-of-season or rarely used items; above that, you are just building a dust trap. Keep shelf depth at a minimum of 12 inches if you plan to use baskets, or the edges overhang and snag sleeves every time you pass.
Drawer space deserves the priority it rarely gets. Socks, lingerie, and workout gear all land in drawers before they land anywhere else, because opening a drawer beats rummaging through a basket stacked three deep. Adjustable drawer dividers, two or three per drawer, let you file-fold clothes upright so you see every item at once. The same compartmentalized inserts that work in kitchen drawers suit upper drawers for accessories.
Vertical space finishes the job. Hooks on the back of a door or a narrow wall end hold tomorrow’s outfit or a robe without stealing rod space. Zones emerge naturally once the tools are in place: daily clothes at hand height, occasional items above, drawers below for the small stuff that otherwise disappears.
Styling Elements
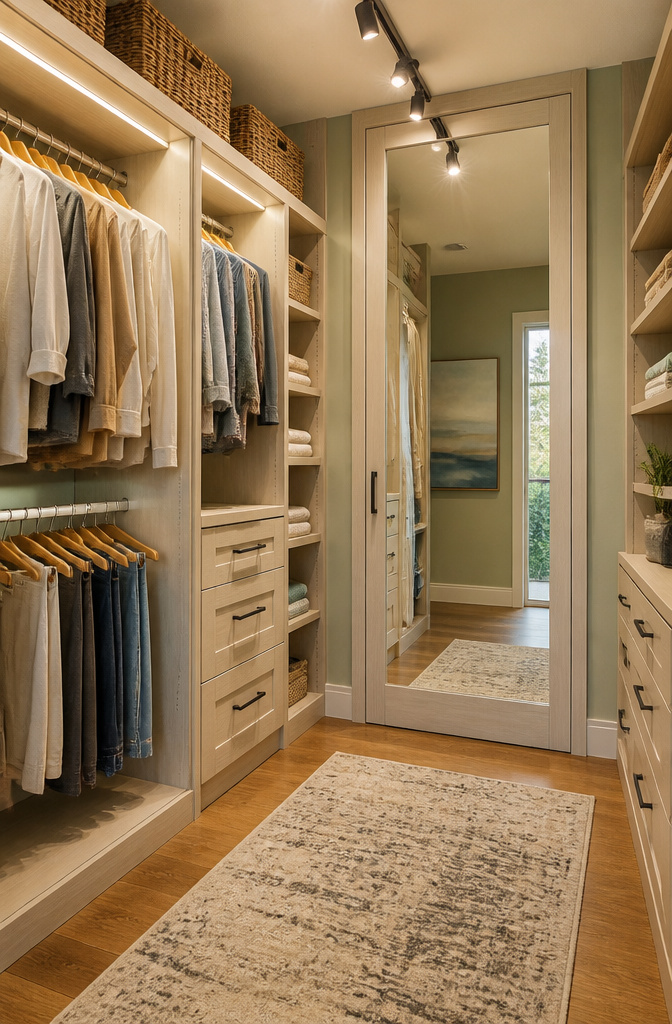
The ceiling and walls in a walk-in closet swallow light faster than you expect, so integrated LED lighting planned before the electrician leaves is the difference between a storage room and a space you actually want to step into. Spotlights or track lighting wired during construction let you highlight sections without cords snaking down shelving. I have seen too many friends add stick-on strips later and fight the adhesive through every seasonal change of clothes.
A full-length mirror belongs in the plan from the start. Floor mirrors against a blank wall work if the footprint allows; the back of the door saves space but limits the viewing angle. The move that stuck with me is having a glass company cut mirror to fit inside a shaker door frame, turning the door itself into a dressing mirror without stealing wall or floor area.
These touches do not need to read as luxury to function as luxury. Warm LED color temperature, reflection where you actually stand to dress, and hardware that disappears into the architecture create an atmosphere that invites daily use rather than occasional storage trips.
Materials and Finishes
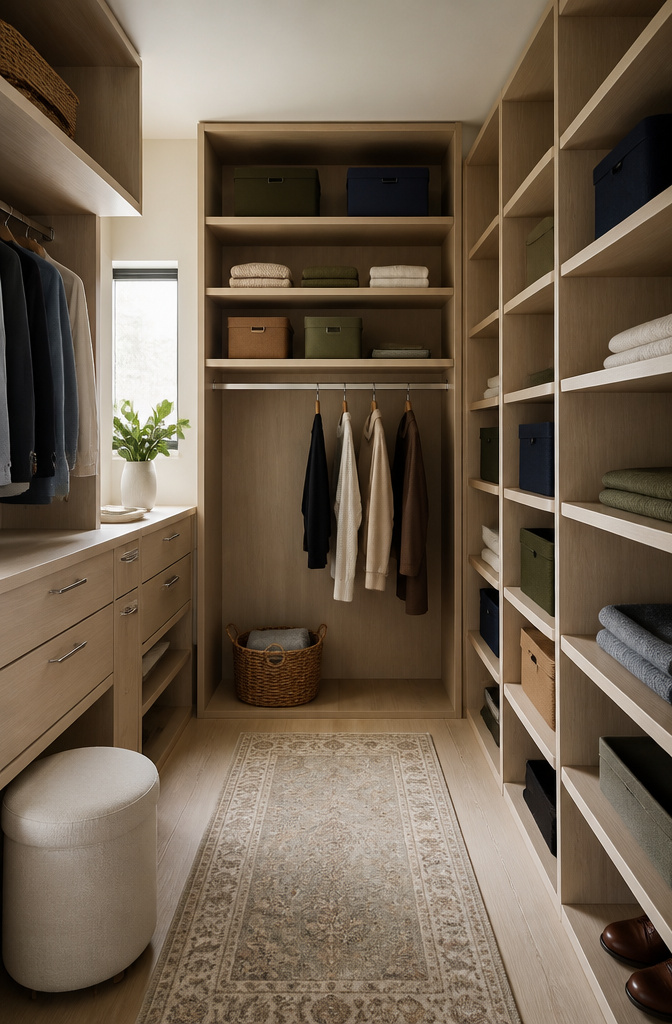
The material inside a walk-in closet takes more abuse than almost any other furniture in the house. Shelves hold stacks of denim, handbags, and storage boxes day after day, so composite wood engineered to resist bowing matters more than the species name on the label. Vertical panels do the real structural work, keeping the unit square and the built-in look clean over years of daily use.
Finish options run from bright modern whites to warm textured tones, with hardware styles to match. The laminate or woodgrain surface is where you can safely economize; it sees less wear than the shelf core and is easier to refresh later if tastes change. What I would not trim is the anchoring and alignment, since a closet that shifts or racks loses its function fast. Professional installation covers this, and the cost belongs in the project from the start rather than added after a door starts sticking or a shelf tilts.
Installation Process
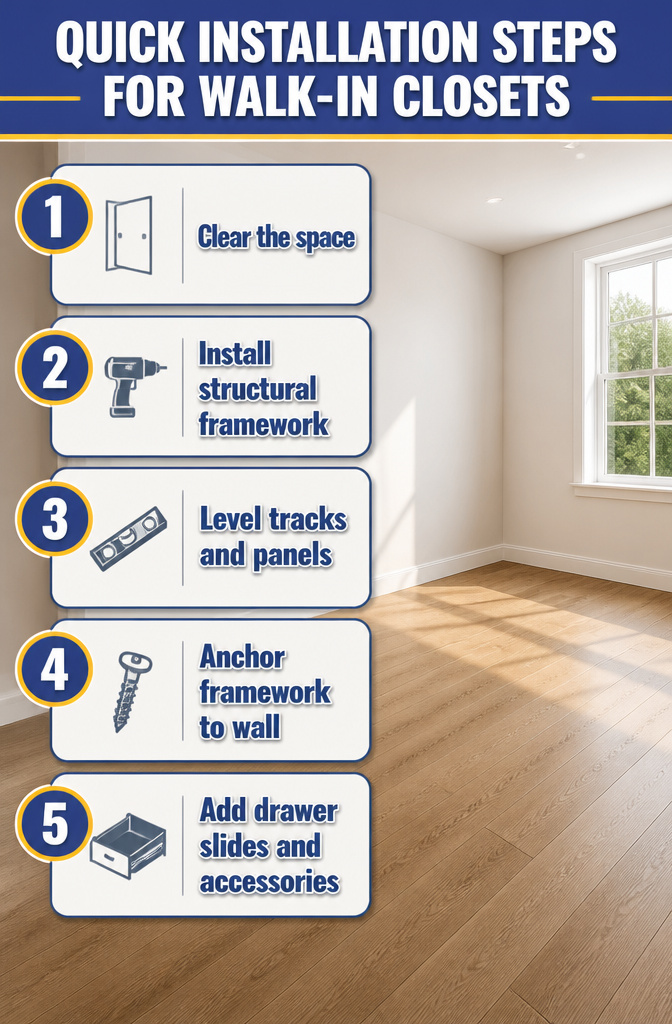
The installation itself runs one to two days depending on room size, number of drawers, islands, or specialty features included, which is faster than most people expect going in. My own reading on this kept turning up the same surprise: homeowners who blocked off a full week and found the crew gone by Tuesday afternoon.
Day one is typically the structural work. Installers arrive with components cut to the measurements taken during design consultation, then they level tracks, set vertical panels, and anchor the framework to walls. The precision of that earlier consultation matters here; exact measurements let them move assembly-line fast without pausing to recut or shim awkward gaps. Day two handles the finer pieces: drawer slides, island countertops, shoe fences, belt racks, the accessories that turn a shell into a working closet. A straightforward reach-in-sized walk-in with hanging rods and a few shelves might finish in a single day. Add a center island with drawers, a pull-out hamper, and custom lighting, and you are looking at the full two days.
What the homeowner actually has to do is minimal and mostly about clearing the path. Furniture needs to be out, old rods and shelves down, and the floor vacuumed so installers are not working around dust bunnies or dodging a dresser. Some companies ask you to empty the closet entirely; others work around clothing still on hangers if the space is tight. After the last screw goes in, the space is ready for use immediately, no curing or drying time.
Design Considerations
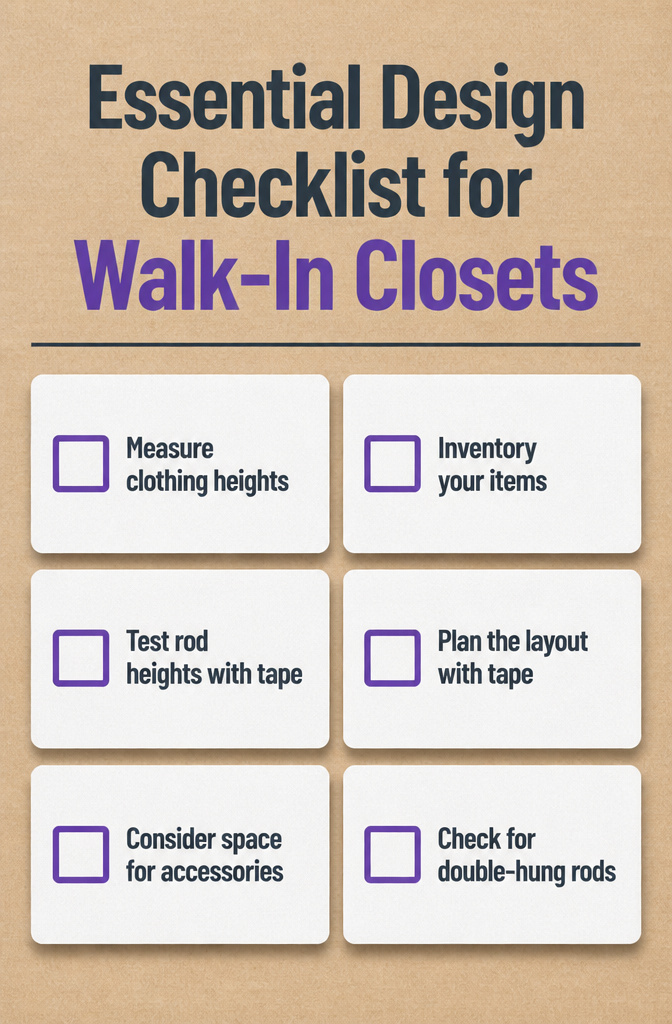
Before a single shelf goes in, your clothes themselves are the tape measure. The sources all circle back to this: a walk-in that looks generous on paper turns cramped the moment a winter coat hits a rod hung too low.
I spent one afternoon with a notebook and a steel tape, working through what I actually owned. Shirts took 36 inches of bar space. My longest dress needed 52 inches of vertical clearance. Shoes, laid out end to end, showed exactly how deep a shelf had to run. The numbers were tedious to collect, but they kept me from guessing at rod heights and ending with a floor pile.
If the closet serves two people, this inventory splits in half. One partner’s longest coat might clear the other’s by a foot, or not. The only way to know is to measure both wardrobes separately and let the taller item set the minimum height. A shared wall of double-hung rods looks efficient until someone’s formal wear pools on the shoe rack below it.
Blue painter’s tape on bare walls let me walk through the layout before anything was built. Freezing garage or not, that hour of mock-up saved the years of daily friction that follow a layout chosen by eye.
Storage Solutions
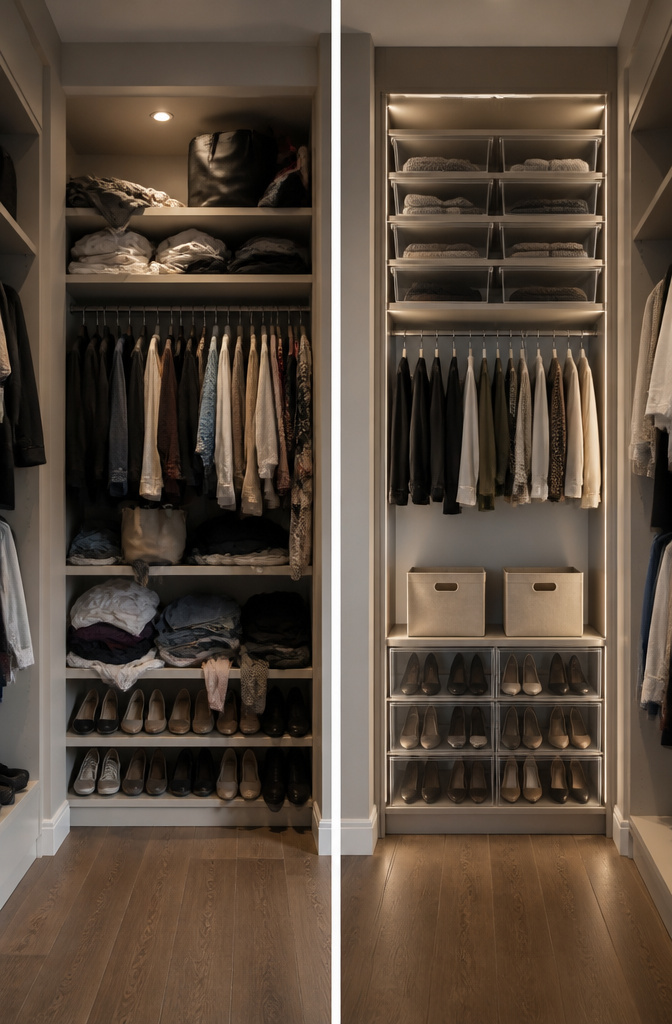
Shelves eat up most of the real estate in a walk-in closet, but the space between them is what actually gets wasted. A tall shelf with one layer of folded jeans leaves a foot of dead air above them; stacking acrylic drawers or simple shelf risers split that height into two usable zones without blocking access to either level. Drop-front shoe boxes do the same for shorter shelves, letting you pull one pair without toppling the row above it.
Drawers deserve more priority than most closet systems give them. Hanging rods are cheaper to install, so builders default to rows of them, but drawers conceal and contain the bulk of what most people actually own: socks, workout gear, folded pants, even swimwear and bags. If built-in drawer units blow the budget, fabric or wicker bins on existing shelves get you most of the same result for a fraction of the cost, though they slide less smoothly and the corners collect lint over time.
The real test of any storage solution is whether you can put something away in one motion. A shelf that requires stacking and restacking fails that test; a drawer that opens, receives the item, and closes passes it. My own closet started with a single hanging rod and two high shelves. The sweaters piled on those shelves stayed where I dropped them because neatening the pile meant pulling half of it down first. Adding two drawer stacks at waist height fixed the habit overnight. The hanging space that remained went to dress shirts and one long-rod section for coats, which is exactly what rods do better than drawers anyway.
Vertical space works only when the tool matches the reach. Shelf risers and stacking drawers keep the upper zone accessible without a step stool; anything higher than that should store out-of-season rotation, not daily use. The goal is more storage that still feels like less effort, not a taller pile to dig through.
Lighting and Aesthetics
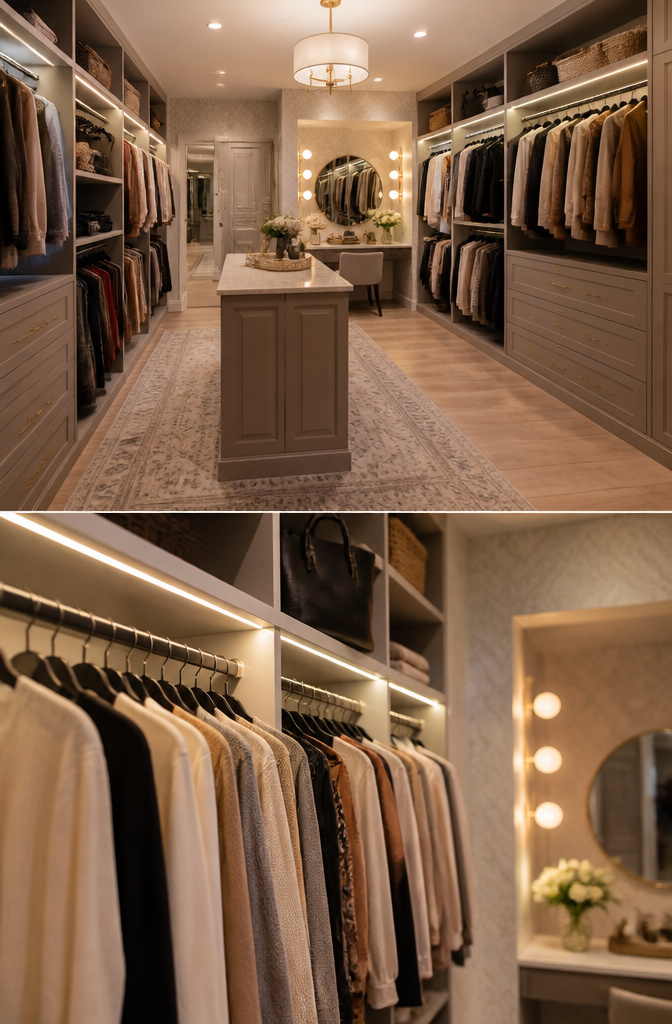
The light in most walk in closets comes from a single overhead fixture that leaves every shelf and drawer in shadow. Swapping that for integrated LED strips along the top of each hanging rod costs less than most people guess and changes how the whole space feels. I ran peel-and-stick tape lighting under my own closet’s shelves two years ago, wired to a motion sensor so it wakes up when I open the door. The strips draw almost nothing, but the reflected glow makes the back wall visible for the first time.
Track lighting or spotlights wired during a renovation are the luxe option, and the electrician needs to plan for them before drywall goes up. For renters or anyone keeping the weekend timeline, battery-powered LED puck lights with a remote dimmer do most of the same work without a permit. A small vanity corner, even just a narrow ledge with a mirror, benefits from a dedicated makeup light. The LED vanity bars that clamp or stick to a mirror frame run about the same as a decent desk lamp and keep the color temperature consistent with the overhead strips so nothing reads off in the mirror.
Frequently Asked Questions
How long does a closet installation take?
Most walk-in closet installations finish in one to two days, with straightforward layouts sometimes wrapping up in a single day and complex designs with islands, pull-out features, and custom lighting taking the full two. Day one covers the structural framework and wall anchoring; day two adds drawers, accessories, and finishing details. The space is ready to use immediately, with no curing or drying time needed.
What materials are used in a custom walk-in closet?
Custom walk-in closets use engineered composite wood for shelves and vertical panels, chosen specifically to resist bowing under daily loads of denim, handbags, and storage boxes. The visible surfaces come in laminate or woodgrain finishes ranging from bright modern whites to warm textured tones, with matching hardware styles. Professional installation ensures proper anchoring and alignment so the unit stays square and functional over years of use.
How are walk-in closet designs tailored to individual needs?
Designers start by taking full inventory of your wardrobe, accessories, and storage habits before measuring the space or drawing a single shelf. They ask which pieces you hang daily, which you fold, and whether you need features like an island, seating, or display areas. The final layout builds rods, shelving, and drawers around those specific habits rather than forcing your clothes into a standard configuration, with finishes and hardware selected last to match your style.