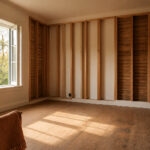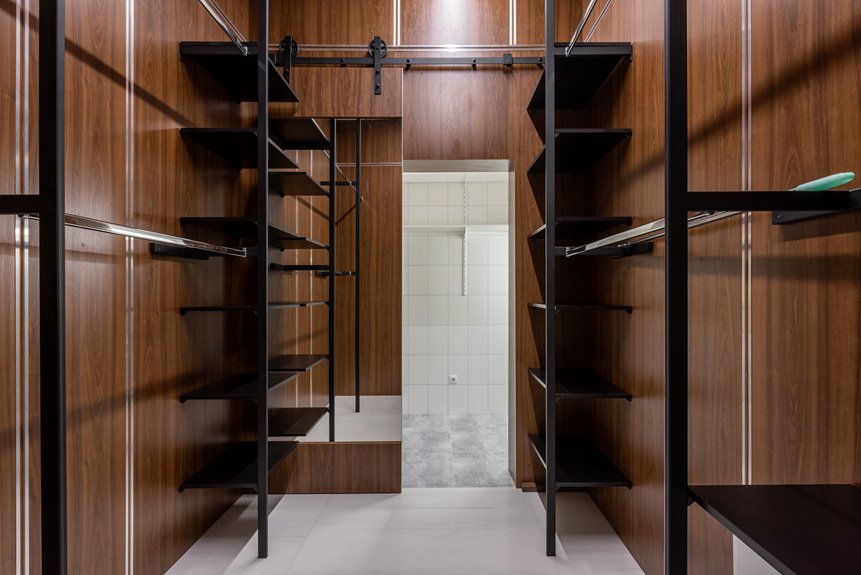
I built my walk-in closet shelves in six steps. First, I planned the layout and chose DIY framing over expensive store systems. Next, I removed old wire shelving and repaired wall surfaces with spackle and paint. Then I cut cleats and installed three-wall support frames anchored into studs. I chose 12-inch shelf depth and calculated load capacity for my needs. I attached shelves from the top down using pocket screws. Finally, I trimmed, caulked, and painted for a built-in appearance. This process will help you develop practical skills applicable to future projects.
Plan Your Layout and Choose DIY Over Store Systems
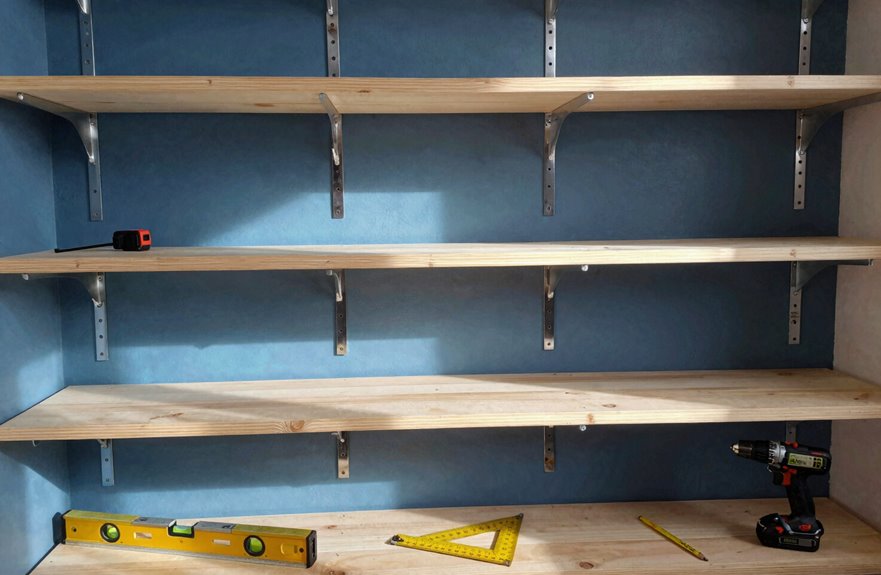
Before I install a single shelf, I evaluate what I’m working with. I scan my closet for wasted storage space above existing shelves and on the opposite wall. I note where I’ll remove five wire shelves and a single pole to make room for something better.
Before installing anything, I always assess the space—scanning for wasted areas and noting what needs to go to make room for something better.
Why I Skip Store-Bought Closet Systems
Pre-built closet systems cost more than I’m willing to spend. I build wall-to-wall frames instead, attaching thick supports directly into studs for durability. I use scrap 2x lumber for frames and wall supports, cutting costs without sacrificing strength.
My Top-Down Building Approach
I construct frames from the top down, planning five shelves that span floor to ceiling. For materials, I balance cost and stability: thinner utility panel plywood for shelf bottoms, scrap MDF for upper shelves, all reinforced with pocket screws. I finish with caulked edges and painted faces for a cohesive, protected result.

YOUR ITEMS, YOUR WOOD – YOU SUPPLY IT: Supply 3/4" thick wood (e.g., 1x4 to 1x10 pine or plywood, sold separately) for custom-fit shelves that match your items. WORKS WITH...
Remove Wire Shelving and Repair Wall Surfaces
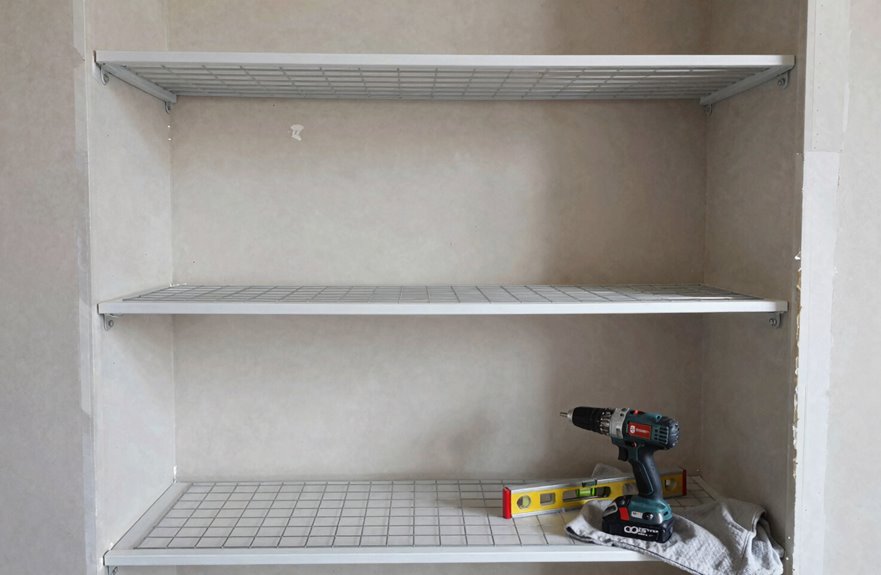
I start by pulling out the old five-wire shelves and closet pole, which leaves the walls exposed and ready for work. Next, I inspect for holes or gouges, then apply spackle to smooth every imperfection before brushing on SW Swiss Coffee paint. Once the repairs are fully dry, I have a clean, solid surface to anchor the new wall-to-ceiling frames.

WALL CLIP SET: You will receive 24 / 48 pieces of wire shelf clips, 24 / 48 screws and 24 / 48 expansion tubes, a total of 72 / 144 pieces with a storage box. The quantity is enough for you to use and replace, or share with your mates
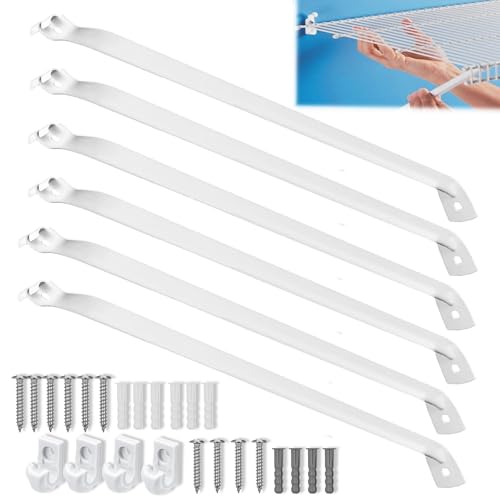
Kit: You’ll receive Ojeemii 6 PCS 12 inch wire shelf brackets and 4 PCS shelf clips, along with all necessary hardware for quick and easy installation

Designed Use: Designed to secure and support wire shelving systems in closets, pantries, laundry rooms, and storage areas
Clearing Old Shelving
- Detach the old hardware carefully, saving any brackets that might prove useful later
- Inspect every wall surface for hidden damage the previous installation concealed
- Dry-fit new framing or cleats against the studs to confirm everything lines up level
- Mark stud locations precisely so I’m ready when patching begins
Patching and painting come next. Focus on achieving clean, bare walls that are ready for the new installation.
Patching Wall Damage
Removing Old Hardware
The existing wire shelving and closet pole must come out completely so I can assess what the walls actually need. Pull out the five wire shelves and single closet pole, exposing every surface that requires attention.

[Discover More Space] - Don't worry about cluttered desktops and floors! Why not try using the walls? The wonderful combination of smooth-surfaced metal brackets and solid wood texture decorates your home with a natural and rustic beauty!
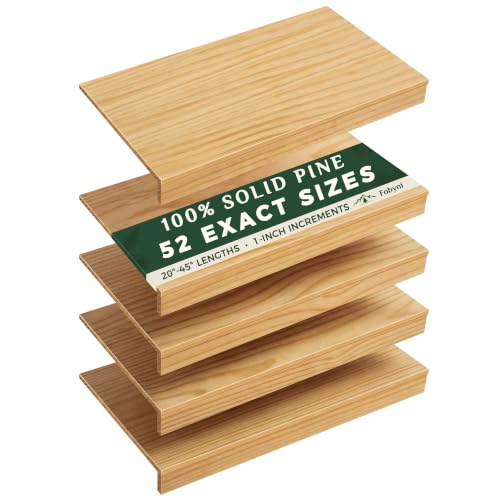
【Say Goodbye to Annoying Gaps & Falling Items】 Tired of small items slipping through wire shelves or folded clothes getting permanent wire marks? Our solid wood shelf covers instantly create a smooth, continuous surface. Simply place them on top of your existing wire racks—no tools, no removal, no hassle. Keep everything neatly in place and perfectly organized.

Deep Floating Shelves - Measuring 36 inches wide and 12 inches deep, our wall shelves are widened to add additional storage and display space, perfect for use as bookshelves or floating nightstands
Patching and Repairs
Fill holes and dents with spackle, smoothing each spot for a flat finish. For larger gouges, apply additional compound in layers, letting it dry fully before sanding level. This patching process creates an even plane across all wall surfaces.

Aluminum Pocket Screw Jig: This 15° corner drill guide holds the bit at a fixed angle. Clamp the pocket hole jig kit to the workpiece before you drill so it stays put (the clamp is not included)
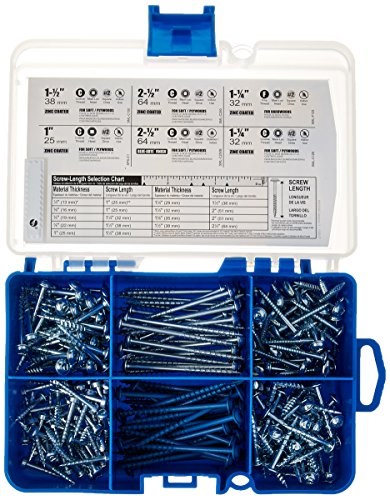
Home Improvement Screw Assortment: These premium Kreg screws are compatible with all Kreg pocket-hole jigs
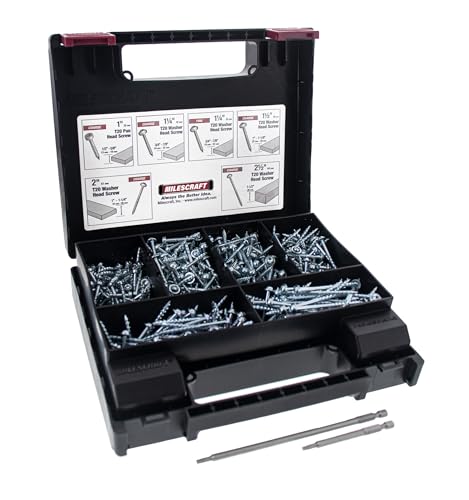
T20 Star, pan head and washer head screws resist cam-out better than your standard Phillips or slot head screws and allow for a higher torque to be exerted without damaging the screw head or your tool
Priming and Painting
If the patching material looks porous or dark, brush on primer to guarantee even coverage. Finally, repaint with a light neutral like SW Swiss Coffee, blending all repairs seamlessly into the surrounding surface.

Durable spackle allows you to patch and prime in one step, completing projects quickly

Drywall repair kit can be used for repairing interior or exterior surfaces like drywall, plaster, wood, brick and stone
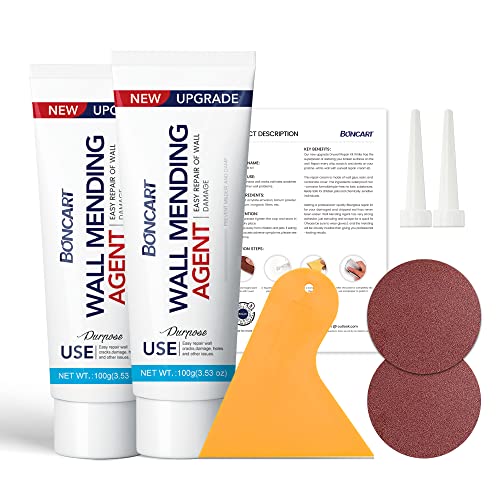
The drywall repair kit includes 2x Wall mending agent (100g), 2x Nozzle Extender, 1x Scrapers, and 2x Sandpaper.
Cut Cleats and Install Three-Wall Support Frames
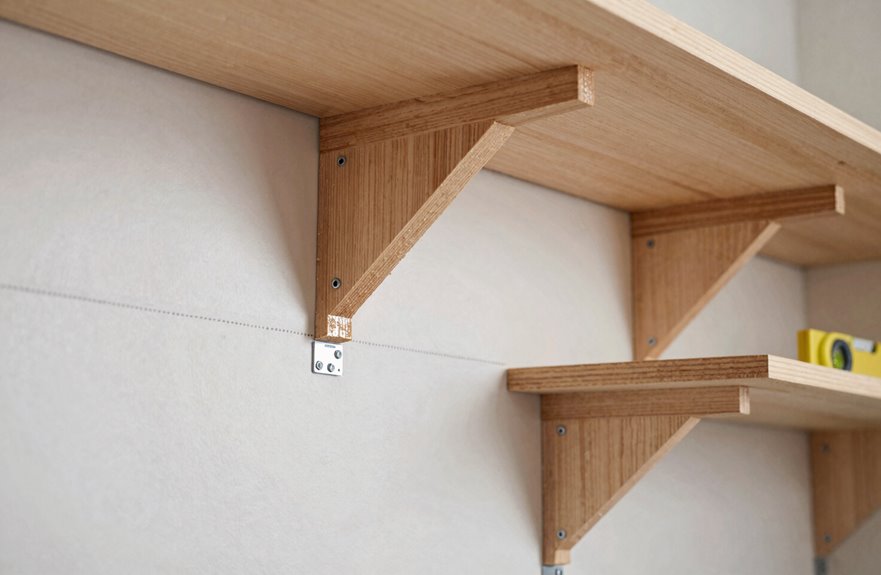
Once you’ve mapped out your closet layout, you’re ready to build the foundation that will carry your shelves. I start by cutting cleats for the left, back, and right walls, ensuring each piece matches my planned shelf heights.
To create a solid three-wall frame:
- Cut cleats to length for each wall, double-checking measurements since closet dimensions rarely match perfectly.
- Install the back cleat first, drilling pilot holes to prevent splitting and establish a level reference line.
- Attach side cleats, aligning them precisely with the back cleat for uniform shelving support.
- Verify everything’s level before securing. Uneven cleats will result in wobbly shelves.
This three-wall frame distributes weight evenly across your closet. When I cut shelving to fit, I trim each piece individually since walls often vary by fractions of an inch.
Choose Shelf Depth and Calculate Load Capacity
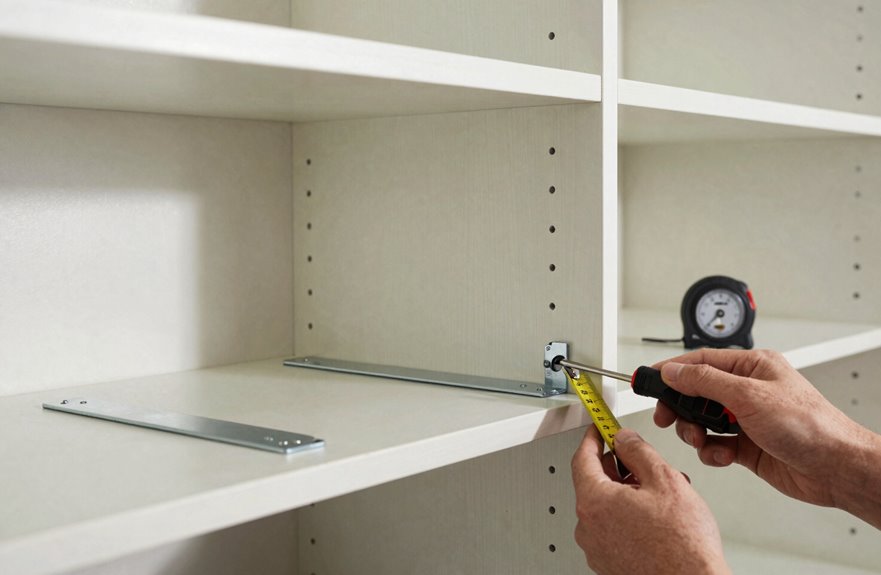
Select Shelf Depth
Measure your available space and typical items to determine appropriate shelf depth. A 12-inch shelf depth balances storage capacity with walkway clearance. This depth accommodates folded clothes and boxes without restricting movement.
Calculate Load Capacity
Load capacity depends on support framing and materials. Calculate capacity using these factors:
- Using MDF or plywood for rigidity
- Anchoring cleats to wall studs for full load transfer
- Adding 1×2 reinforcement beneath shelves
- Screwing shelves directly to cleats for stability
Plan five shelves floor-to-ceiling with 12-inch vertical spacing. This prevents overloading narrow spans while maximizing storage. Verify your materials and anchoring method match your intended weight before proceeding.

Wall Clip Set (with Hardware Accessories): A set of shelf clips includes 25 white clips, 25 screws and 25 expansion tubes (75 parts in total). It comes with a beautiful storage box, and the quantity is enough for you to use and replace.

**Premium Heavy-Duty Construction** – Made from high-quality epoxy-coated steel, these wire shelf brackets offer exceptional strength and durability, supporting heavy loads without bending or warping for long-lasting use.

48-pack of ClosetMaid wall clips for wire shelving installation
Attach Shelves From Top Down With Pocket Screws
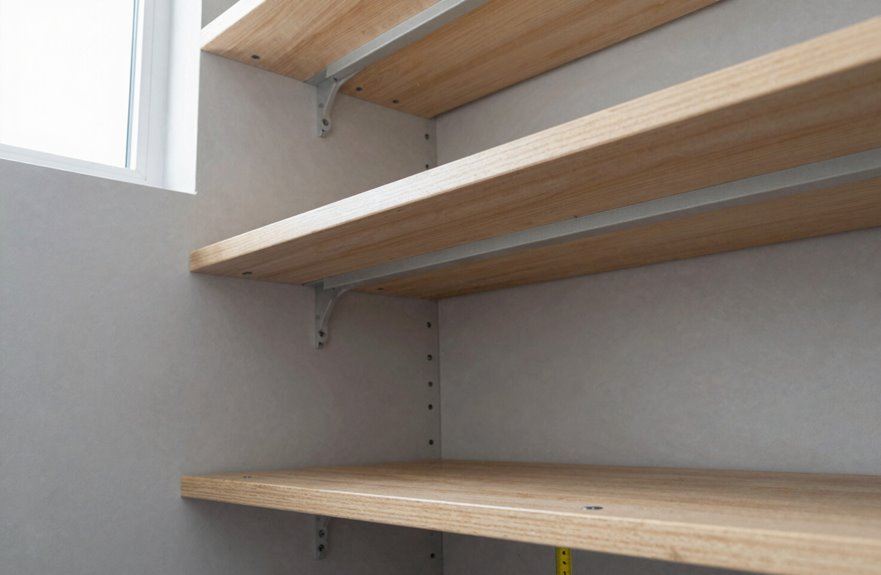
Why start from the top? Gravity works with you, not against you. Attach the upper cleats first, then build downward. This prevents lower shelves from blocking access to higher ones.
Anchor the back cleat by leveling it carefully, drilling pilot holes into studs, and securing it with pocket screws for maximum strength.
Align side cleats by matching their top edges precisely to the back cleat, forming a true frame.
Cut and assemble shelves by measuring twice, cutting once, and reinforcing corners with pocket screws during assembly.
Install from top down by sliding each shelf against its cleats, checking level, then attaching. Optional: screw shelves directly to cleats for extra rigidity, spacing roughly 12 inches apart.

Black Melamine Shelf Board: A fully laminated black melamine shelf over a particleboard core for retail store displays, closets, pantries and replacement cabinet shelves.
【Say Goodbye to Annoying Gaps & Falling Items】 Tired of small items slipping through wire shelves or folded clothes getting permanent wire marks? Our solid wood shelf covers instantly create a smooth, continuous surface. Simply place them on top of your existing wire racks—no tools, no removal, no hassle. Keep everything neatly in place and perfectly organized.

WOOD CLOSET SHELF: Add on shelf for SuiteSymphony custom closet system or use on its own
Trim, Caulk, and Paint for a Built-In Look
The shelves are solid, but the surrounding walls need preparation. I remove old wire shelving, patch holes with spackle, and paint the walls SW Swiss Coffee for a seamless foundation.
Prepare the Structure
I build wall supports level with studs, then frame downward to anchor finished elements securely.
Apply Trim
I attach trim along exposed shelf fronts and wall junctions using brads and adhesive. This creates clean edges that transform basic shelves into built-in cabinetry.
Seal with Caulk
I caulk every seam where trim meets walls, eliminating gaps for a seamless, integrated appearance.
Finish with Paint
I paint cabinet faces SW Shiitake while keeping shelf interiors SW Swiss Coffee. This contrast adds depth and creates a cohesive, professional result.

Product Name - 95Pcs #8 pocket hole screws assortment kit and 1pcs 150mm magnetic driver bit. 4 sizes included: 45pcs #8x1, 25pcs #8x1-1/4, 15pcs #8x 2, 10pcs #8x2-1/2. The magnetic bit helps hold screws in place during installation. Suitable for a variety of woodworking and assembly projects.

RIGID ALL-METAL MAIN BODY FOR GREATER STABILITY: Built for woodworkers who demand stronger, more accurate pocket-hole joinery. The rigid all-metal main body combines CNC-machined components with an integrated quick-release toggle clamp to create a stable drilling platform with less flex than lightweight plastic jigs. Designed to keep every workpiece securely aligned, this professional-grade pocket hole jig helps produce cleaner pocket holes and stronger joints for everything from quick DIY repairs to fine furniture building

【Various Screws Size Options】 Ndeltdus pocket hole screws with 700pc complete set includes 5 essential sizes for woodworking, suitable for a wide range of outdoor and indoor applications: #8 x 1 inch (120 pieces), #8 x 1-1/4 inches (240 pieces), #8 x 1-1/2 inches (80 pieces), #8 x 2 inches (80 pieces), and #8 x 2-1/2 inches (180 pieces). Bonus: Our pocket wood screws kit includes a 150MM square-head drive bit for smoother installation