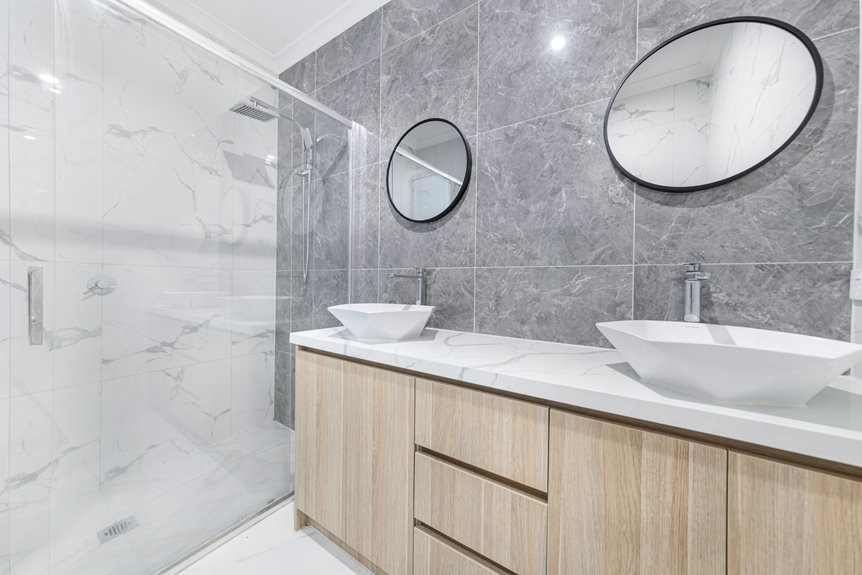
To achieve streak-free bathroom mirrors, I gather two clean microfiber cloths: one damp for cleaning, one completely dry for finishing. I start by dry-dusting the surface from top to bottom, then spray lightly across the top third and wipe in small, overlapping circles. I flip the damp cloth every few strokes to avoid redepositing grime. The critical step comes last: I polish with the dry towel, which absorbs residue rather than spreading it. This dry finish eliminates streaks entirely. Following these seven steps with proper microfiber care ensures consistently flawless results.
Gather Your Two-Towel Setup: What You’ll Need
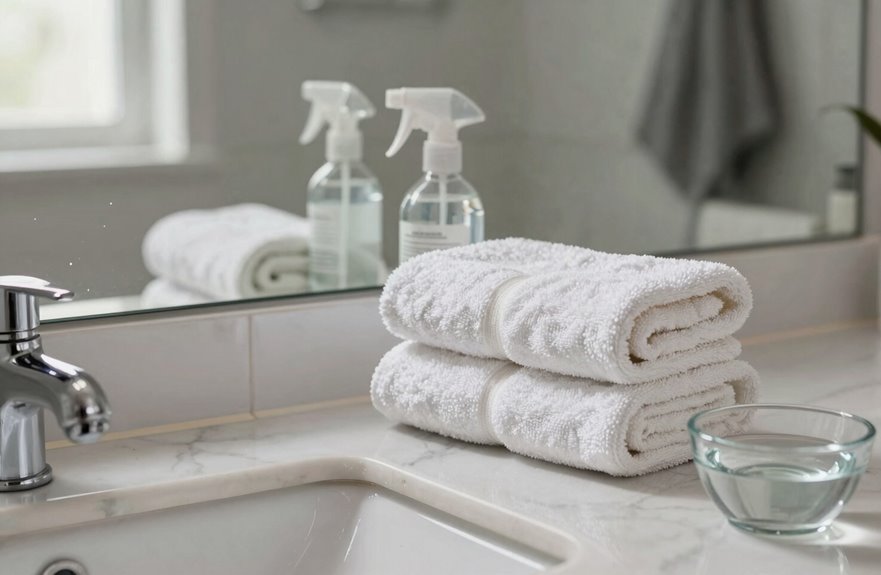
I’ll start with two towels. You’ll need one towel dampened with water and a second towel for drying. The first towel should be visibly damp but not soaked. The second towel must stay completely dry; any moisture on this cloth leaves streaks behind. Complete dryness delivers clearer results than a slightly damp drying towel. This approach comes from the verified Clean That Up account, where thousands have shared their success with the method under #Cleaning and #BathroomCleaning.
- Grab two clean, lint-free cloths.
- Designate one cloth as your wet wipe and one as your dry buff.
- This simple two-towel pairing forms the foundation of streak-free mirror cleaning.

SCRATCH-FREE CLEAN: Ultra-soft microfiber fabric gives a scratch-free clean and traps dirt and debris. Use these lint-free cleaning cloths dry for dusting furniture and wiping down surfaces, or for quick wipe-downs on glass and mirrors.

ULTRA SOFT MATERIAL & SCRATCH FREE - Ultra soft and highly absorbent microfiber cleaning cloths, great for cleaning windows, kitchenware, car or other delicate surfaces.

2-Step Streak-Free Glass Cleaner System - Achieve a perfect finish with the Claro 2-cloth process: Use the damp green cloth to remove grime, then follow up with the dry blue microfiber cleaning cloth.
Why Mirrors Streak (and Why Your Old Method Failed)
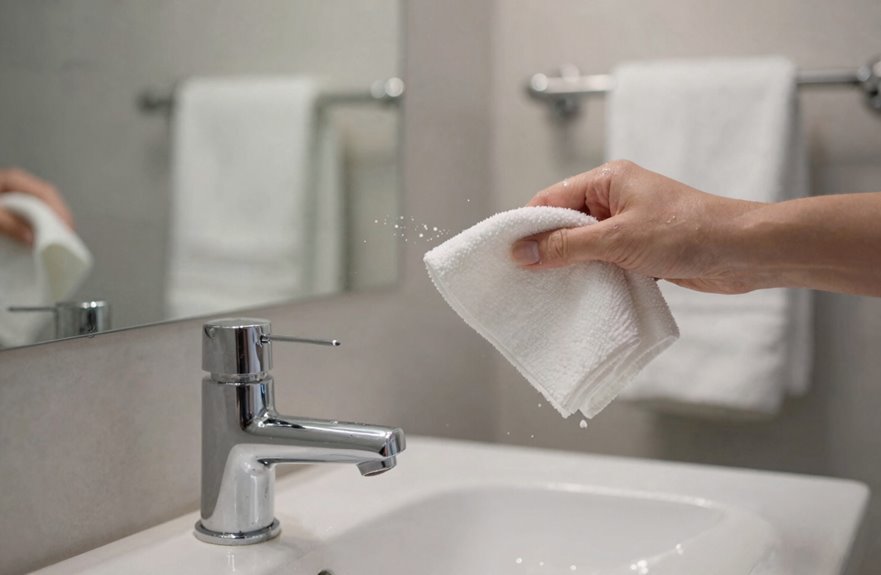
Why do mirrors seem to streak no matter how carefully you wipe them? It comes down to residue and technique. Common cleaners evaporate unevenly, leaving mineral spots and ghosting behind as water dries. Your old method likely failed because you used paper towels or worn fabric that left lint and fibers, or you didn’t address the underlying film already coating the glass.
Another pitfall involves overly damp towels or cleaners containing oils and waxes. These leave a film that reappears as the surface dries.
The solution isn’t complicated, but it requires precision. Microfiber towels paired with proper technique—consistent passes and a dry finishing wipe—absorb moisture without redepositing residue. The steps ahead detail exactly how to execute this approach.
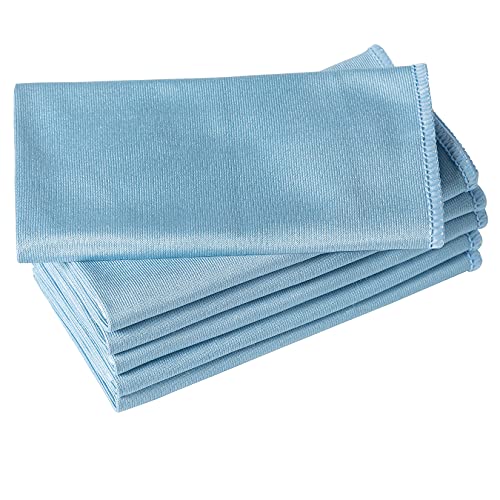
ABSORBENT & FAST DRYING - Microfiber material provides super absorbent water ability of the cloths makes quick drying large surface. They deliver extreme absorbency, so at the same time ensure quick drying.

Excellent Absorbency & Quick-Drying: Our microfiber glass cleaning cloths absorb large amounts of liquid quickly, leaving surfaces dry and streak-free. After use and washing, they dry rapidly to keep clean and improve overall cleaning efficiency. Each glass towels also includes a hanging loop for easy storage and faster air drying.

Dry-Dust First: Remove Loose Grime Before Wet Cleaning
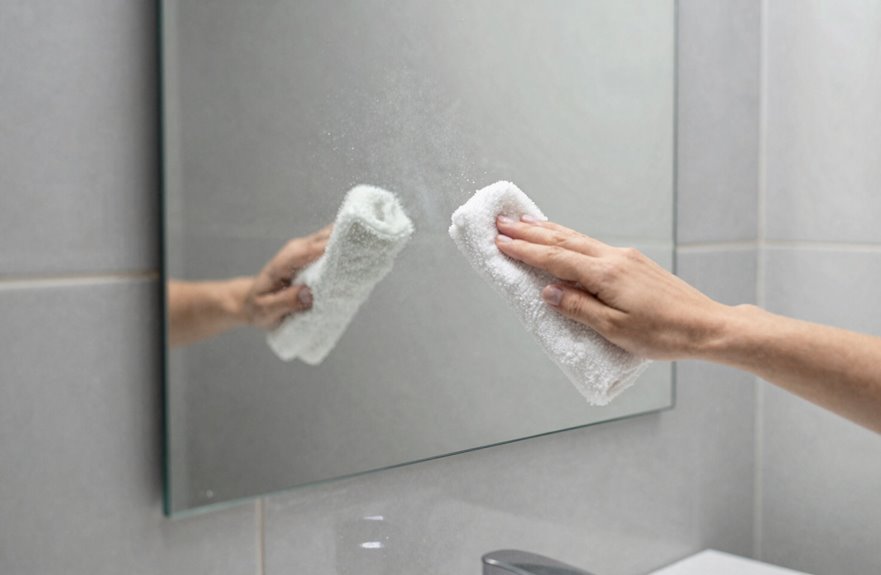
Where should you begin when tackling a streak-covered mirror? Start with a completely dry surface.
Why Dry-Dusting Matters
Grab a dry microfiber cloth and whisk away loose dust, hair, and particles before introducing any moisture. This step prevents grime from dissolving into streak-causing residue when cleaner is applied later.
Dry-Dust Method
- Work from top to bottom in quick, light strokes
- Pay special attention to edges and corners where dust accumulates most
- Inspect the surface afterward, noting any stubborn spots for targeted damp cleaning
This preparation minimizes dripping and ensures the wet cleaning phase delivers a streak-free finish. Skipping this step means essentially painting dirt across the glass.

STREAK-FREE SHINE: Removes fingerprints, smudges, dust and grime from windows, mirrors, glass tables and shower doors, drying clear with no streaks, haze or ammonia smell.

What You'll Get: One 23 oz spray bottles of Windex Original Blue Glass and Window Cleaner

What You'll Get: One 23 oz spray bottle of Windex Ammonia Free Crystal Rain Glass and Window Cleaner
Spray Lightly From Top to Bottom
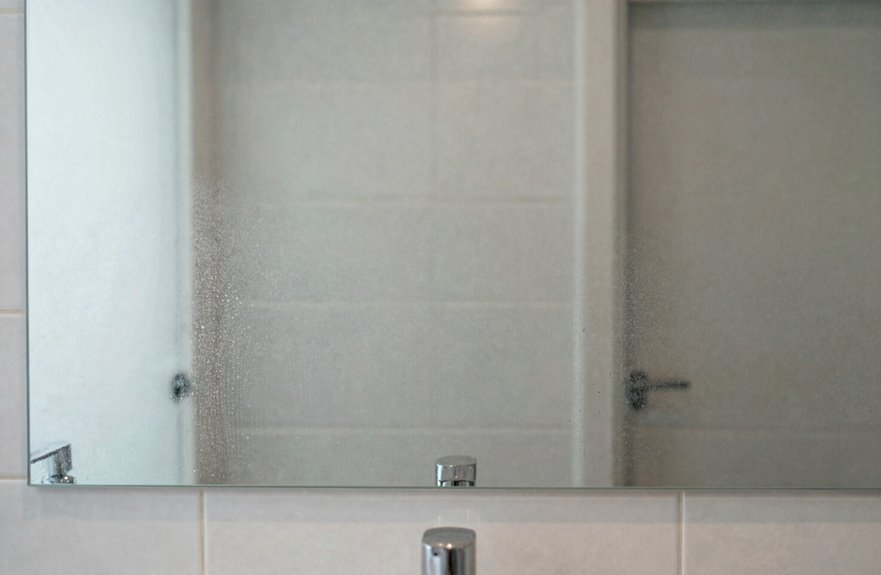
With the surface now free of loose debris, I’m ready to apply the cleaning solution.

Ultra Absorbent & Quick Drying: MAGIC WIPE large microfibre cloth soaks up water instantly and dries faster than standard towels, making it perfect for shower cubicles, cars, household cleaning, and camping. Made of 80% Polyester, and 20% Polyamide making them perfect for quickly soaking up water from the countertop and tables without leaving lint or streaks behind.

Super Absorben Microfiber Cuts Your Cleaning Time: These two sided shiny cleaning cloths drying towel are made of Super Absorben microfiber material and cutting your cleaning time nearly in half. The shiny cleaning towel features highly refined hooked microfiber threads per inch, with two different lengths on each side. There are long fibers on one side that can easily pick up dirt and debris. The other side ideal for polishing and provides a streak-free surface and can be wiped clean of glass

✨【Ultimate Streak-Free Drying】– Our microfiber car drying towel features advanced twisted-loop technology to absorb water instantly, leaving zero streaks or water spots on your vehicle. Perfect for car detailing, it dries your entire car with just one pass—no wringing needed!
Proper Spraying Technique
I hold the bottle 6-8 inches from the mirror and mist lightly across the top third. Gravity pulls excess downward, so I don’t oversaturate. I work my way down in horizontal passes, covering the middle section next, then the bottom edge last.

10x GRIP-ROOT WEAVE - TRAP MORE, WORK LESS: Ultra-absorbent microfiber towels for car Grip Root weave works like PLANT ROOT FOLLICLES, sucking up & LOCKING AWAY 8x to 10x its weight in liquid, particulates, moisture, grime and dirt in far LESS TIME than traditional ‘Heavy Duty’ Cleaning Rags. Each towel features a 2.5mm thick design, providing enhanced durability and better grip during use.

Premium Material: Professional microfiber drying towels are crafted from an advanced blend of 87% polyester and 13% polyamide. They are ultra soft and comfortable, ensuring a gentle touch on your vehicle's surface. With an extra-large size of 31 " x 24 ", they perfectly fit SUVs, RVs, trucks, and boats, significantly reducing drying time and making car drying jobs a breeze

Unparalleled Cleaning Performance: Our microfiber towels provide outstanding water absorption and adhesion; effortlessly absorb dirt and liquid, delivering exceptional cleaning results that will leave your car looking brand new
Why This Order Matters
- Prevents pooling: Light application avoids drips that streak during wiping
- Works with gravity: Solution flows down into untreated areas, ensuring even coverage
- Protects the frame: Minimal liquid reaches the bottom edge, reducing damage risk
Too much product creates streaks I’ll fight later. This controlled, top-to-bottom approach, matching the Clean That Up method, provides the foundation for spotless results.

Ultimate Cleaning Trio: The Pink Stuff Microfiber Collection includes three specialized cloths – one for glass, one for all-purpose cleaning, and one for polishing – providing a complete solution for all your cleaning needs.
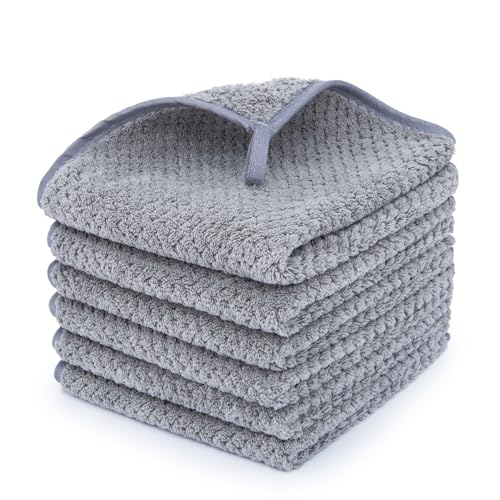
Super Soft: Microfiber hand towels offering a remarkably soft and gentle touch. They are specifically designed to reduce any potential skin abrasion, making them ideal for individuals with sensitive skin. Experience the utmost comfort with these luxuriously soft hand towels. Please note that these towels are more breathable and comfortable compared to others

[Super Absorbent & Lint Free Rags] A kind of super absorbent cleaning rags and dish towels for kitchen drying. Fuzzy microfiber cleaning towels provide great absorbency on liquids and stains, but also a kind of lint free rags for long-term durable use. The microfiber cleaning cloths may soak up three times its own weight as dish towels for kitchen drying.
Wipe in Circles, Flipping the Cloth Every Few Strokes
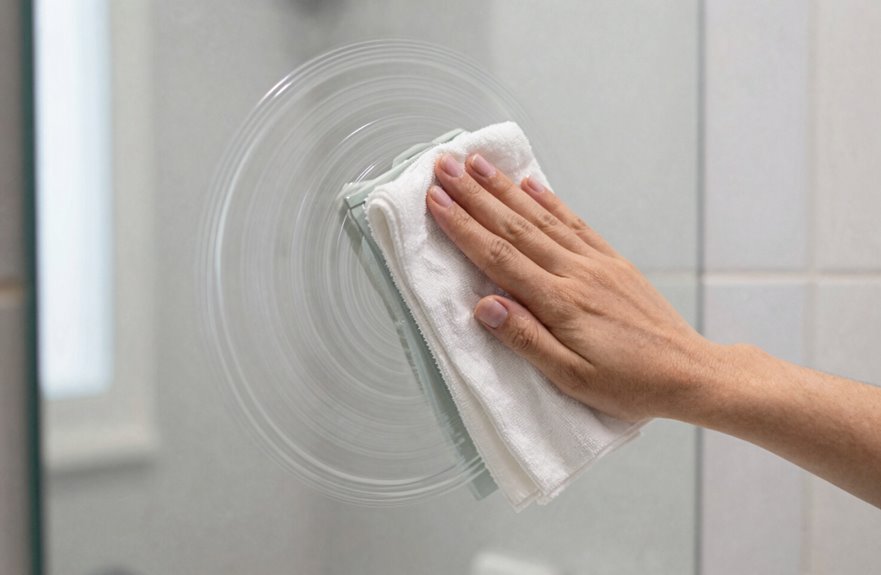
How should I handle the cloth once I’ve sprayed the mirror?
Flip your microfiber cloth every three or four strokes to expose a dry, clean surface.
I work in small, overlapping circles across the glass. This motion lifts grime upward instead of dragging it sideways, which prevents the streaks we’re all trying to avoid. Every three or four strokes, I flip my microfiber cloth to expose a dry, clean surface. A saturated side simply re-deposits dirt and moisture, undoing progress.
Key habits to adopt:
- Rotate the cloth frequently to maintain consistent cleaning power
- Feel the fabric; when it dampens noticeably, switch sides
- Keep your pressure light and even throughout
This methodical approach, circular wiping paired with regular cloth rotation, ensures you’re not fighting against yourself. The mirror stays cleaner longer, and you avoid discovering missed spots after you’ve put everything away.

PACKAGE AND SIZE: Come with 24 pieces glass cleaning cloth with perfect size 16" x 16’’, bulk quantity and large size ensures comfort hold but also covers enough cleaning area; just add water and wipe, then you can get your cleaning job done

NO STREAKS, NO SCRATCHES, NO LINT: This multi-purpose microfiber cleaning cloth for glasses is made of high-quality microfiber. With an ultrafine fabric of 3,000,000 fibers per square inch, these lint-free microfiber cleaning cloths are designed to pick up dirt, dust, fingerprints, oil smudges, and other debris without leaving behind any lint or scratches. Provide a streak-free and crystal-clear finish.
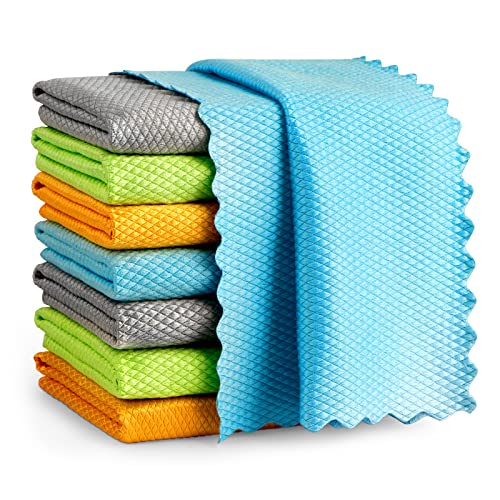
Lint-Free & Non-Abrasive: AIDEA microfiber cloths are non-abrasive; protect delicate surfaces from scratches; strong anti-lint fiber construction captures dust and dirt; ideal for achieving streak-free and lint-free cleaning results
The Second Towel: Dry Finish, Zero Streaks
The second towel finishes the job, and I keep mine completely dry from the first wipe to the last. I use a two-towel system: the first cloth dampens and lifts grime, while the second polishes the mirror glass to perfection.
Why Dry Works
A dry towel prevents streaks because it absorbs residue rather than spreading it. If the second cloth becomes damp, it will leave marks instead of removing them.
Common Questions
- Should the second towel ever be wet? No, it won’t work.
- Should the first towel start dry or damp? Dampen the first cloth slightly; it handles the initial cleaning.
I flip my dry towel every few strokes to maintain a fresh, clean surface. This method delivers the clear, streak-free mirror you need.

Discover the streak-free sparkle of Windex Fast Shine Foam, the no-drip foam glass cleaner

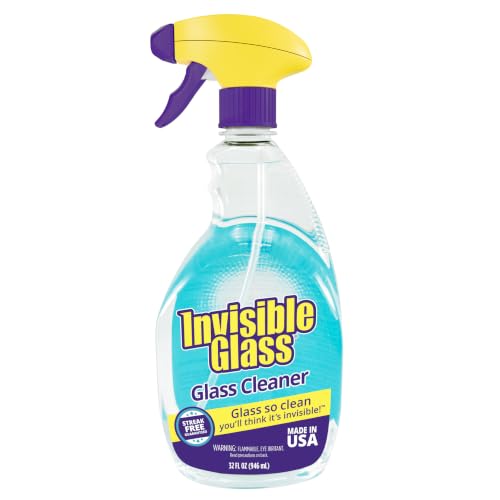
INVISIBLE GLASS CLEANER: Invisible Glass Cleaner is the #1 top seller in automotive for window and glass cleaning at home and in the car. Get a brilliant, streak-free shine that's instantly noticeable.
Microfiber Care: Wash, Reuse, Repeat
Microfiber towels last for hundreds of washes if you treat them right. I wash mine after every three to four cleaning sessions to keep them absorbent and effective for your two-towel system.
Washing Guidelines
- Use mild detergent without fabric softener or bleach
- Wash in warm water on gentle cycle
- Air dry or tumble on low heat
Why This Matters
Residue from softeners coats fibers, reducing absorbency. This directly impacts how damp your first towel stays and how well your dry second towel buffs. I’ve maintained the same set for over a year following these steps.
Replacement Timing
Replace towels when they feel stiff, leave lint, or stop absorbing. Proper care extends their usability window significantly beyond the initial 13-week estimate. Following these steps protects your investment and reduces waste.

THE ORIGINAL Shiny Wipes Shiny Bath XL Drying Towel - Loved by over 62,000+ customers and featured in viral ads. This premium microfiber towel is a must-have for every household looking for spotless shine.
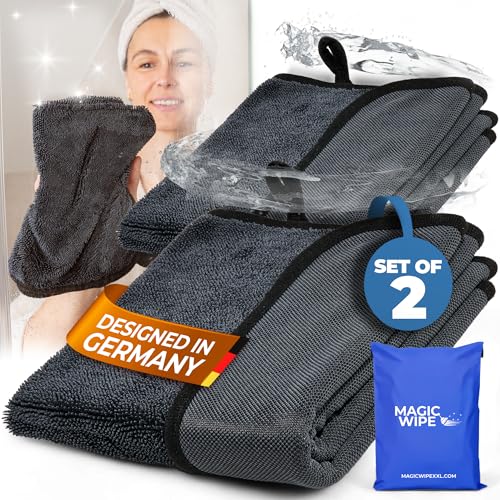
Ultra Absorbent & Quick Drying: MAGIC WIPE large microfibre cloth soaks up water instantly and dries faster than standard towels, making it perfect for shower cubicles, cars, household cleaning, and camping. Made of 80% Polyester, and 20% Polyamide making them perfect for quickly soaking up water from the countertop and tables without leaving lint or streaks behind.

PREMIUM QUALITY MICROFIBER: 80% Polyester & 20% Polyamide. Great for trapping and retaining the dirt and also absorbing liquids. Unlike cotton, microfiber leaves no lint