I start by gathering my tools and clearing the room completely. Next, I patch every hole and apply a dark-tinted primer, waiting two full days for everything to cure properly. I mark a vertical plumb line with a level to ensure my first strip stays straight. I roll paste evenly across the wall, including corners, then hang the first panel while the adhesive stays wet. I match patterns at eye level, smoothing each strip from center outward to eliminate bubbles. Finally, I trim edges with a fresh blade and hide seams on dark paper with a Sharpie marker. The following sections break down each step with greater precision.
Gather Tools and Clear the Room for Wallpapering
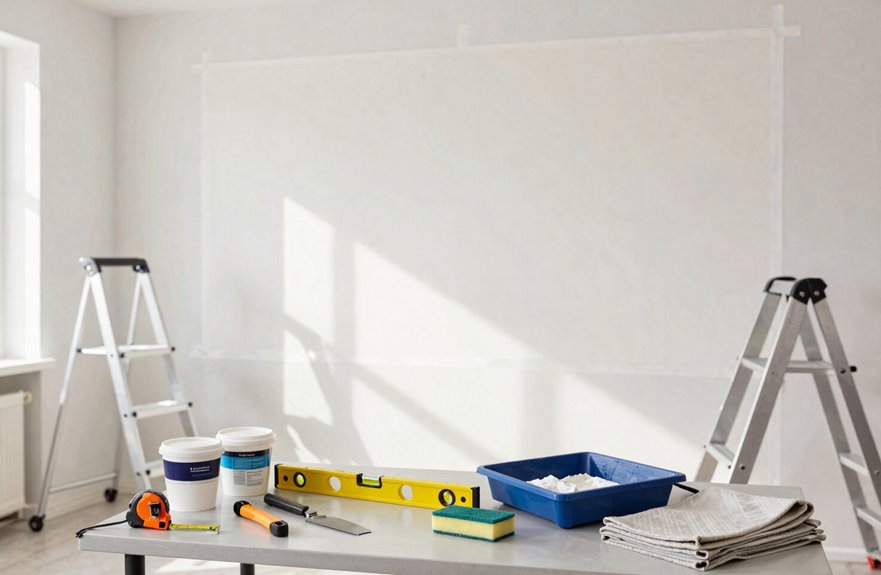
Why do professional-looking wallpaper jobs start long before the first strip touches the wall? Because preparation determines everything. Gathering tools and clearing space isn’t optional; it’s foundational.
Professional results demand patient preparation—tools ready, space cleared, foundation set before the first strip ever rises.
Essential Tools to Collect
- Wallpaper and adhesive with tray and roller
- Brush for edges, measuring tools, smoothing tool
- Seam roller, sharp knife with extra blades, sponge or bucket
Stock extra blades. Dull edges tear paper; fresh ones create clean cuts.
Prepare Your Workspace
Remove furniture, fixtures, and hardware. Full strips demand unobstructed movement, as corners catch and edges snag.
Verify Materials
Check batch numbers. Mismatched dye lots create visible seams you’ll regret.
Prime for Success
Apply wallpaper primer tinted dark to improve adhesion and hide seams. One day of drying prevents failure.
Your smoothing tool awaits proper preparation.
Patch, Prime, and Wait for Walls to Dry
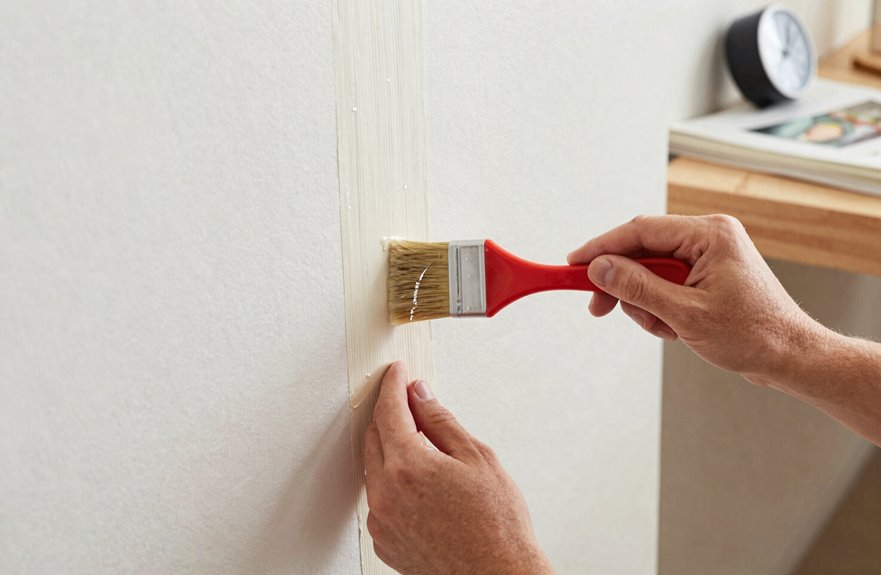
I patch every hole and imperfection at least two days ahead, because even tiny flaws telegraph through wallpaper and ruin the finish. After cleaning away all dust, I roll on a dedicated wallpaper primer like Shieldz and give it a full day to cure completely. Rushing this step costs more time than it saves, since uncured primer repels adhesive and guarantees peeling seams.
Patch Holes First
Before you open that wallpaper glue, you’ll want to inspect your walls for damage. I always start my wallpaper projects by patching every imperfection I can find. Even tiny holes create visible bumps that ruin your finished look.
Here’s my systematic approach to wall preparation:
- Locate all holes, dents, and cracks using side lighting
- Fill imperfections with spackle, overfilling slightly to allow for sanding
- Sand smooth once dry, feeling for any remaining irregularities
- Wait completely before applying primer
Rushing this stage compromises everything that follows. Your patched areas must dry thoroughly, or moisture trapped beneath the primer will interfere with adhesive bonding later. Plan your timeline with adequate drying windows between each step. Professional results require this patience.
Prime Walls Thoroughly
How critical is proper priming? It’s the difference between wallpaper that stays put and wallpaper that fails.
Why Prime Matters
Primer creates a sealed, uniform surface. Without it, porous drywall soaks up adhesive unevenly. I use Shieldz Wallpaper Primer, tinted dark to hide seams and improve the final finish. This preparatory layer enhances glue catch and prevents snagging during installation.
My Priming Process
I remove hardware and patch holes two days before priming. This spacing ensures repairs cure completely. After cleaning walls thoroughly, I apply wallpaper primer with a roller, working in sections. The primer acts as a foundation, giving paste-the-wall applications the grip they need.
Once primed, I mark my starting point with a level line. Then I wait about a day before hanging the first strip.
Allow Proper Drying
Because rushed preparation ruins more wallpaper jobs than poor technique, respecting every drying interval in the process is essential. Patience separates professionals from amateurs, and you’re capable of mastering this discipline.
- Let wall filler cure completely before priming or sanding
- Apply Shieldz Wallpaper Primer, then wait approximately one day
- Wipe dust with a damp sponge, then allow walls to dry fully
- Verify surfaces are moisture-free before applying Wallpaper Adhesive
Drying time isn’t negotiable. When patch material or primer remains damp, Wallpaper Adhesive skins, bubbles, or peels within weeks. Shortcuts destroy beautiful installations. Follow compound instructions precisely, test surfaces with your hand, and proceed only when everything feels bone-dry. Skipping this step will compromise the longevity of your wallpaper installation.
Mark a Straight Vertical Line to Keep Panels Aligned
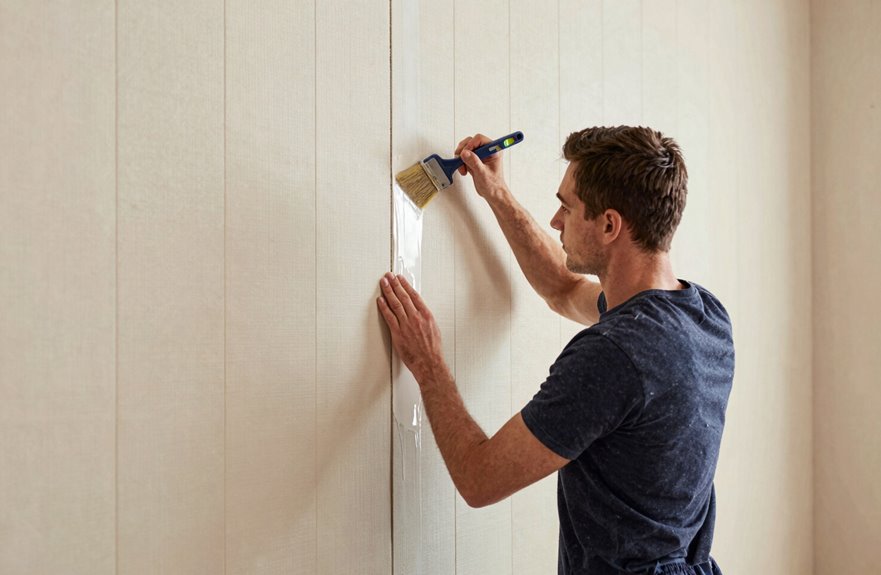
I always start by finding my starting point in the least visible corner, then I draw a vertical plumb line using a level to create a true straight reference. This line ensures my first panel hangs perfectly upright, which prevents every subsequent strip from drifting crooked as I work around the room. I position the line slightly away from the corner to account for wall irregularities, and I double-check it before hanging anything since misalignment compounds with each panel.
Finding Your Starting Point
Where exactly should you place that first strip? The following steps will help you find your starting point accurately.
- Draw your plumb line from ceiling to floor to establish a precise vertical reference for aligning that first panel.
- Measure wall width and mark a left-edge line with slight offset to accommodate uneven walls, ensuring accurate positioning.
- Center the first panel on the plumb line so patterns align with the room’s vertical axis, creating balanced seams throughout.
- Verify edge alignment by smoothing from the center outward after positioning, removing bubbles and confirming the strip matches your marked line.
Use a level during hanging to keep that first strip perfectly vertical. This prevents cumulative misalignment as additional strips follow. Correct positioning of this starting point ensures every panel after falls into place with proper alignment.
Drawing the Plumb Line
A perfectly straight plumb line serves as the backbone of your entire wallpaper installation. This method keeps every panel aligned with gravity, not just your wall’s quirks.
Marking Your Vertical Guide
Start by measuring where your first strip will hang, then offset slightly left to hide seams in corners. Using a level, draw a vertical line from ceiling to baseboard. This plumb line ensures your first strip hangs true, regardless of wall imperfections.
Maintaining Alignment
Check each subsequent panel against your level before pressing it into place. Cumulative drift ruins professional results, so verify the plumb line remains accurate after hanging every strip. Small adjustments now prevent glaring misalignment later.
Roll On Wallpaper Paste: Corners Too
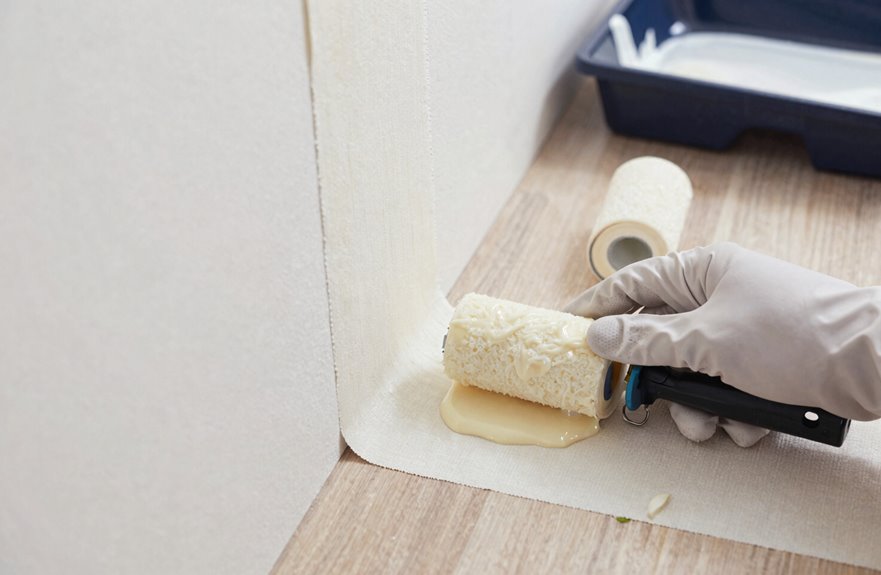
Why do corners so often cause wallpaper to bubble or peel? Inadequate paste coverage in these tricky spots is usually the culprit. When rolling on wallpaper paste, corners require special attention.
Here’s my methodical approach:
- Saturate your roller completely, then cover the wall surface extending slightly beyond your strip width so edges and corners get ample paste for smooth sliding.
- Brush paste into ceiling and wall corners where rollers miss, creating an unbroken adhesive layer before hanging.
- Work systematically across the wall, maintaining wet edges so strips adhere uniformly without dry spots.
- Check corner coverage visually, adding paste if you see thin or missed areas before positioning paper.
Proper corner preparation prevents the lifting and bubbling that compromises results.
Hang the First Panel While the Paste Is Wet
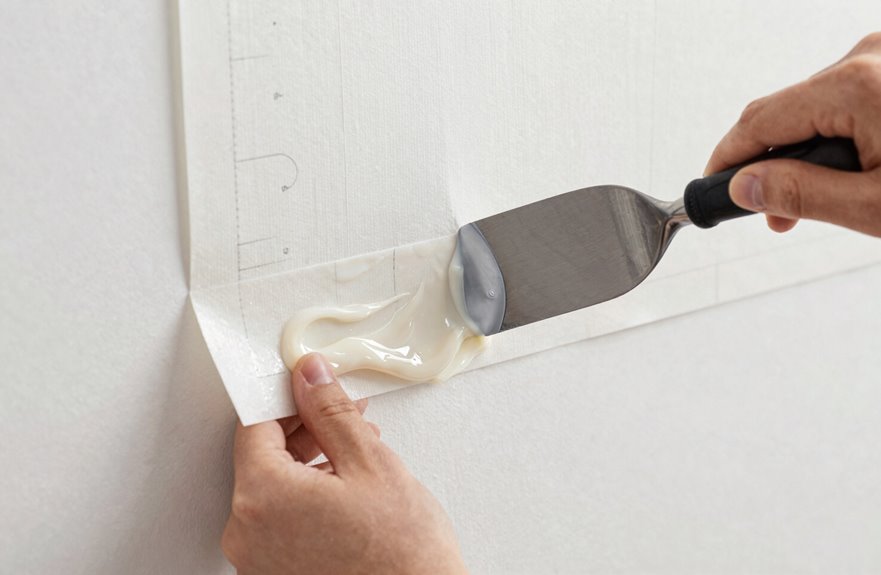
Because timing matters significantly in wallpaper installation, I hang the first panel while the paste remains wet and workable. I align this first strip with a vertical plumb line I’ve drawn on the wall, ensuring it’s perfectly straight. This alignment sets the standard for every panel that follows.
Position and Smooth
I use a smoothing brush, pushing air bubbles outward from the center toward the edges. If the panel drifts off my plumb line, I lift it while the paste stays wet and reset its position.
Secure Before Trimming
Once aligned, I press the panel firmly into place. I trim excess length from top, bottom, and sides later with a straight edge and sharp knife, after the panel is fully secured.
Match Patterns and Smooth Every Strip
How do I ensure each panel lines up perfectly with the next? I start by aligning the first wallpaper strip with a vertical plumb line, smoothing air bubbles from the center outward for a straight foundation.
Align your first strip with a plumb line, then smooth bubbles from the center outward to establish a straight, bubble-free foundation for every panel that follows.
Pattern matching matters most on murals or slanted walls where misalignment shows. My method includes these steps:
- Check the pattern at eye level before applying each strip
- Lift and reset any misaligned panel immediately, then re-smooth into place
- Roll the seam with a seam roller to secure edges after joining panels
- Add glue underneath lifted edges if gaps appear, pressing flat for a flush finish
For tight corners, I lift carefully and trim with a fresh blade against a straight edge. This prevents visible seams, eliminates air pockets, and creates professional panel joints.
Trim Clean Edges and Hide Seams on Dark Paper
Once the wallpaper is smoothed into place, I trim the excess material to create crisp, professional edges. I grab my sharp utility knife with a fresh blade and press a metal straight edge firmly along the top and bottom. One clean slice removes the overhang. I swap blades often since dull edges tear.
| Tool | Purpose | Result |
|---|---|---|
| Utility knife | Trim excess at edges | Clean wallpaper edges |
| Metal straight edge | Guide cutting | Straight, even lines |
| Sharpie marker | Color wallpaper sides | Hidden seams on dark paper |
| Damp sponge | Wipe adhesive residue | Invisible, polished finish |
Around outlets, I cut slowly for a seamless fit. On dark paper, I run a Sharpie along each strip’s edge before hanging to mask any gap where seams meet. I smooth from center outward, forcing air bubbles out. Finally, I wipe every edge with a damp sponge to remove residue and eliminate visible seams.