I hang eye-level art above toilets and vanities, stack vertical tiles to draw the eye upward in tight spaces, and flank mirrors with accent pieces for symmetry.
I place lightweight pieces around tub ledges to dodge steam, run slim linear galleries above towel bars, and add sconces or shelves to layer light with storage.
Humidity-resistant materials like sealed metal or acrylic prevent water damage.
The following sections break down exactly where each piece works best.
Where to Hang Bathroom Wall Art: The Four Safe Zones
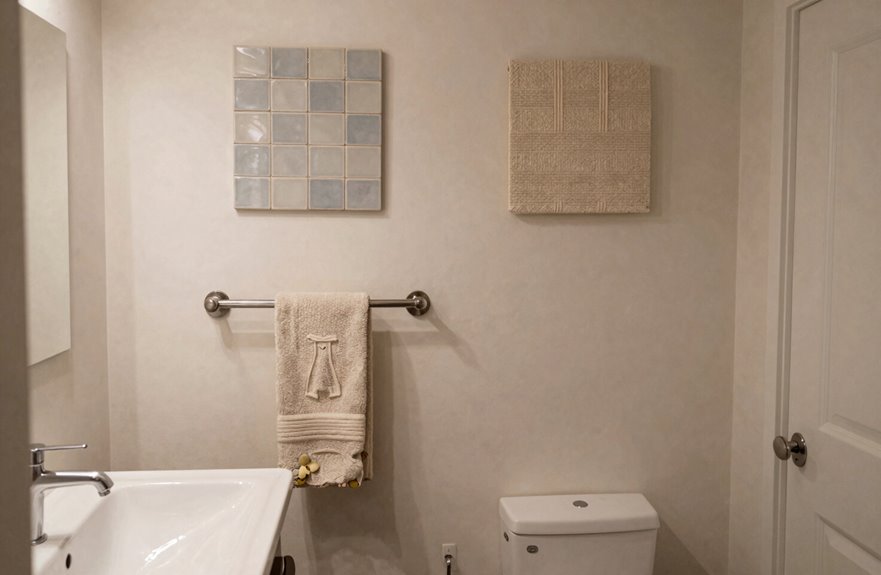
Where should you hang wall art in a bathroom without risking water damage or awkward placement? Several safe zones protect your pieces while creating cohesion.
Over the Towel Bar
Hang art here at eye level, about 57 to 60 inches to center. This keeps pieces away from direct spray while filling vertical space.
Near the Vanity Mirror
Flank the mirror with two slim tiles, or arrange a salon-style cluster on the opposite wall if space is tight. Maintain spacing so the composition reads as one unit.
Around or Above the Tub
Use vertical stacks or slim rows to avoid crowding. Position lightweight, moisture-friendly artwork away from heat sources.
Center all pieces at eye level and keep your materials protected from moisture.
Above the Toilet: Single Statements and Vertical Stacks
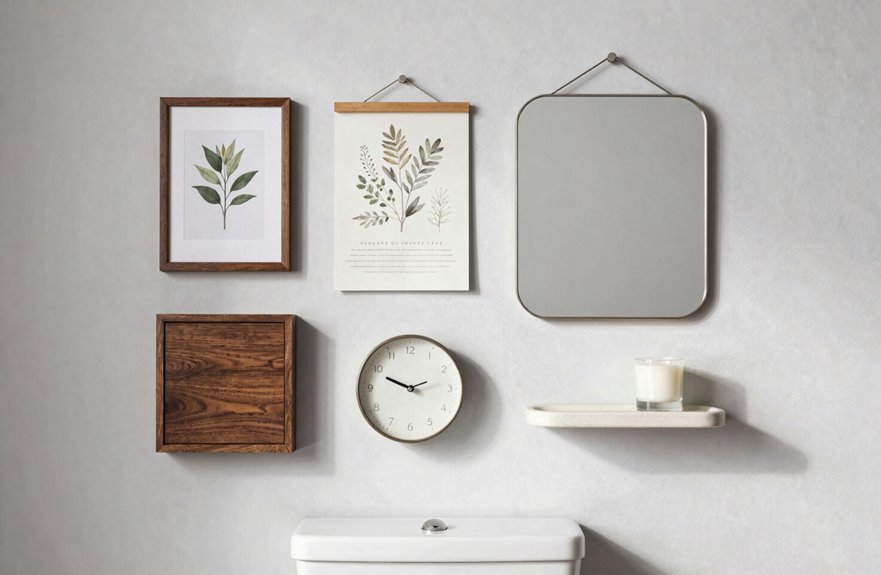
Once you’ve placed art in those safe zones, examine the wall above the toilet. This narrow vertical space requires intentional placement to prevent visual clutter.
Center one statement piece at eye level, approximately 57–60 inches to the artwork’s center. This height provides immediate visual impact when entering. For bathrooms with higher ceilings, stack two tiles vertically to draw the eye upward, creating height without sacrificing openness.
Small bathrooms require breathing room. Follow this method:
- Measure 57–60 inches from floor to center for single statements
- Maintain 2–3 inches between stacked pieces for cohesion
- Leave 6–8 inches clearance above the toilet tank
Avoid horizontal rows that crowd the space. Consistent spacing transforms disconnected pieces into one unified gallery, resulting in a curated, collected aesthetic.
At the Vanity: Mirrors, Flanking Art, and Symmetry Rules
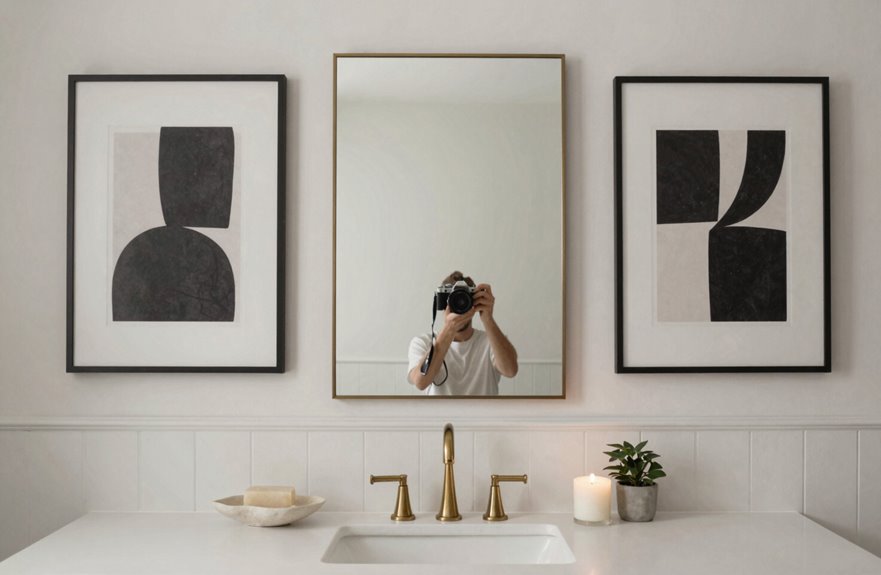
After addressing the toilet wall, I turn my attention to the vanity, where grooming happens and visual balance matters most.
- I’ll center one statement tile at eye level above the mirror, or I’ll align a linear row along one side.
- I’ll flank the mirror with two matching pieces for symmetry, or I’ll place a salon-style cluster on the opposite wall if space is tight.
- I mount narrow brushed brass shelves and choose moisture-friendly frames that reflect light and create depth without crowding the counter.
- I keep consistent spacing between pieces so the area reads as one cohesive composition and protects clearances. I select light, pale artwork in acrylic or glass-front frames to withstand bathroom humidity and maintain a clean, spa-like aesthetic.
Over the Tub and Towel Bar: Layouts That Avoid Steam and Crowding
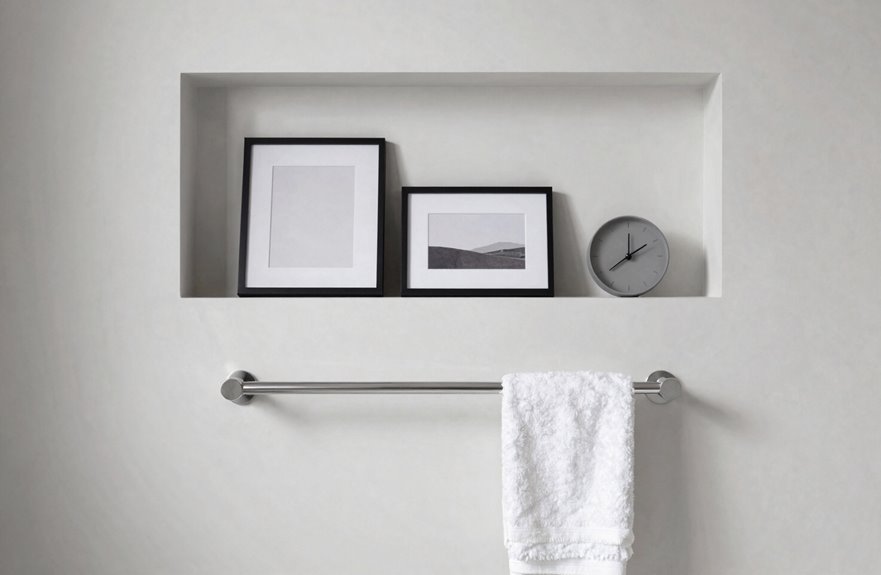
How do I handle the trickiest wall in the bathroom? I treat the tub and towel bar zone as a single composition, keeping frames clear of steam and splash.
I center one tile at eye level above the tub, or stack two vertically to add height without crowding. I keep everything out of direct spray.
Near the towel bar, I match its width with a linear gallery of three or four tiles for rhythm.
I use vertical stacks or slim rows of lightweight frames around the tub ledge to prevent crowding in tight spaces.
- Center or stack tiles above the tub, avoiding steam zones
- Echo towel bar width with linear tile galleries
- Choose light, reflective frames to bounce brightness and maintain space
I flank mirrors on adjacent walls instead, keeping spacing consistent so the room feels cohesive.
Small Bathroom Wall Layouts: Slim Rows and Light-Reflecting Tricks
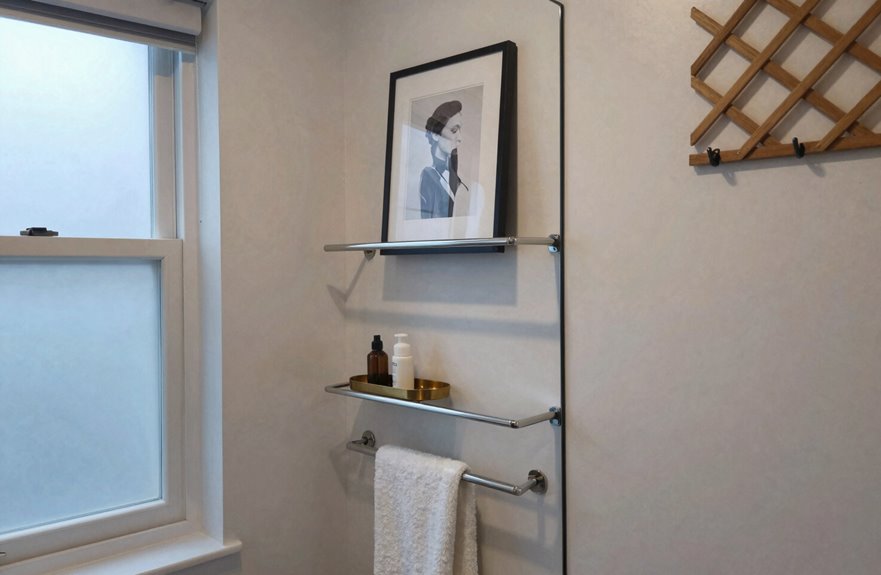
Where do I hang pieces when every wall is narrow and the light is scarce? Use slim, vertical rows and light-reflecting tricks to maximize every single available inch.
- Stack lightweight photo tiles or mirrors in tight, narrow sequences to create a gallery with minimal bulk.
- Place a focal tile at eye level above the toilet or beside the vanity to anchor the slim layout.
- Keep spacing of about two to three inches so the gallery reads as one cohesive unit.
- Hang a mini triptych above a towel bar or a vertical stack near the vanity to balance proportion.
This approach keeps your small space feeling open and visually connected.
Sconces, Shelves, and Layered Light as Functional Decor
Why let your walls sit idle when they can work harder? Sconces, shelves, and layered light transform bathroom walls into functional design elements.
Why let your walls sit idle when sconces, shelves, and layered light can turn them into functional design elements?
- Position sconces at eye level beside mirrors. This frames your face evenly, eliminates shadows, and illuminates artwork without glare.
- Install narrow floating shelves. Display one photo tile with a small plant or candle. This keeps counters clear while adding personality.
- Layer your lighting. Combine sconces with mirrors and tiles to reflect color and create visual depth throughout the space.
Choose warm-white bulbs to flatter skin tones and enhance wall art. Avoid harsh cool lighting in compact bathrooms. Position shelves and mirrors to flank artwork with consistent spacing for a cohesive, gallery-inspired arrangement that looks intentional and complete.
Bathroom-Safe Materials: What Survives Humidity (and How to Protect It)
Bathroom-Safe Materials: What Survives Humidity (and How to Protect It)
What happens when steam meets the wrong wall art? Warped frames, lifted ink, and mold spots appear within weeks. Moisture-resistant materials are essential for bathroom conditions.
Smart Material Choices
Sealed canvas, acrylic prints, and glass-front frames resist humidity damage. Metal pieces need protective coatings to prevent rust. Laminating prints or choosing pre-sealed finishes keeps pigments intact.
Installation Strategy
Elevate artwork to eye level, away from direct spray zones. Lightweight, repositionable options like Mixtiles secure walls without moisture-weakened adhesives. Good ventilation after showers reduces condensation buildup.
Materials to Skip
Unsealed paper posters, fabric art, and porous surfaces absorb moisture fast. They fade, stain, and grow mold. These options fail in bathroom environments.
Protect your pieces with the right materials, proper placement, and consistent airflow. Your bathroom walls stay stylish and intact.