Start with a snap-blade utility knife to slice along the caulk’s top and bottom edges, then pull the bulk away by hand.
Switch to a plastic caulk removal tool near delicate surfaces like acrylic or painted drywall to prevent damage.
Apply Goo Gone Caulk Remover to soften stubborn silicone, waiting for penetration before scraping.
Break down thick buildup with Goof Off Pro Strength, cutting and prying first so the solvent reaches the residue.
Finish by dabbing remaining film with an acetone-soaked rag to eliminate greasy traces.
Ventilate throughout with open windows and fans, and protect your tub with plastic sheeting secured by painter’s tape.
Each method builds on the last for complete removal.
The sections ahead break down every technique with specific tools and safety steps.
Start With a Utility Knife for Quick Caulk Removal
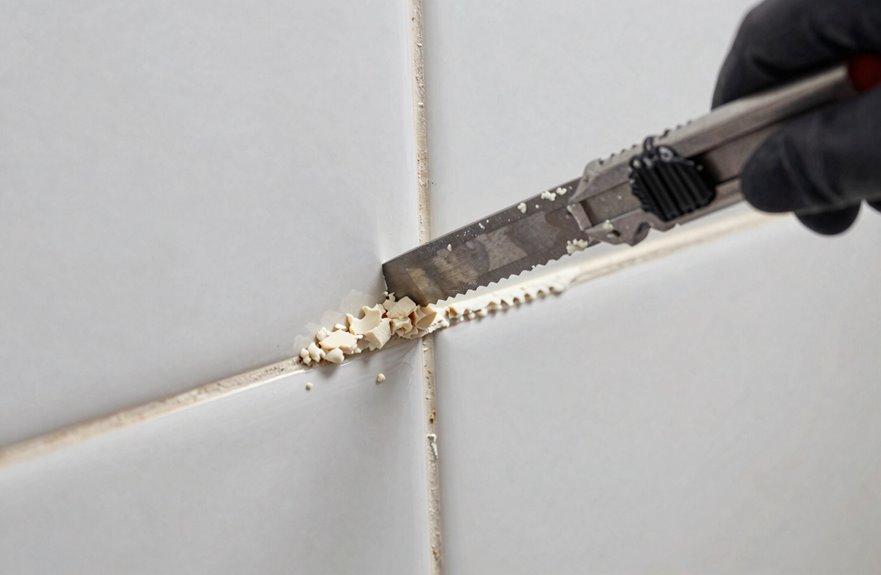
When you’re ready to strip out old caulk, a snap blade utility knife often serves as the best way to remove caulk quickly and effectively.
Cut the Seal
Run the blade along the bottom and top edges where caulk meets the tub and wall. This severs the bond holding the bead in place.
Pull and Scrape
Once loose, pull out the bulk by hand. For stubborn sections, slice again with a razor knife, particularly useful in showers and around backsplashes.
Final Touches
Keep an acetone-soaked rag handy to soften residue, then scrape clean.
Safety note: Choose blades you’re willing to sacrifice, since nicks happen. Never force the knife toward your body.
This blade-first approach is the practical starting point for caulk removal.
Switch to a Caulk Removal Tool for Delicate Surfaces
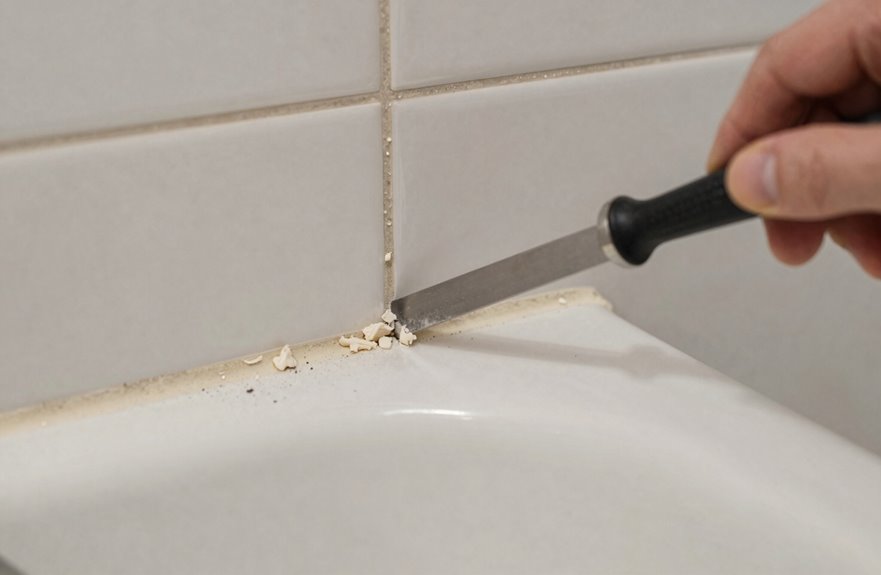
Although a utility knife works well for most jobs, I switch to a dedicated caulk removal tool when working near delicate surfaces like acrylic tubs, fiberglass surrounds, or painted drywall that scratch easily. These specialized tools, available in metal or sacrificial plastic, let me pry and cut caulk without gouging surrounding materials.
| Surface Type | Tool Material | Risk Level |
|---|---|---|
| Acrylic/fiberglass tubs | Plastic scraper | Low |
| Porcelain enamel | Metal blade | Medium |
| Painted drywall | Plastic or wood | Low |
I pair the tool with partial solvent application for stubborn spots. I’ll scrape off loose caulk first, which lets any solvent penetrate deeper into remaining residue. Solvent alone won’t finish the job. Physical removal combined with targeted solvent use produces truly clean surfaces.
Soften Stubborn Caulk With Goo Gone Caulk Remover
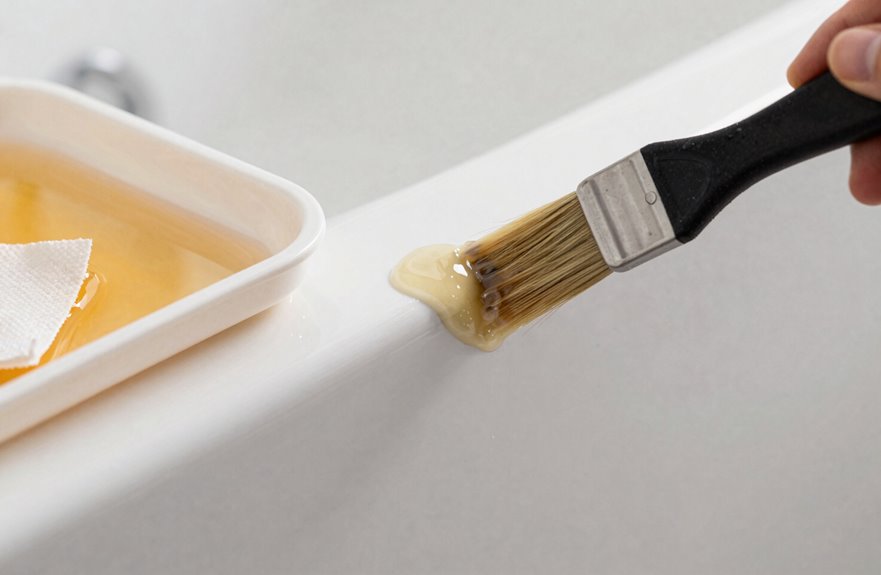
I use Goo Gone Caulk Remover when I’m dealing with silicone caulk that won’t budge. I apply it, let it sit for the recommended time, and then I pair it with a razor or scraper to actually lift the softened material away. I also check the label for harsh chemicals like acetone or xylene, since I need to ensure adequate ventilation and protect surrounding plastics from damage.
Combine With Tools
Why struggle with hardened caulk when you can soften it first? Pairing Goo Gone Caulk Remover with the right tools transforms a frustrating job into manageable work.
Apply and Wait
Spread the remover along the caulk line and give it time to penetrate. Allowing adequate penetration time reduces the physical effort required for removal.
Remove With Mechanical Tools
Once softened, use a caulking removal tool, putty knife, or utility blade to pry the caulk free. The softened material separates cleanly from tub and tile surfaces. For stubborn sections, reapply remover and repeat.
Safety Considerations
Always ventilate the bathroom, since acetone and xylene fumes require airflow. Shield nearby plastics, as these solvents can damage them.
This combined approach delivers faster, cleaner results than using either method alone.
Know Its Limits
Many DIYers reach for Goo Gone Caulk Remover to soften stubborn silicone, but the product has clear limits. It won’t dissolve caulk completely; you’ll still need to scrape. Here’s what matters:
| Consideration | Action Required | Risk If Ignored |
|---|---|---|
| Ventilation | Open windows, run fans | Headaches from fumes |
| Surface test | Apply to hidden spot first | Damaged paint or plastic |
| Mechanical removal | Scrape after softening | Incomplete caulk removal |
Don’t expect the solvent to do all the work. Apply Goo Gone, wait for softening, then dig in with your removal tool. Check your remover’s ingredients. Acetone or xylene can harm finishes, so test on a concealed area first and ensure proper ventilation throughout the process.
Break Down Thick Buildup With Goof off Pro Strength
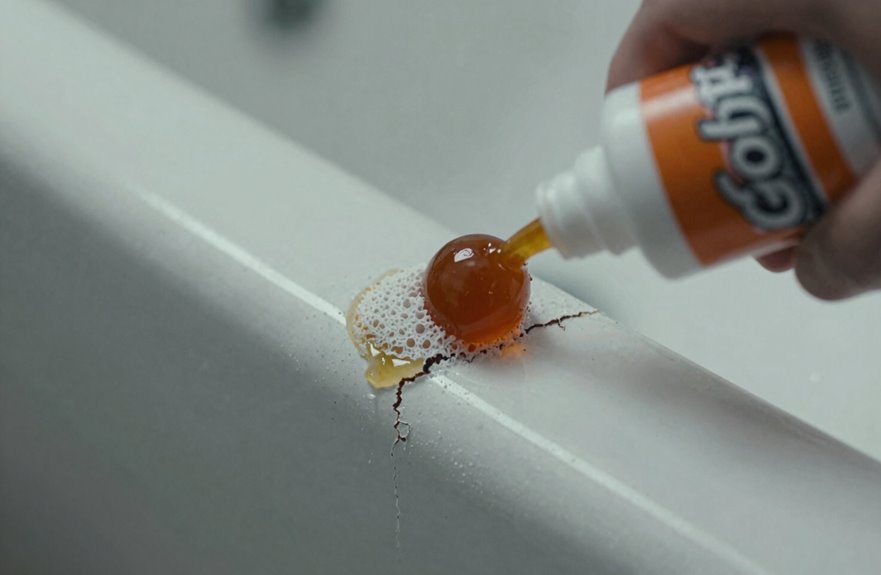
How do you tackle caulk that’s been building up for years? Goof Off Pro Strength Remover works when brute force fails.
Prepare Your Space
Open every window and run a fan. These fumes are potent, and you need fresh air circulating before you start.
Apply the Method
Cut and pry at the caulk with a removal tool or blade first. Solvent alone won’t penetrate intact sealant. Once you’ve scraped away surface material, apply Goof Off directly to the residue. The solvent breaks down what your tools couldn’t reach. Reapply as needed, letting it sit before scraping again.
Protect Your Surroundings
Watch your plastics; acetone and xylene in these removers damage surrounding surfaces. Use sacrificial tools you won’t mind ruining.
Finish With Acetone to Remove Last Residue
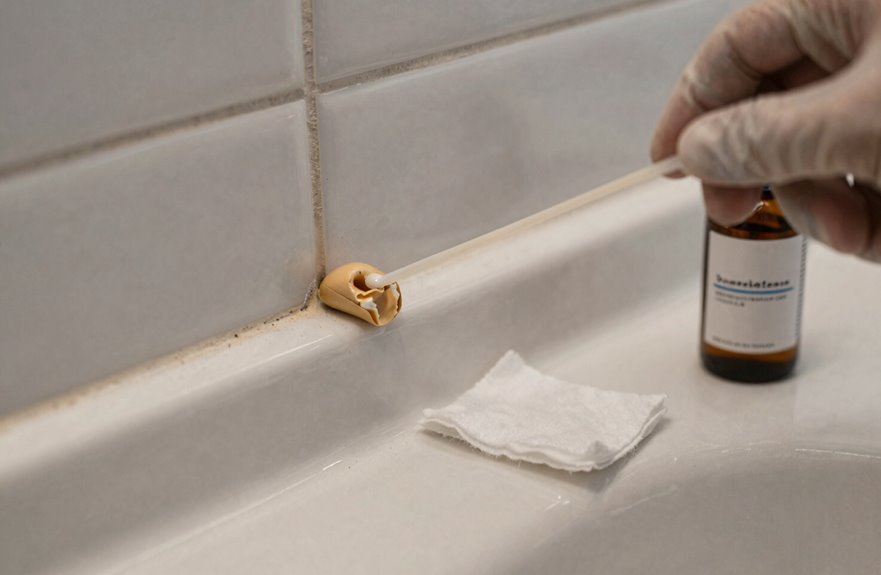
A greasy film often clings to the edge after stripping away thick buildup. Acetone dissolves this last residue completely.
Apply Acetone Carefully
Soak a clean rag or cotton pad with acetone, then dab the remaining film gently. Avoid scrubbing hard, as this lifts the residue without scarring the surface beneath.
Test Before Proceeding
Always test acetone on a hidden spot first. Some plastics or finishes react poorly to acetone, so confirm safety before treating the full caulk edge.
Target Stubborn Traces
Acetone excels at small, persistent spots a blade missed. Work in small sections, re-soaking the cloth as needed until the surface feels clean and dry.
Ventilate Properly and Protect Your Tub Surface
I always start my caulking removal projects by throwing open every window in the bathroom and positioning a fan to create steady cross-ventilation, because the chemical solvents I’ll use produce concentrated fumes that demand constant fresh airflow. Before applying any remover, I’ll carefully shield my tub’s surrounding surfaces. Acrylic, fiberglass, and plastic fixtures are especially vulnerable to acetone and xylene damage, so I use painter’s tape and plastic sheeting as barriers. I’ll also spot-test my chosen solvent on an inconspicuous corner first, since protecting the finish I’ve preserved is as critical as removing the old caulk itself.
Open Windows Wide
The first thing I’ll do is open every window and run the exhaust fan. I’m creating airflow before I bring any solvent into this space.
- Ventilate: Products like Goof Off Pro Strength Remover release strong fumes, and those vapors will linger inside without proper ventilation. I’ll wear gloves too, because acetone- and xylene-based products require skin protection.
- Protect: While I’m ventilating, I’ll protect my tub surface by choosing plastic tools or metal scrapers I can sacrifice. I won’t rely on solvent alone; I’ll pair it with a proper caulk removal tool. I’ll scrape away what I can first, then apply stronger solvent only to the stubborn patches. Good airflow stays constant while I carefully work through each of these steps.
Run Fans Continuously
Run Fans Continuously
A steady stream of airflow keeps solvent fumes moving out of the bathroom while I work. I run my exhaust fan continuously and position a box fan in the doorway to pull fresh air through the space. This combination creates active ventilation that is essential when using products like Goof Off Pro Strength Remover with their acetone and xylene vapors.
Set Up Your Airflow
- Keep the exhaust fan running for the entire project
- Add a second fan to create cross-ventilation
- Verify air is actually moving. You should feel it.
I don’t rely on solvent alone to loosen caulk. I pair my ventilation with mechanical removal using a plastic caulking tool, which minimizes how much chemical I need. Good airflow reduces inhalation exposure and prevents vapor buildup in the workspace.
Protect Tub Surface
Once I’ve got air moving through the bathroom, I turn my attention to safeguarding the tub itself. I lay a drop cloth over the surface to shield it from scratches and solvent drips during removal.
Prepare Your Work Area
Cover the entire tub basin with plastic sheeting or thick canvas. Secure edges with painter’s tape to prevent shifting. This barrier catches debris and protects against accidental blade contact.
Choose Your Tools Carefully
I use a dedicated caulking removal tool or snap-blade utility knife to loosen sealant, pulling it away gently to limit surface abrasion. When applying solvents like Goof Off Pro Strength, I work in sections and avoid letting acetone or xylene pool on plastic coatings. I always test a small hidden area first. Pair solvents with scraping for better penetration rather than soaking alone.