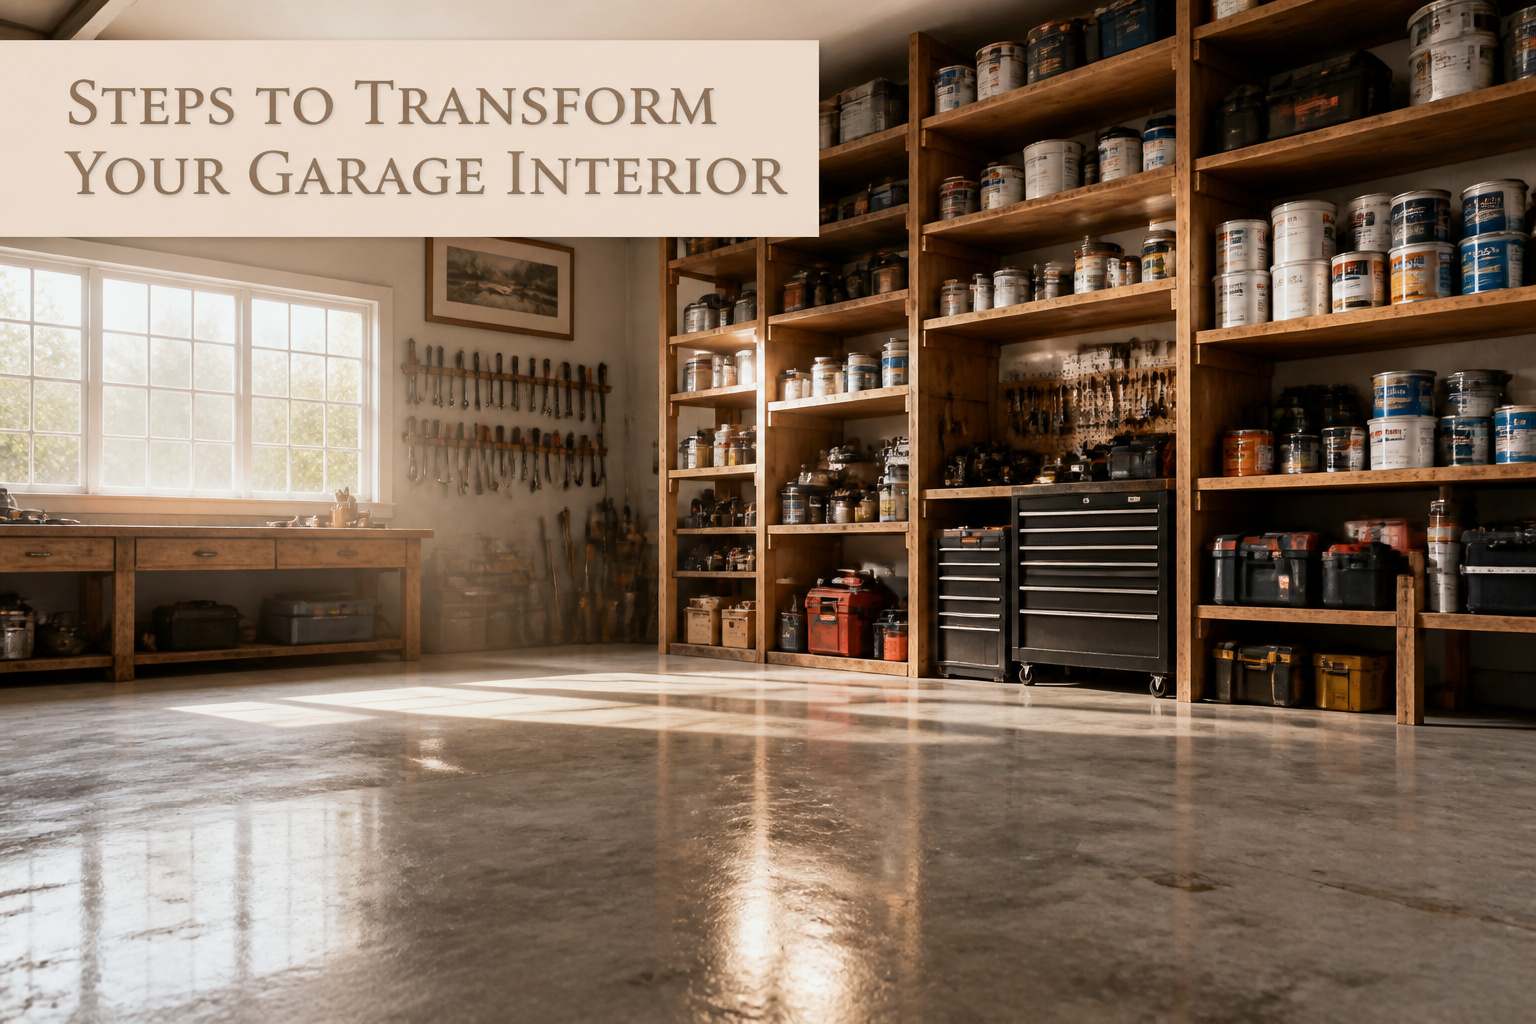
Garage interior ideas in 2026 run from a $180 laminate cabinet to a four-post lift that needs 4 inches of concrete and 10 feet of ceiling. What separates the projects that hold from the ones that peel in six months is whether the prep matches the finish: rushed degreasing or skipped moisture testing turns even showroom epoxy into a redo, while a single slatwall hook rated for 40 pounds can carry a garden hose for three years if it hits 16-inch stud centers dead on.
1. Toss the Junk
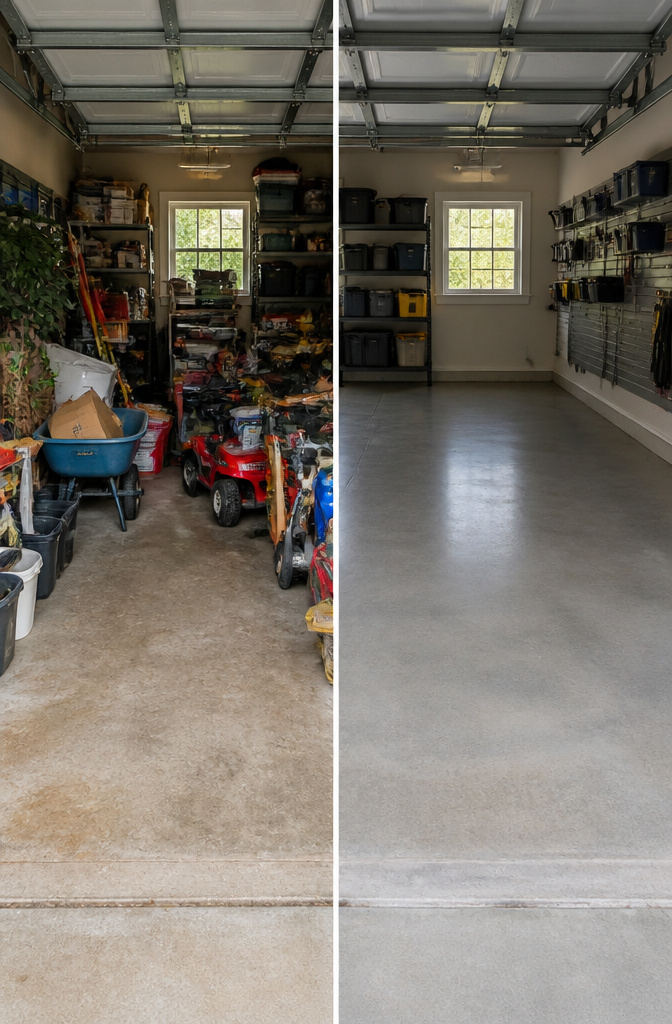
The one-year rule is where every garage interior idea actually starts: if something hasn’t left the shelf in twelve months, it probably never will. I used to make exceptions for half-broken tools and strings of holiday lights with missing bulbs, telling myself I’d fix them next weekend. That weekend never came, and the broken stuff sat there making the whole wall feel like a storage unit for failures.
A Thompson’s Company study found 52% of homeowners want a garage their neighbors envy. That envy doesn’t come from epoxy floors or slatwall systems. It starts with the space you free up once the junk is gone. The floor you actually see, the wall you can finally use, the clean square footage that makes a garage feel like part of the house instead of a pit stop for things you already forgot about.
Tossing unused items frees floor space and makes the room easier to clean, which automatically improves how the garage looks. But more than that, clearing the clutter removes the emotional weight of projects you never finished and holidays you never got around to repairing. The neighbors notice the open, finished space. You notice that you stop avoiding the room.
2. Use a Professional for the Makeover
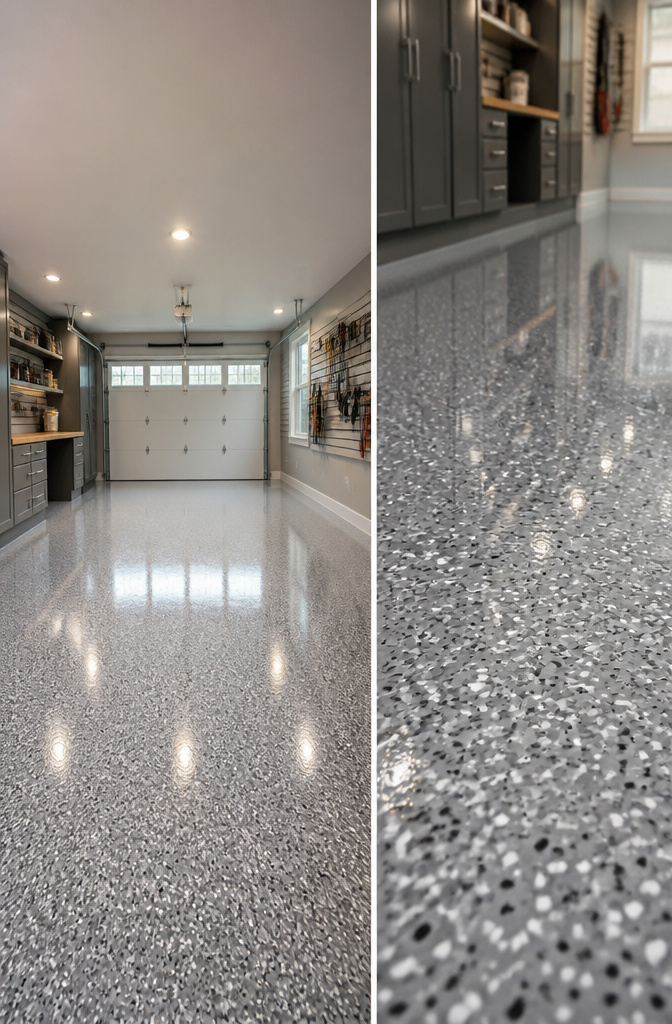
Epoxy floors look bulletproof on Instagram, but the ones that peel in six months almost always trace back to prep that got rushed. A contractor who glosses over degreasing, diamond-grinding, and moisture testing is someone who treats garages like drive-by jobs between kitchen remodels. Ask how many garage floors they do in a typical month, and whether they warranty against delamination from vapor pressure, not just "defects." If the answer waffles, keep looking.
Hiring out makes sense when the scale outruns a weekend: a full epoxy system with flake and polyaspartic topcoat, or anything involving concrete repair. It burns budget fast when you pay showroom rates for work you could handle yourself, like a single-bay paint job or basic slatwall. The sweet spot is knowing which failure modes are expensive. A bad paint job costs a Saturday to redo; a bad epoxy bond costs the floor itself.
3. Install a Showroom-Quality Floor
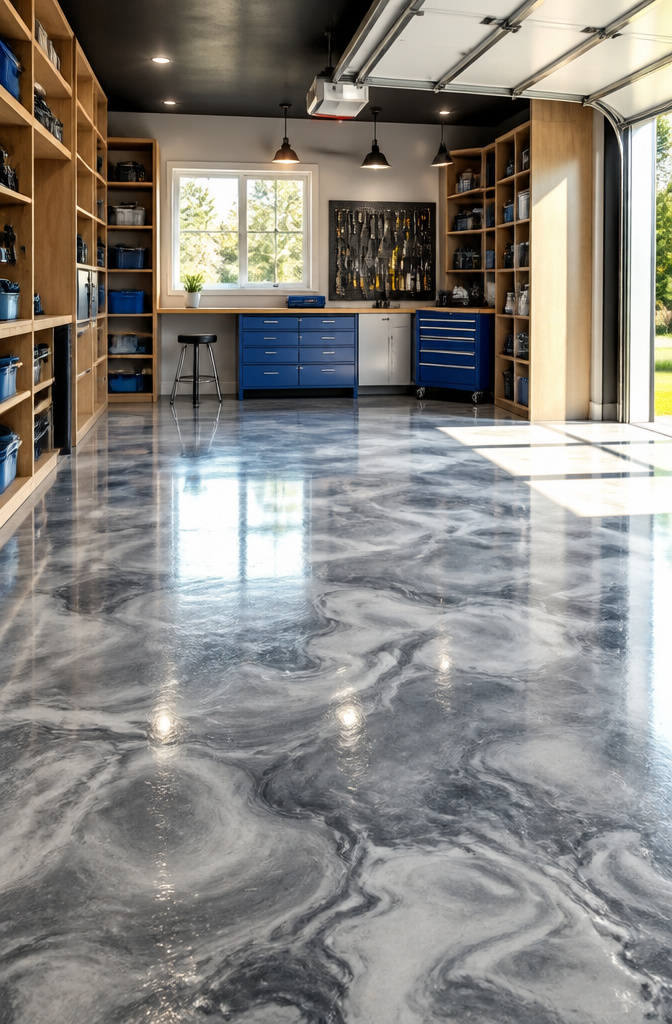
Polyaspartic coatings cure in a single day, not the three-day wait epoxy demands, and they won’t yellow where garage windows let sun hit the concrete. I spent a Saturday calling installers for quotes on my own floor, and installed cost ran $6–$8 per square foot for Floortex polyaspartic, about double DIY epoxy kits but with a finish that actually lasts under tire traffic. The catch nobody mentions in the marketing is prep: my research turned up story after story of homeowners losing an entire Saturday to grinding off old sealers, patching cracks, and vacuuming dust the shop vac missed twice. Skip that step, or rush it, and the coating lifts within two years no matter what you spent.
4. Eliminate Floor Clutter
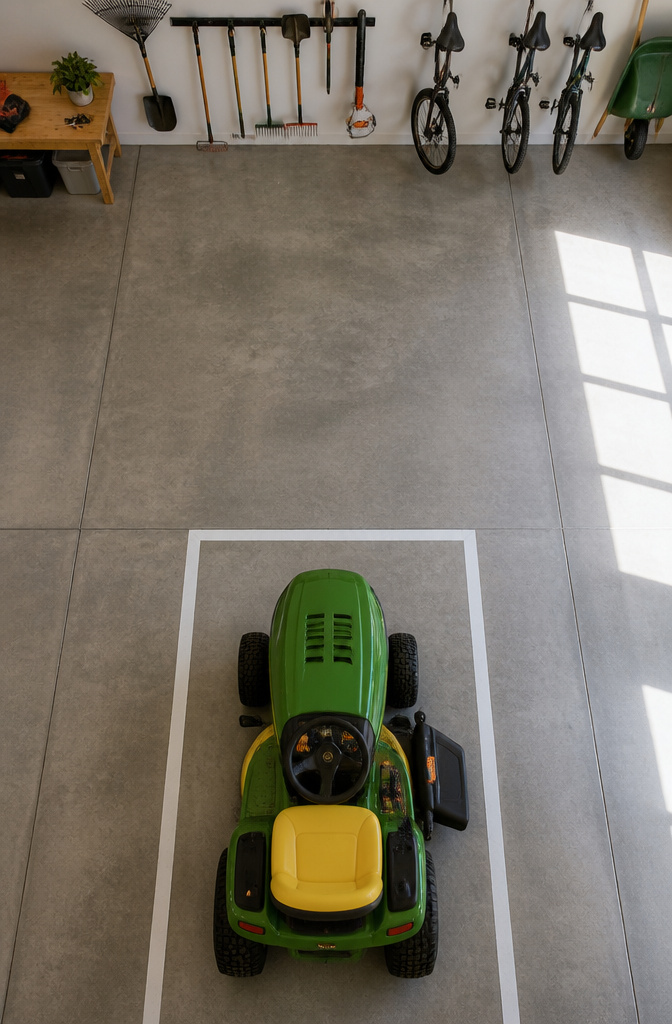
The garage floor is the first thing that has to change. Everything touching concrete is in the wrong place, full stop. Bikes belong on wall hooks, the shop vac should live under the workbench on a shelf, and the lawnmower needs its own parking spot marked with tape so it stops drifting into walkway territory. The floor is off-limits for storage once you start this project, and that rule is what separates a garage you can actually use from one you just store things in.
An empty floor means no more backing over the shop vac or maneuvering around the mower. If you end up coating the concrete later, you will not be covering your investment with clutter you should have hung or shelved anyway.
5. Utilize Garage Walls for Storage
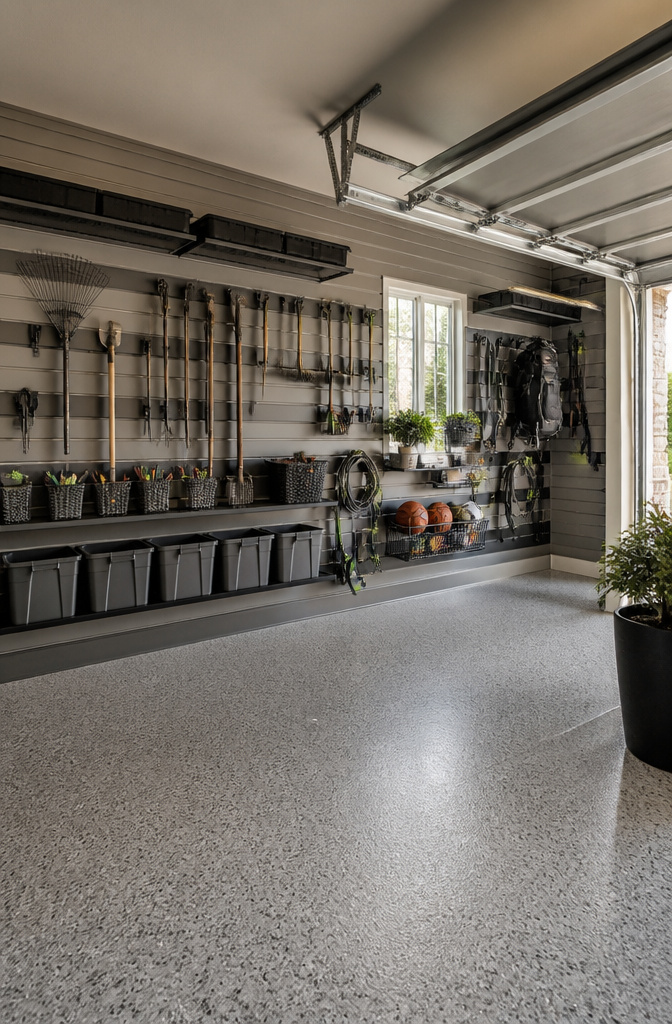
Wall storage lives or dies on whether the rail outlasts what hangs from it. I learned that after watching a neighbor’s steel rack pull clean out of drywall, tools and all, because the bracket hit nothing solid.
Slatwall wins over pegboard if you rearrange gear seasonally. The horizontal grooves let hooks slide without unscrewing anything, which matters when bikes give way to rakes or holiday bins. Pegboard pegs back out under vibration, and the holes fray after a few swaps. PVC slatwall panels also cover unfinished studs or scuffed drywall with one clean surface, which does more for the room than exposed hardware ever will.
Forty-plus accessory types exist for slatwall, so the hook that cradles a hose differs from the one that grips a ladder. What they share is the need for 16-inch stud centers, the standard framing interval in US garages. A 48-inch rail spans three studs exactly when mounted correctly, catching two or sometimes three framing members. Miss that spacing and the load hangs on drywall alone. The rail length is not arbitrary; it is built to match the structure behind it.
6. Implement Versatile Hanging Storage
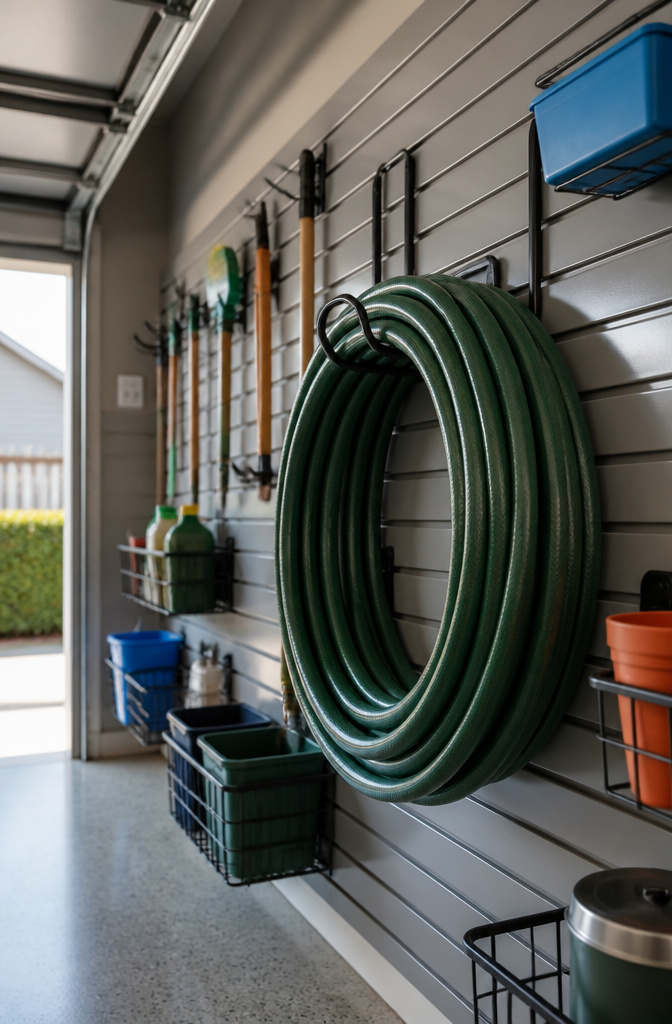
The wall systems that actually earn their keep are the ones you can rearrange without a drill in your hand. Slatwall panels with horizontal grooves let hooks, baskets, and bins slide to new spots as your projects change; pegboard never gave me that same flexibility, and the cheap fiberboard kind warped the first humid summer. A single slatwall hook rated for 40 pounds held my coiled garden hose for three years straight, while the no-name basket I hung beside it cracked at the mounting bracket after eight months of holding nothing heavier than shop rags.
PVC slatwall panels also finish the wall surface itself, which matters more than I expected in a space I used to think of as purely functional. The clean face hides studs and scuffed drywall, so the garage reads as an actual room rather than a leftover corner of the house. Garage Living carries upward of 40 accessory types, but I found the basic hook and basket lineup covered 90 percent of my storage. The specialized bike hooks and ball holders are nice if you need them; for most weekend projects, the standard set plus one deep basket for loose hardware is where the money goes.
7. Use Ceiling Space for Storage
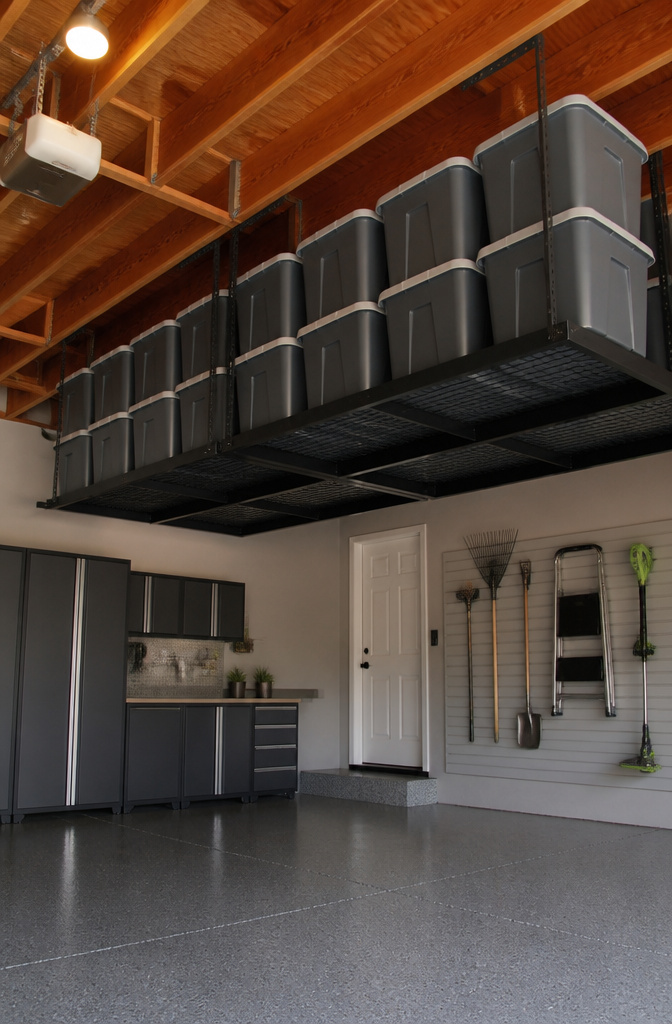
Overhead racks turn the ceiling into storage most renters never touch, and that is exactly why the space is worth claiming first. Standard 2×4 joists span about 10 to 12 feet in most post-1960 garages and carry roughly 10 pounds per square foot as a live load, which sounds generous until you stack Rubbermaids of holiday decor across four feet of joist bay. Blocking, sistering, or a rack that lands on multiple joists becomes necessary once you cross into the 250-pound range, or when your joists run the long direction of the garage and flex more than you expect.
I checked my own ceiling by tapping a finish nail into the joist sides to find the spacing, then ran a rack perpendicular across three joists instead of parallel along two. The holiday box system that followed was nothing fancy: red-labeled bins for Thanksgiving through New Year’s, green for everything else, all dated. The floor space it freed measured roughly 12 square feet, the corner where the ladder and the artificial tree used to live. That corner now holds a small workbench, and the ceiling still carries the load six years later without sag.
8. Add Cabinets for Hidden Storage
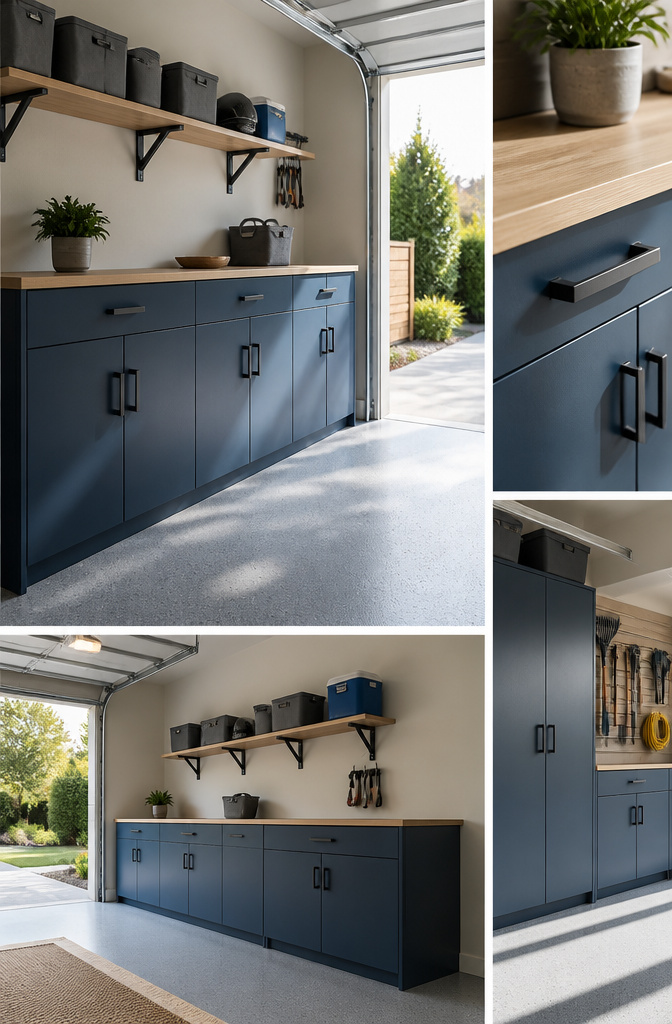
Metal cabinets look sharp in a showroom, but the ones I bought for my old place in Houston taught me a lesson about humidity. Two summers in, the lower edges started blooming with rust where the powder coat had chipped against the car bumper. Laminate holds up better in garages that see real weather, and the price gap is smaller than the look suggests.
The base cabinet that finally replaced the rusted set cost me about $180, and it carries paint cans, roller trays, and a shop vac hose without sagging. I mounted a wall cabinet above it for the stuff I reach for often: gloves, the stud finder, a box of screws. I left the top half deliberately empty. Weight adds up faster than you think on garage drywall, especially once you start loading in the half-gallon paint cans you swore you’d use again.
9. Create Storage Zones

The camping gear in my last garage had a way of colonizing every flat surface. Tents draped over the workbench, sleeping bags wedged against the oil filters, and come Saturday morning I’d spend twenty minutes excavating the camp stove from beneath a pile of rags. The tape line on the floor changed that. Two inches of bright yellow painter’s tape, nothing more, ran from the wall to the edge of the workbench, and anything with a tent pole stayed on its side. The car-care zone lived by the same rule: oil, coolant, and the torque wrench never crossed into the flat work surface where I measured cuts.
Ceiling racks help this discipline hold. Bulky items that don’t move with the seasons, patio furniture and off-season tire sets, belong overhead where they can’t wander into the daily traffic. The floor stays clear, the zones stay honest, and the tape line catches you the moment you set a bin down in the wrong territory. Labels on the permanent homes finish the job. A bin marked "camping, return here" makes it harder to leave the tent on the bench, and harder still to pretend you didn’t notice.
10. Protect the Garage Floor
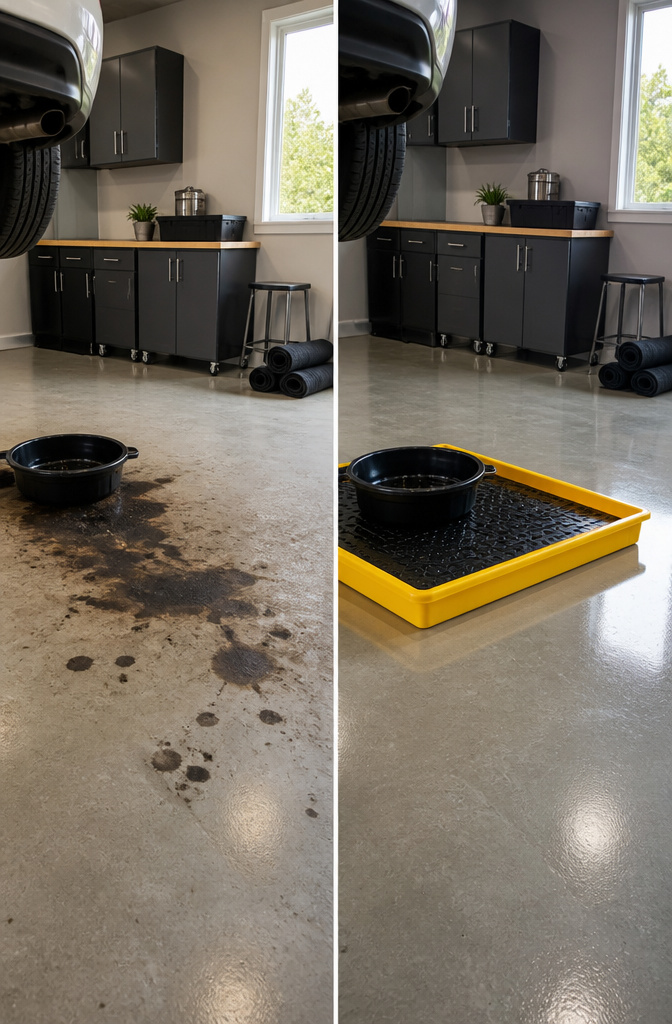
Concrete in a garage looks tough until winter road salt starts eating it from the surface down. I watched this happen in a rental where the previous tenant had done nothing: fine dust swept up every weekend, then pitting, then small craters where the top layer flaked away entirely. The fix costs less than one Saturday.
A containment tray under the oil-change spot catches drips before they stain. Parking mats under the tires do the heavier work of blocking salt, grit, and the hot-tire residue that can mark even coated floors. Every two or three months should suffice for your garage cleaning needs, but only if the protection went down first. Skip this step and you are scrubbing concrete dust out of corners instead of rinsing a mat.
11. Repaint for Improved Lighting
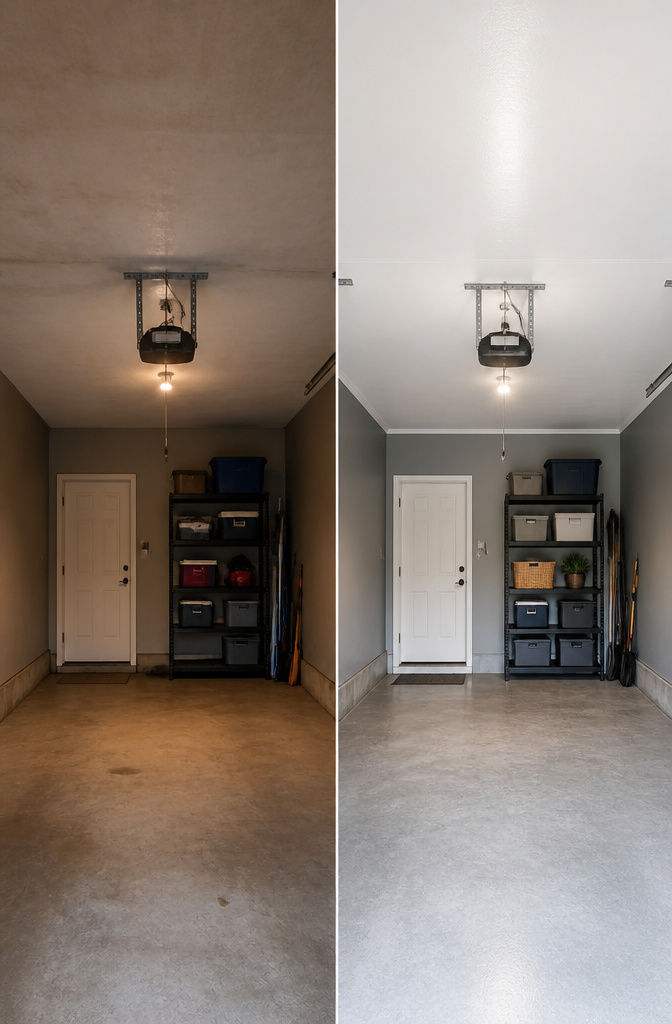
Semi-gloss paint hides dirt better than flat finishes, but the real reason to use it is how much light it throws back. I learned that after repainting my own garage ceiling. The original gray I chose looked sophisticated in the can, yet it swallowed the output from a single 4 foot LED light. The walls stayed dim even with the fixture running, and working at the bench meant adding a lamp just to read markings.
White semi-gloss on the ceiling fixed it. That one surface now bounces light down onto the work area, turning a single fixture into usable illumination across most of the space. The gray stayed on the walls, where lower reflectivity matters less and the color still looks clean between washes. For any garage where you are not adding rows of fixtures, the ceiling color does more work than the ceiling paint costs.
12. Enhance Décor
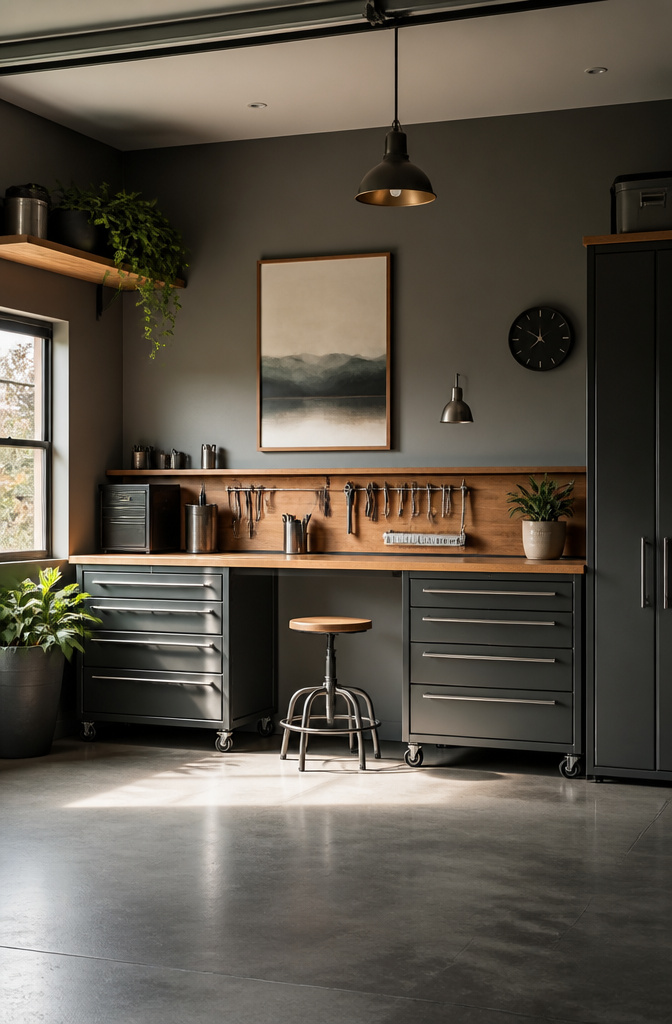
A garage reads as decorated rather than cluttered when every item earns its spot through either daily use or deliberate restraint. The framed poster I hung above the workbench worked because it was one, not three, and because the frame matched the cabinet hardware I had already installed. That same hardware finish, carried through to the bike hooks on the opposite wall, tied the room together in a way the eye registers without naming.
The clock mattered more than I expected. I tried a decorative piece that looked sharp in the store but lost two minutes a week; resetting it became a small irritation that undermined the whole wall. Replacing it with a simple battery-operated workshop clock, the kind with a red second hand you can read from the car, cost about the same and actually got used.
The line between décor and clutter runs at about one statement piece per wall, maybe two in a wide garage. I crossed it with a shelf of vintage oil cans that looked curated for about a week, then read as dusty inventory. They moved to the basement. What stayed were the things that moved with the room: the clock, the single poster, the repeated metal finish. Coherence beats collection every time.
13. Install a Car Lift for Parking

A four-post lift turned my single garage bay into stacked parking without pouring new concrete. The difference between that and a two-post model almost cost me the project. I had the two-post in my cart until I pictured the physics: the arms reach under the frame and lift from the sides, which means the car tilts if weight shifts during storage. For a vehicle sitting untouched for months, that felt like a gamble I did not want to take. The four-post design drives onto ramps and parks the weight on four corners; nothing hangs in the air unsupported.
Ceiling height starts at 8 to 10 feet for most four-post units, and the concrete slab underneath needs to hit 4 inches minimum if you plan to anchor it properly. Thinner than that, the bolts risk pulling out or cracking the floor over time. I measured my own slab at the door threshold where years of traffic had worn it slightly, not at the center where it looked thicker. The lift I ended up with runs on 110-volt household current, so no electrician visit was required, though heavier units may need 220. The four-post frame also accepts caster kits and drip trays, which matters if the upper car leaks anything onto the one below.
14. Upgrade Insulation and Climate Control
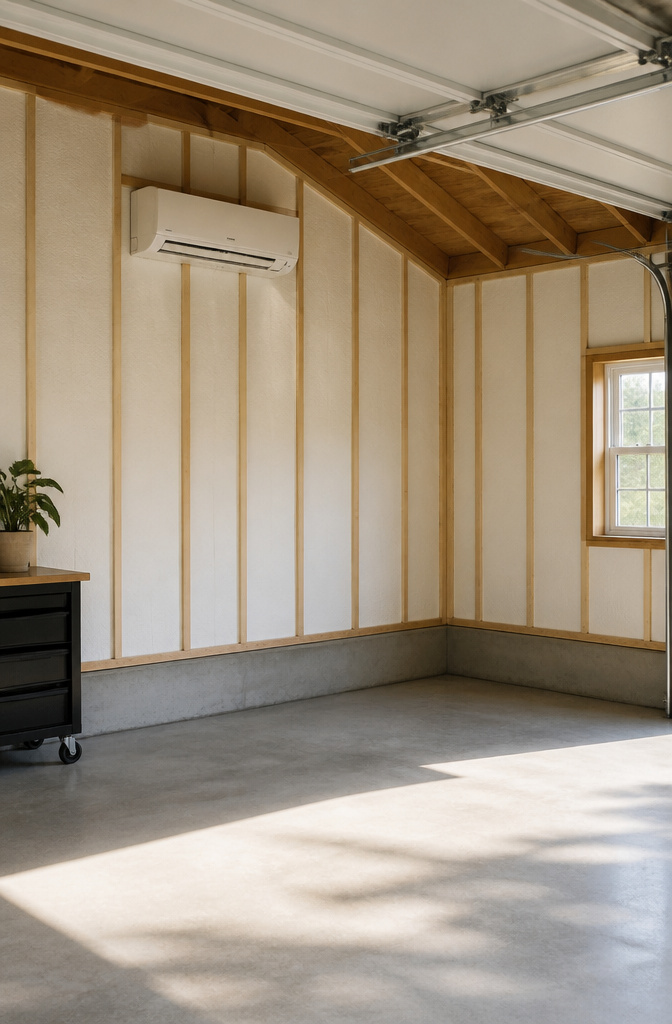
Fiberglass batts looked like the obvious first move. I stapled them between the studs with the paper facing the garage, which is backwards; the paper goes to the warm side, and in a Chicago winter the condensation turned the bottom third into a soggy mess. Ripped it all out six months later.
Rigid foam board, cut tight and sealed with canned foam at the seams, is what actually held. No studs to compress around, no vapor confusion. Two-inch polyiso on the walls, same on the garage door with a kit, and the space stopped feeling like a shed attached to the house.
The mini-split cost more than every other step in this project combined. I keep it at 55°F in winter and 78°F in summer, which runs about $85 a month in the deep months and half that in shoulder season. That sounds steep until you try working in 20° or 95°. For a space I use three evenings a week, the math works.
15. Add Unique Extras
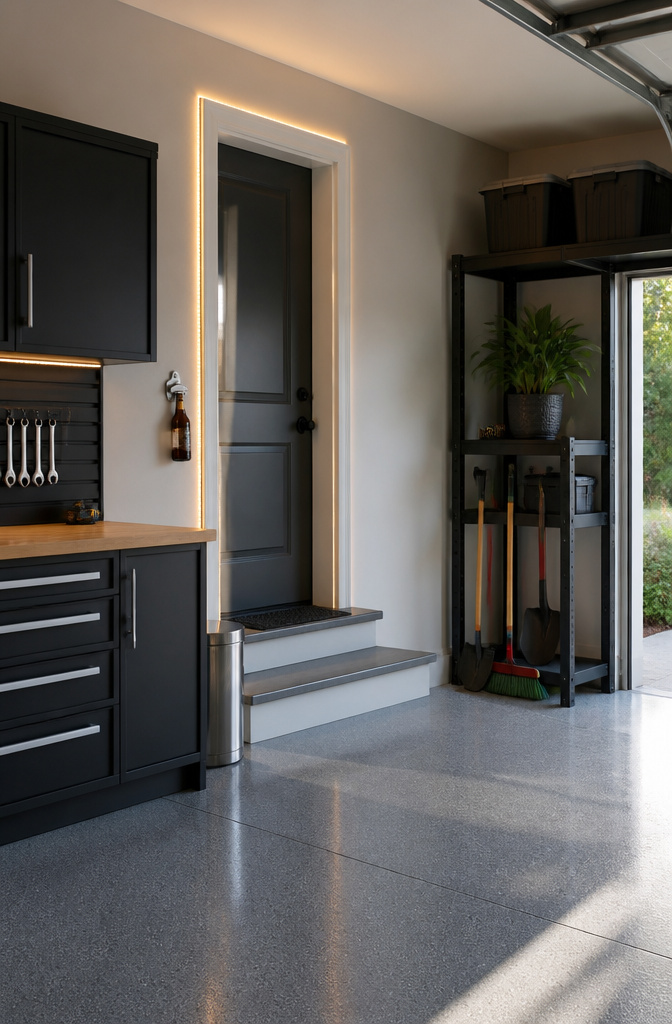
The small touches are what pull a garage from functional to somewhere you actually want to be. An LED strip wired to the door switch was the first upgrade that felt like a real win: the lights come on when you walk in, no fumbling for a switch with your hands full. A magnetic bottle opener mounted near the workbench turned out to be the most-used feature in the whole space, which I did not predict. I had planned to install a proper stereo system eventually, but a $40 bluetooth speaker filled the gap and never got replaced.
Not every extra earned its keep. The vintage gas pump sign I hung looked great for two weeks before it blended into the background. A wall-mounted paper towel holder seemed smart until I realized I reach for shop rags instead nine times out of ten. Those now sit in a drawer. The lesson I took from it: buy the thing that solves a problem you already have, not one you imagine having once the space looks like a catalog spread.
16. Upgrade Garage Doors
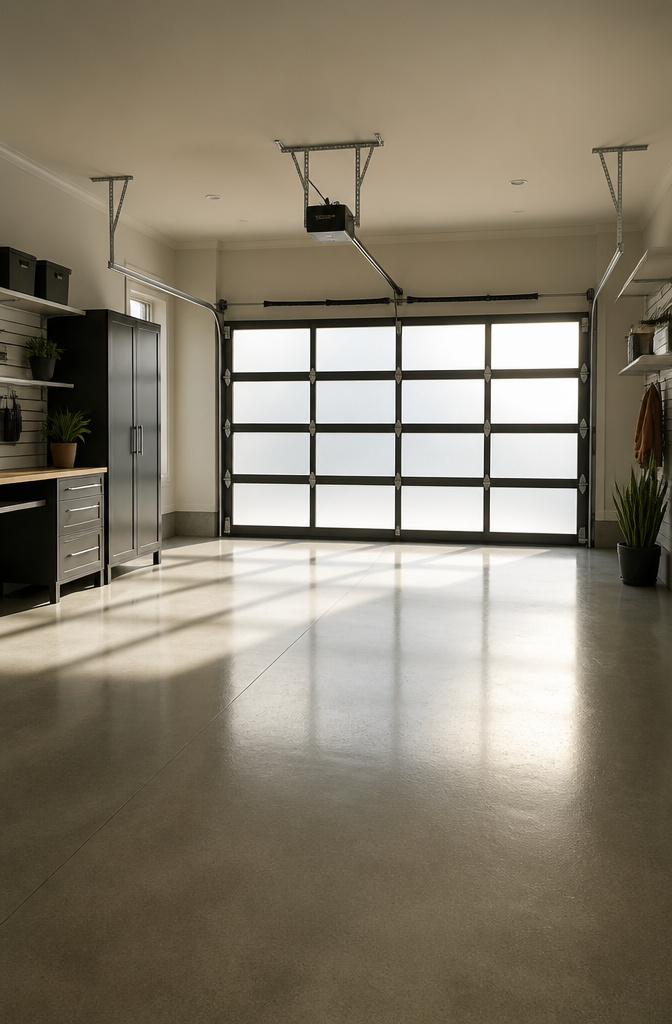
Insulated garage door panels made the single biggest difference in how usable our garage felt through a Minnesota February. The standard steel door on the house when we bought it had no meaningful R-value; the wall behind it would frost over on the coldest mornings. Swapping to a door with R-12 polystyrene cores stopped that completely, and the garage stayed ten to fifteen degrees warmer without any heater running.
Window inserts were the harder call. I wanted the light, especially since the garage faces north and stays dim, but the first door I priced had clear glass at eye level, which meant anyone walking by saw straight through to whatever project was mid-disaster. Frosted acrylic inserts cost about forty dollars more per window and cut the visible detail to a soft silhouette. Worth it.
My neighbor and I ended up with the same manufacturer, same size, same insulation rating. He paid a door company to handle everything, removal to trim work, and wrote a check for just over two thousand. I ordered through a building supply, hired a handyman for the install, and spent about fourteen hundred. Both doors perform the same. The gap was all in who swung the hammer.
17. Improve Air Quality
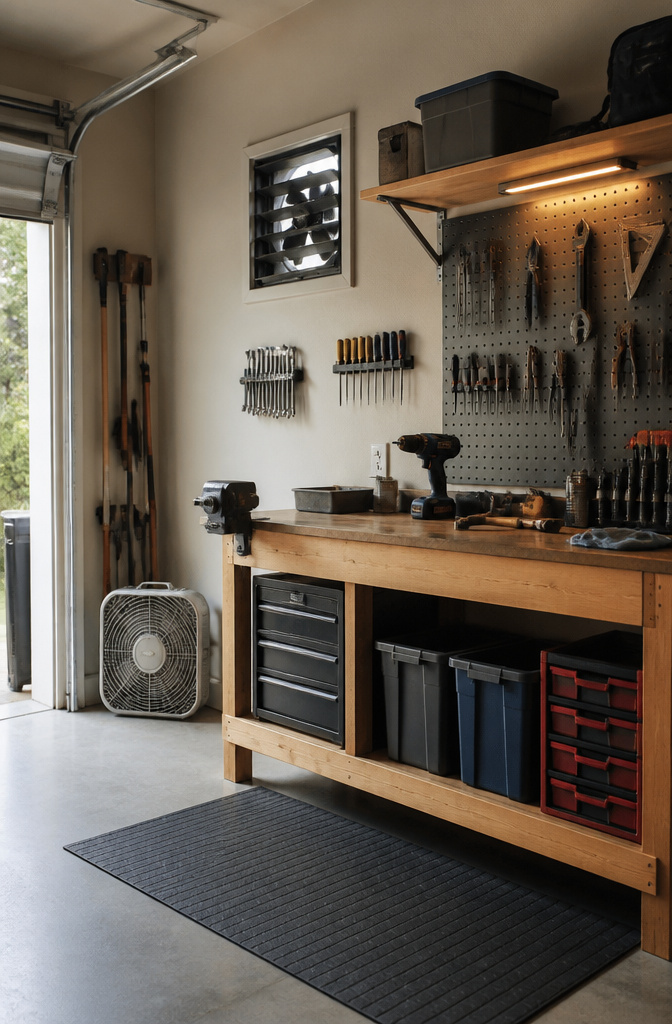
Welding and sanding in a closed garage puts more in the air than you notice while you’re wearing a mask. The box fan I ran in the window for two years felt like it was doing something until a cheap particulate sensor showed me the numbers after a Saturday of grinding steel. The fan was moving air without actually clearing it. Passive wind-powered roof turbines spin for free when the wind blows, but on still July afternoons they sit still while fumes pool near the ceiling. A powered exhaust fan costs more to install and run, yet it pulls on a schedule instead of waiting for weather. The sensor made the choice obvious: powered exhaust dropped the readings fast enough that I stopped checking, and the box fan went to the basement where it belongs.
18. Install New Lighting
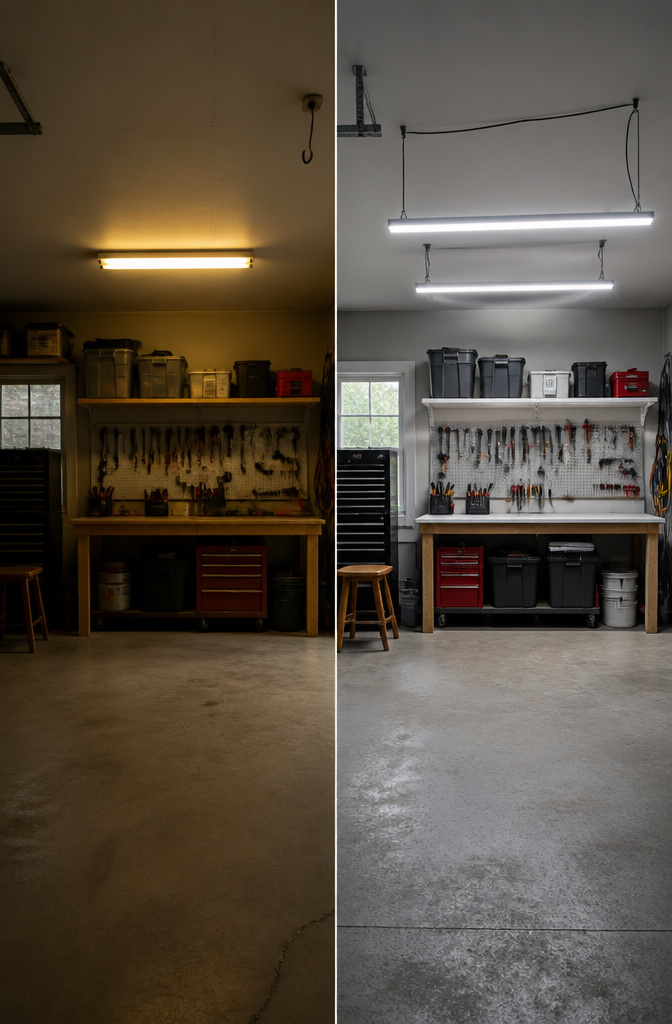
The four-foot LED shop light I hung in my own garage replaced four buzzing fluorescents and actually brightened the corners the old tubes never reached. Color temperature matters more than I expected: anything below 5000K turns whites cream and throws off paint matching, while 5000K–6500K reads as neutral daylight that lets you trust what you see. 50 lumens per square foot is the working minimum for a garage where you are actually using tools; I aimed closer to 75 and the difference is the line between finding a dropped washer and cursing in the dark.
The motion switch was where I fumbled. Wired the load and line reversed the first time, which meant the lights flickered on a timer but never stayed bright. A $12 switch and twenty minutes of rechecking the diagram fixed it. The mistake cost me an evening, not an electrician’s bill, but only because I caught it before the drywall went back up.
19. Upgrade Garage Technology
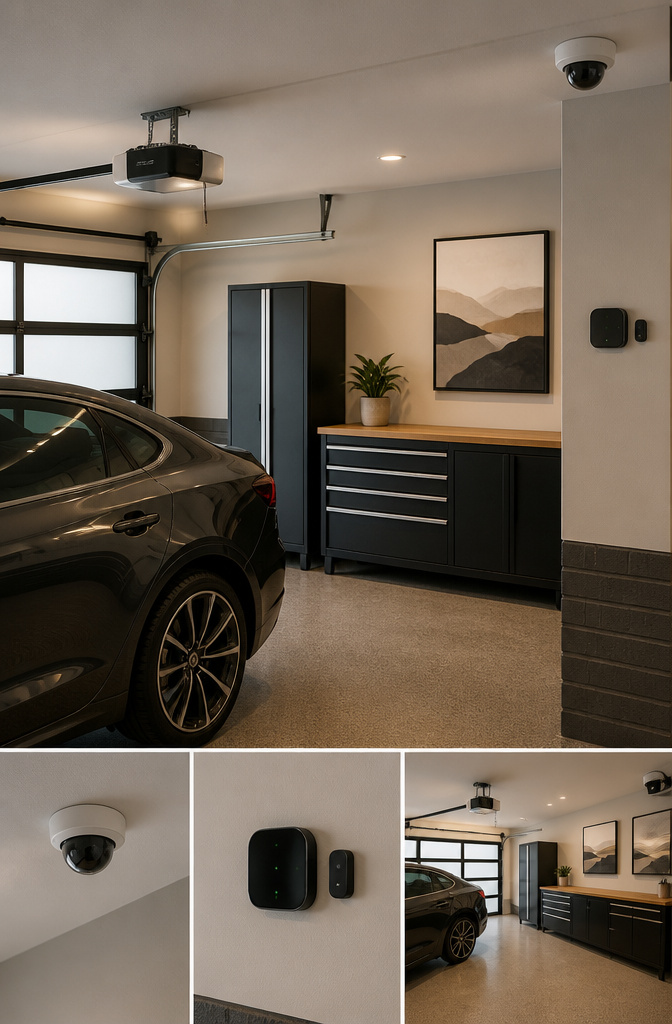
A smart garage opener that texts you when the neighbor kid leaves your door open is worth the upgrade alone. I learned that the hard way after installing one last spring, then spending two weeks wondering why my phone stayed silent while the door sat wide open after a delivery. The app needed a permission I had toggled off, buried three menus deep.
The camera came after something kept knocking over my trash cans at night. Footage at 2 a.m. showed a raccoon the size of a corgi waddling through the gap under the door, which was information I both wanted and could have lived without. Night vision matters more than resolution here; 1080p looks crisp in daylight and shows you a gray blur after dark.
The real headache arrived when I switched routers. My hub lost every device in the garage because I had set everything up on the old network name and never checked whether the hardware could handle a forced migration. Check compatibility before you buy, not after the return window closes. Some ecosystems talk to each other only through specific protocols, and "works with most systems" means "works with the two we tested."
20. Maintain the Transformed Space
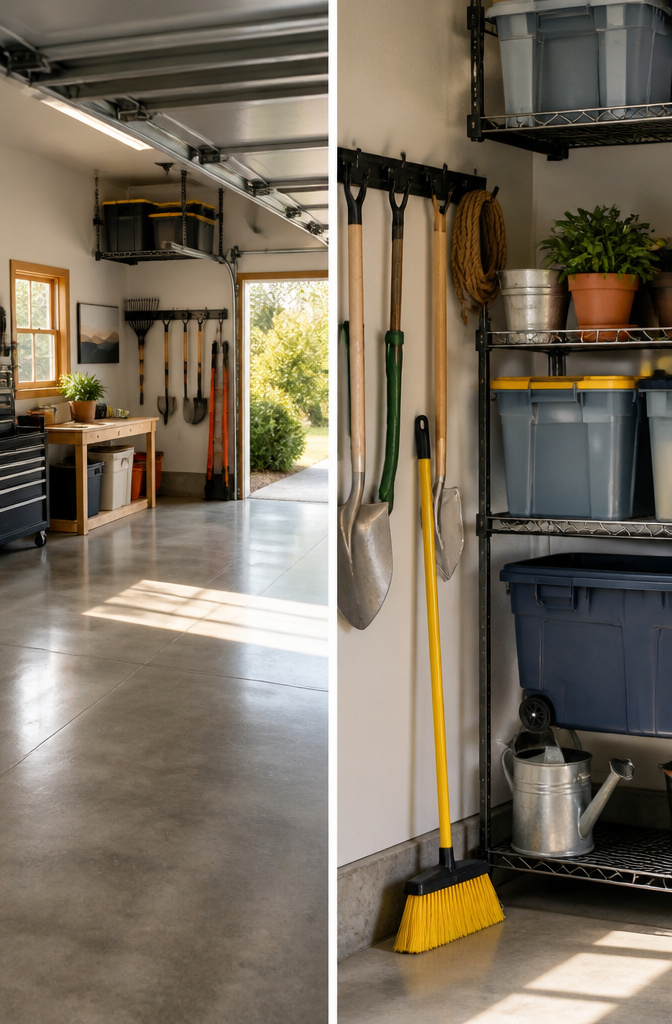
A garage interior makeover only holds if you build a rhythm around keeping it. Every two or three months should suffice for your garage cleaning needs, and that cadence is what keeps the space from sliding back into the chaos you cleared out. I treat it like an oil change: skip it and the small messes compound into a weekend-eating project.
The Saturday morning routine runs about 45 minutes. I sweep the floor, reset anything that wandered out of its zone, and check whether new items crept in that do not belong. I never skip the zone check, because that is where clutter starts. What I do skip is the annual floor wash more often than I should; the quarterly pass keeps things presentable enough that I push the deep clean to every eighteen months or so.
The real maintenance is restraint at the point of entry. Sales are the enemy of a finished garage. I keep a hard rule now: if I cannot name the exact project that needs it, the thing does not come home.
Frequently Asked Questions
What are some garage interior ideas?
Start by clearing out anything you have not touched in a year, then coat the floor with polyaspartic for a finish that cures in one day and resists sun yellowing. Add slatwall to the walls for hooks and baskets that slide without unscrewing, mount overhead racks across multiple ceiling joists for bulky items, and finish with LED lighting at 5000K–6500K so colors read true. Zone the floor with tape lines so gear stays in its lane and the concrete stays usable.
How can I make my garage more functional?
Keep the floor completely clear by moving bikes to wall hooks, the shop vac under a shelf, and the lawnmower to a taped parking spot. Use slatwall for gear you rearrange seasonally and ceiling racks for anything bulky that sits idle. Split the space into zones, camping against one wall and car care against another, so Saturday projects start immediately instead of with twenty minutes of excavation.
What type of flooring is best for a garage?
Polyaspartic coatings beat epoxy for most garages because they cure in a single day, handle tire traffic without yellowing near windows, and cost roughly $6–$8 per square foot installed. The prep matters more than the coating itself: grind off old sealers, patch cracks, and vacuum thoroughly or the finish lifts within two years no matter what you spent.
How can I improve the lighting in my garage?
Replace old fluorescents with four-foot LED fixtures running 5000K–6500K color temperature, which throws neutral daylight you can trust for paint matching. Aim for at least 50 lumens per square foot, though 75 makes the difference between finding a dropped washer and working in shadow. Paint the ceiling white semi-gloss so it bounces light down onto the work area without adding fixtures.
What storage solutions work best in a garage?
Slatwall panels on studs at 16-inch centers beat pegboard for anything you rearrange, since hooks slide in the grooves instead of backing out under vibration. Overhead racks across three or more joists handle loads above 250 pounds, like tire sets and patio furniture. Laminate base cabinets hide paint cans and shop supplies without rusting in humid summers, and one wall cabinet above keeps frequently used tools within reach.