I build staircases in five phases: first, I measure the total rise between finished floors and divide by 7-1/2 inches to determine riser count.
Next, I lay out stringers using a framing square with stair gauges, adjusting the bottom rise for flooring thickness.
I then frame a landing that connects split stair sections while maintaining consistent angles.
After that, I install treads and risers from the bottom up, securing each component through stringers into blocking.
Finally, I verify code compliance for handrails, open risers, and nosing dimensions.
Each phase contains critical details that ensure structural integrity and safety.
Calculate Total Rise and Run for Your Staircase
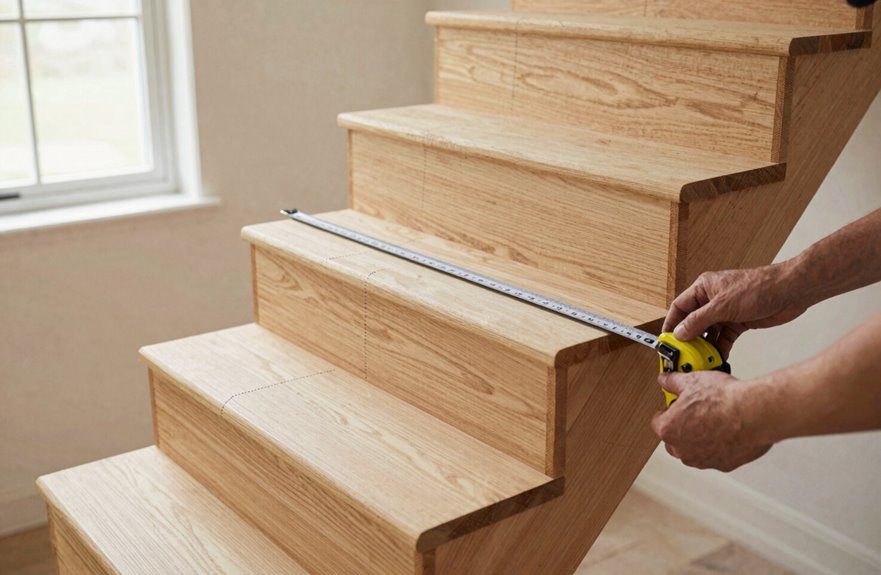
How do you begin building a staircase that won’t wobble or wear unevenly? Start by calculating rise and run, the foundation of every safe stair.
Measure Total Rise
Measure from finished floor to finished floor. For this example, that’s 109-5/8 inches, adjusted to 109-1/8 inches after accounting for flooring differences.
Calculate Risers
Divide total rise by 7-1/2 inches, yielding 14 risers at just over 7-3/4 inches each.
Determine Runs
Specify 10-inch tread depth. This staircase splits into two sets:
- Bottom set: 8 risers, 7 runs
- Top set: 6 risers, 5 runs
One tread becomes a landing, with height equal to riser height multiplied by risers below it.
Material Notes
Use 1-inch plywood for treads and 3/4-inch for risers.
Lay Out and Cut Stringers for Finished Floor Height
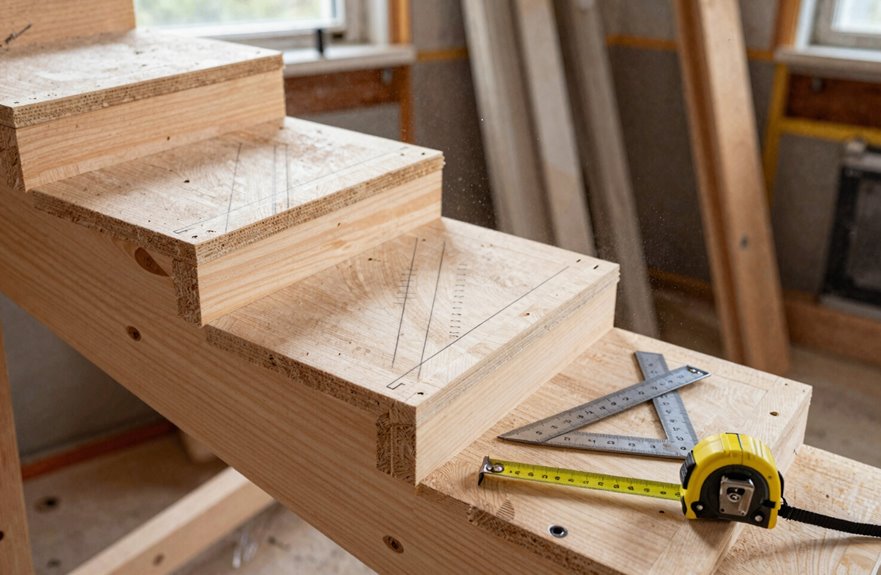
Where do you start when the numbers are set but the wood still lies in pieces? Grab your framing square with stair gauges and mark the first stringer.
When the math is done but the lumber waits, reach for your framing square with stair gauges and mark that first stringer.
Mark Your Adjustments
Add 1/2 inch to the bottom rise for thicker flooring and subtract 1 inch from the top rise for plywood tread thickness. This accounts for the 11-7/8 inch total floor system.
Lay Out the Two Sets
Split the layout into bottom and top sections. The bottom set carries 8 risers and 7 runs; the top set holds 6 risers and 5 runs. Each riser measures just over 7-3/4 inches, dividing the 109-1/8 inch net rise across 14 steps with a middle landing.
Cut and Template
Cut one stringer first and check it against the actual space. Trace it for the remaining stringers to keep rise and run identical throughout both sets.
Frame the Landing and Connect Both Stair Sections
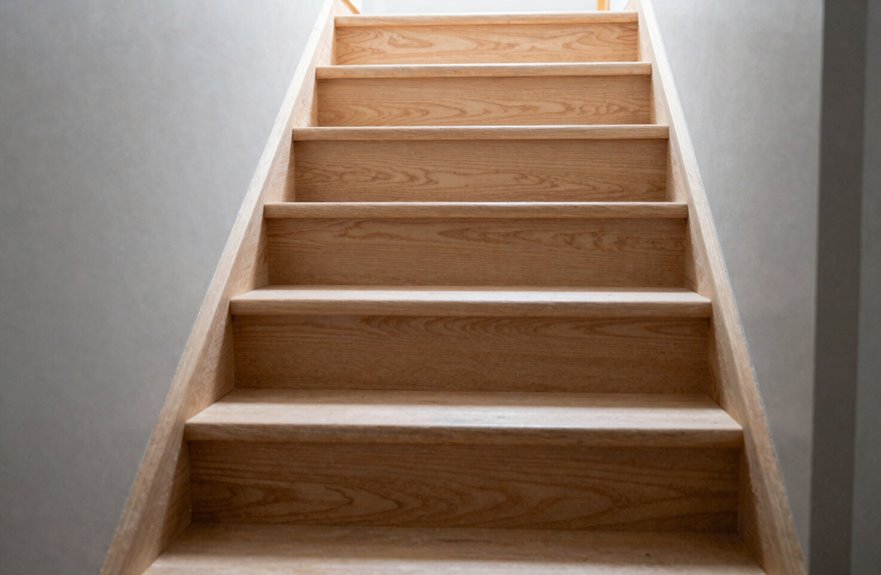
Once we’ve got our stringers cut and checked, I turn my attention to the landing, since it’s what ties both stair sections together into one solid assembly.
I frame the landing using the same riser and tread dimensions as the adjacent stairs. This guarantees a consistent transition between both sections. I calculate the landing height by multiplying riser height by the number of risers reaching the subfloor above, aligning with our 109-1/8 inches adjusted rise.
For proper alignment, I reference floor levels and maintain identical stringer cut angles across both sections. The bottom set carries 8 risers and 7 runs, while the top set carries 6 risers and 5 runs. Their combined geometry matches our planned totals.
I install consistent fasteners and blocking at connection points, then verify code compliance for landing dimensions and handrail placement.
Install Treads and Risers From the Bottom Up
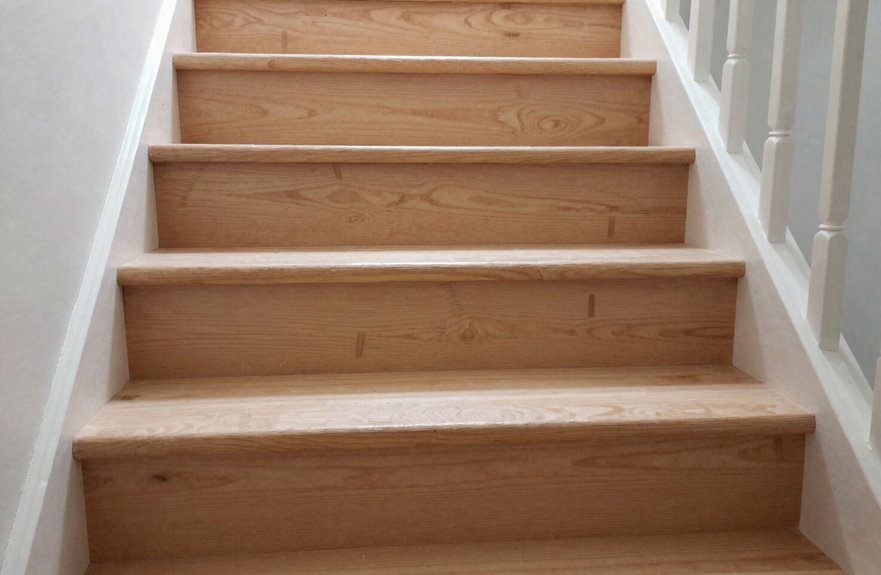
Work From the Bottom Up
Start at the base and build upward, installing each riser and tread in sequence. This maintains consistent rise and run across all steps.
Build from the ground up, installing risers and treads in order to keep every step uniform and true.
Measure for Uniformity
Use a framing square with stair gauges to verify each riser height and tread depth matches the plan. Precision prevents trips and wobbles.
Secure Each Tread
Cut treads to width and length, then fasten them with screws driven through the stringers into blocking.
Adjust for Flooring
Modify the bottom rise by adding 1/2 inch and reduce the top tread depth by 1 inch. This keeps final step alignment correct after flooring goes in.
Verify Total Rise
Confirm the staircase reaches exactly 109-1/8 inches, matching the plan with all adjustments included.
Final Inspection: Check Code and Add Handrails
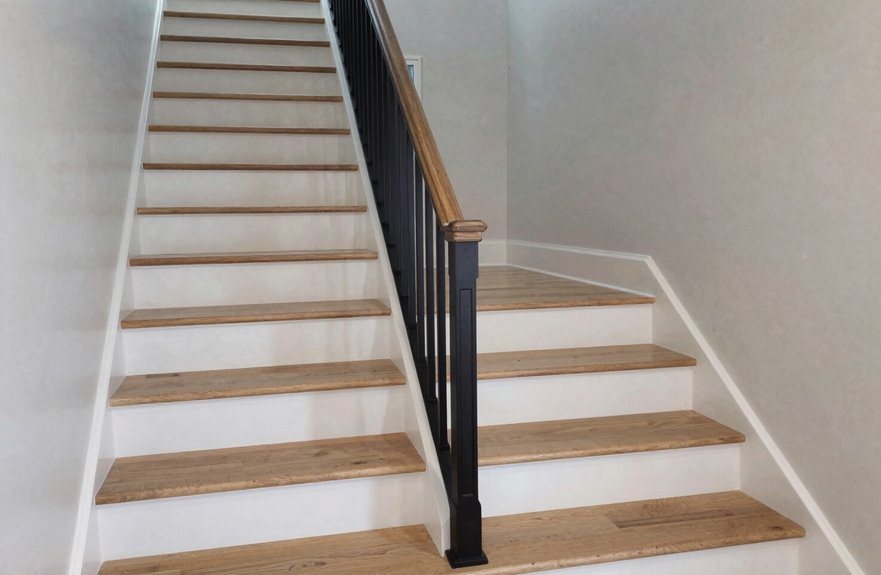
How do you know your staircase is truly finished? I verify every detail against local building codes before calling it complete.
Check Critical Measurements
I confirm uniform rise and run across all steps, keeping risers at or below 7 3/8 inches with minimum 10-inch tread depth. I measure total rise from subfloor to subfloor above, accounting for finished flooring differences, often 109-1/8 inches in typical builds.
Verify Code Compliance
I inspect open riser gaps and nosing projections against local amendments. For stairs 44 inches wide or more, I install handrails on both sides. I ensure landings match tread width minimums.
Document for Inspection
I record final measurements, fastener types, and protective finishes. This documentation streamlines the inspector’s review and protects your investment. Code compliance verification ensures your staircase meets all regulatory requirements before occupancy.