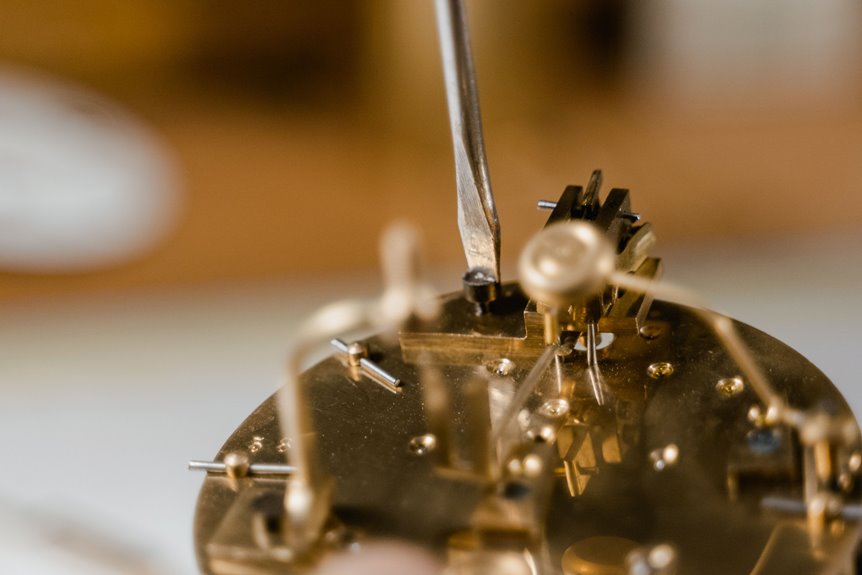
I’ll repair your wall clock in six steps.
First, I check the back to identify whether it’s battery-powered or mechanical by looking for a battery compartment or winding arbors.
Second, I fix the power source: replace dead batteries, clean corroded contacts with vinegar, or wind the mainspring fully.
Third, I separate and straighten bent hands, ensuring they don’t touch each other, the dial, or the glass.
Fourth, I level the pendulum so it swings evenly without wobbling.
Fifth, I photograph the movement’s back plate to record identification numbers for ordering parts.
Sixth, I clean dust with a soft brush, apply clock oil sparingly to pivot points, or recognize when professional service is needed.
Each step builds toward a fully restored timepiece, with details below expanding every stage.
Is Your Clock Mechanical or Battery-Powered?
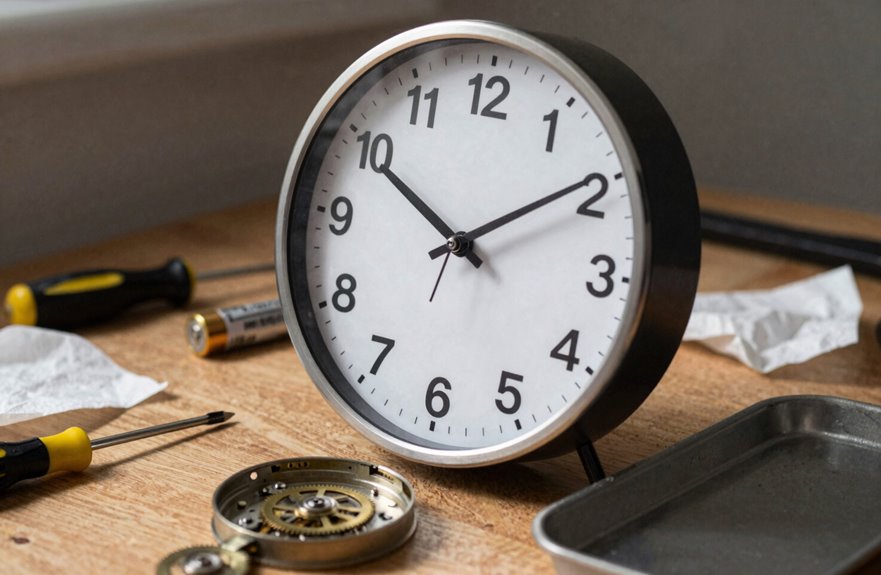
Before you can fix your clock, you’ll need to figure out what type of movement powers it.
Inspect the Movement
Start by examining the back of your clock. Battery-powered clocks have replaceable batteries and accessible panels. Mechanical clocks rely on wound mainsprings and never use batteries.
Identify Key Features
- Battery clocks: Look for a battery compartment and removable panel
- Mechanical clocks: Find winding arbors or keyholes; no battery present
Locate Identification Numbers
Check the back plate of the movement itself, not paperwork or the case. If access is limited, photograph behind the movement for reference.
Why This Matters
Verifying the type early guides your troubleshooting. Battery clocks need fresh power and clean contacts. Mechanical clocks need proper winding and possible internal servicing. Knowing which type prevents applying incorrect repair methods.
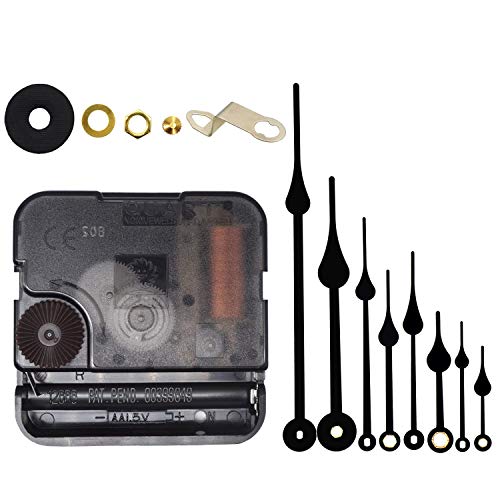
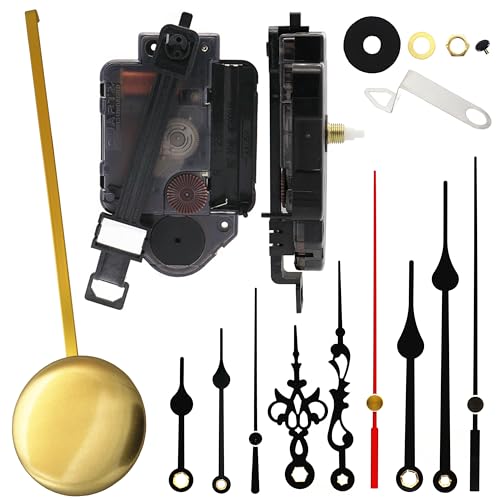
Long spindle quartz clock replacement movement parts with metal hook,Good for repairing, replacing or making a clock.

15 Pcs Clock Mechanism Size: Total shaft length is 7/8 in, thread length is 5/8 in, this kit fit clock dials from 5/16 - 1/2 in (8-12 mm) thick, making you smile of the memories your old clock gives you

Fix the Power Source: Battery, Contacts, or Winding
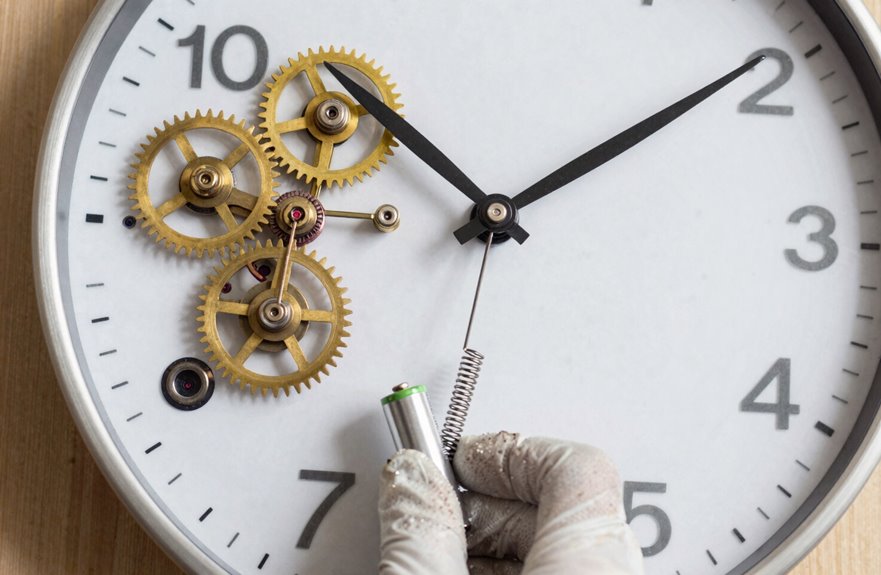
Once you’ve identified your clock’s movement type, you’ll move straight to addressing its power source. Start with battery-operated clocks by replacing the old battery with a fresh one and checking orientation carefully. For corroded contacts, clean them gently with a cotton swab and white vinegar, then dry thoroughly before reinserting. For mechanical movements, wind the mainspring fully. If the clock still stops, consider professional servicing. Verify the actual movement by checking the stamp or back plate numbers, as case labels won’t help. When the pendulum swings but time won’t advance, the issue is power-related, not the pendulum itself.
| Symptom | Likely Cause | My Action |
|---|---|---|
| Clock dead, no tick | Dead battery | Replace with fresh cell |
| Intermittent operation | Corroded contacts | Clean with vinegar, dry |
| Pendulum swings, no time | Poor power connection | Check battery, contacts |
| Mechanical stops | Unwound or worn spring | Wind fully, service if needed |

⏰Made of , durable and use. Powered 1 battery ( not included ).

Good DIY clock supply: suitable for repairing, replacing the broken parts of a clock or serving as good handwork material to make a clock by yourself!

Measurement: hand length: total hour hand length: approx. 172 mm (6.8 inches); Total minute hand length: approx. 207 mm (8.1 inches); Second caps: approx. 7 mm (0.3 inch).
Stop Hands From Sticking or Hitting Each Other

When clock hands collide or scrape against the dial, the movement stalls and timekeeping fails.
Separate and Align Hands
Gently pull the hour and minute hands apart at the center pivot. If either hand bends, apply slight pressure to straighten it. Avoid snapping delicate components.
Check Clearance
Verify space between hands and the dial, glass, or each other. Hands must rotate freely without contact.
Secure Loose Hardware
Tighten the minute hand nut if the hand slips. A loose hand drifts and collides with its partner.
Replace When Necessary
If hands repeatedly misalign despite adjustments, install a correctly sized set. Proper dimensions ensure interference-free rotation.
These steps restore smooth movement. Your clock will mark each second without struggle.

【Package Contents】:This clock replacement mechanism set comes with 20 pairs of clock hands and the enough quantity to use and replace, provides a variety of styles to choose from(Clock faces are not included).

Package includes: the package comes with 10 kinds of black clock hands in various forms; With simple and stylish appearance, these clock hands can match various clock panels which are in diverse colors, patterns, and shapes; They will not stand out but work well with the clock

Clock movement replacement: high torque clock with 2 hooks, long shaft, drive long clock hands (10 mm to 450 mm).
Level Your Pendulum for an Even Tick-Tock
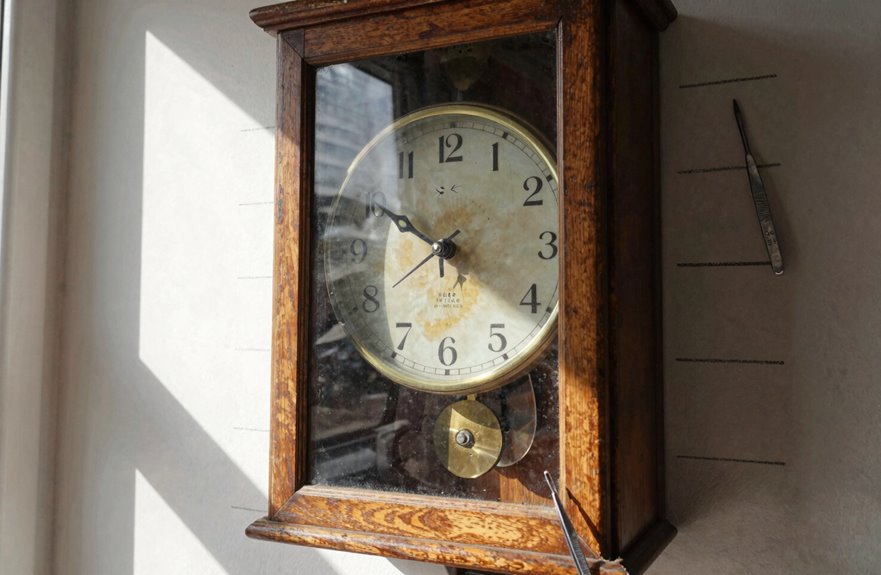
Why does your pendulum clock sound irregular. An uneven tick-tock indicates the case isn’t level, and this can be corrected through proper adjustment.
First, check levelness at both the top and bottom mounting points. Use a small level and adjust the case hanger or mounting bracket until the case hangs straight. Then verify the clock sits evenly on its surface, ensuring uneven feet or a crooked wall mount aren’t tilting the case.
Leveling procedure:
- Place a small level on top of the case and adjust the hanger until level
- Check the bottom mounting point and re-level if needed
- Observe the pendulum swing; if one side moves longer, recenter and recheck
A balanced swing allows the escapement to regulate properly, reducing timekeeping errors caused by misalignment.

What you receive: pendulum clock movement set comes with 2 pairs of hands, pendulum, and instructions, the whole set is convenient for you to replace and repair, easy to install

Core Functionality: This Wall Clock Pendulum Replacement serves as an essential clock parts with pendulum, designed for easy repair or replacement of wall clock pendulums, enabling you to restore your clocks functionality or create a custom timepiece effortlessly
Find Your Movement Numbers Before Cleaning or Calling Pros

With your clock properly leveled, you’re ready to identify exactly what you’re working with. Locate your movement numbers before doing anything else. These numbers are stamped directly on the back plate of the movement itself, not on the case or any paperwork.
Locate the Numbers
If you can’t see the back plate clearly, use your smartphone to photograph behind the movement or through the side access panel to capture those numbers accurately.
Know Your Movement Type
Distinguish between mechanical and battery-operated movements. The numbers correspond to specific types, and this determines what service you’ll need.
Why This Matters
Identifying these numbers correctly ensures proper parts and lubrication. Verify the numbers before cleaning or calling professionals because incorrect identification leads to incompatible parts or wrong lubricants. This step prevents damage and reduces unnecessary costs.

This 100 % synthetic all purpose oil is engineered to outperform traditional lubricants. The molecular structure of Versa Oil gives it a wider temperature range than other common lubricants. This helps to prevent sludge from building up over time and keeps your equipment functioning smoothly.

100% Synthetic Oil Formula: Reduces friction between any moving surface with advanced synthetic formulation designed for clock mechanisms

PRECISION OILING WITH TOTAL CONTROL Includes 2 fine-tip applicator needles designed for accurate oil placement. Apply a small drop exactly where needed—no flooding, no mess, no wasted oil.
Clean and Oil: or Know When to Get Professional Help
I’ll start by cleaning the movement with a soft brush and solvent to remove old oil and debris, then apply fresh clock oil sparingly to each pivot point to restore smooth operation. If the clock still runs poorly after this maintenance, I’ll contact a professional specialist who can inspect for worn pivots, damaged gears, or mainspring issues that require specialized tools. Performing this cleaning and lubrication every three to five years prevents accelerated wear and maintains accurate timekeeping.



Long spindle quartz clock replacement movement parts with metal hook,Good for repairing, replacing or making a clock.
DIY Cleaning Basics
DIY Cleaning Basics
How often should you clean and oil your wall clock? I recommend every 3–5 years for mechanical clocks, and as needed for battery-operated units. Regular maintenance reduces friction, improves accuracy, and prevents parts from sticking.
Here’s my simple process:
- Dust the movement gently – I use a soft brush to remove surface debris without disturbing delicate components.
- Clear remaining debris – Compressed air or careful brushing eliminates loose particles before lubrication.
- Apply oil sparingly – I place lightweight clock oil only on pivots and gear teeth, avoiding over-lubrication that attracts dirt.
If dirt persists or ticking sounds irregular, stop and seek professional help. Improper cleaning damages pivot points and mainsprings. Understanding your skill limits prevents costly damage to your timepiece.
Professional Servicing Benefits
While basic cleaning handles surface maintenance, deeper mechanical issues require trained expertise. This section explores when professional help becomes essential.
What Professionals Provide
- Complete disassembly – Technicians remove old lubricant and dirt from gears, bushings, and pivots that DIY methods miss.
- Accurate identification – They determine your movement numbers and power source, guiding proper repairs.
- Precision lubrication – Clean and oil services reduce friction, preventing the time drift that stops clocks.
- Safe handling – Professionals protect delicate hands, dials, and pendulums from damage.
Knowing When to Call
Seeking help promptly prevents worsened wear and incorrect part replacement. Qualified technicians ensure your clock keeps reliable time and maintains its long-term accuracy.
Movement Maintenance Frequency
A wall clock’s movement requires periodic attention to maintain accurate timekeeping. Establishing a regular maintenance schedule prevents most mechanical problems before they start.
Clean and oil mechanical movements every 2 to 5 years, adjusting for environment and age. The following approach works best:
- Clean pivot points thoroughly before applying clock oil sparingly with a fine oiler. Over-lubricating attracts dust and accelerates wear.
- Watch for warning signs: time loss, pendulum irregularities, or unusual noises signal maintenance is due.
- Know your limits: when sticking, grinding, or complex wear appears, consult a professional clockmaker for assessment.
Battery-operated units need less attention; just clean terminals and replace batteries regularly. Mechanical movements demand deeper inspection of gears, pivots, and mainsprings to preserve precision.