Clear your room completely and lay heavy drop cloths to protect your floors. Test a hidden corner to determine if your wallpaper is strippable or traditional. Peel the top layer downward by hand, then soak the backing with warm, soapy water until it softens. Scrape stubborn spots with a plastic putty knife, remove leftover glue with vinegar and water, and finish by patching, sanding, and priming your walls. Following this complete process will result in a smooth, paint-ready surface.
Clear Furniture and Protect Your Floors
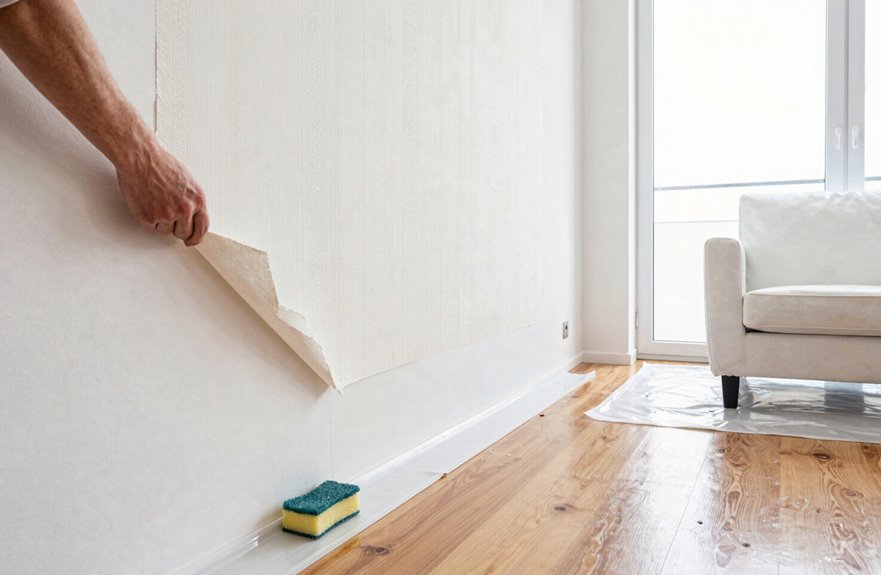
Before I start stripping wallpaper, I clear the room completely. I move every piece of furniture and decor out, creating an open workspace where I won’t trip or damage anything. I lay a heavy drop cloth across the entire floor to protect floors from water, adhesive, and debris that falls during the job.
I take safety precautions seriously. I remove outlet covers and tape over the outlets to block moisture and cleaning supplies from seeping into electrical boxes. I apply masking tape and plastic sheeting to baseboards and molding, shielding them from adhesive remover stains.
I organize my tools and cleaning supplies in one corner, keeping my path clear for stripping and disposal. This methodical setup prevents accidents, contains mess, and lets me focus entirely on the task ahead.
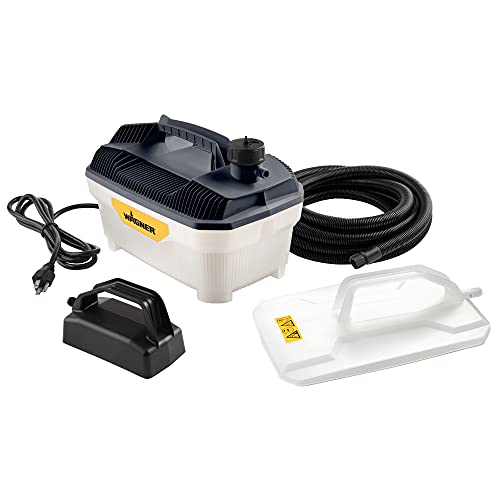
CHEMICAL FREE WALLPAPER REMOVER: Just add distilled water to this Wagner steam cleaner for a natural and environmentally friendly way to remove old or outdated wallpaper. No chemicals are needed, making this a safe option for a house with kids or pets

【KITLUCK Chemical Free Wallpaper Remover Steamer】 Just fill with clean water to wait for approx.20 mins and place the steam plate on your wall for about 10 seconds--the steam will penetrate the wallpaper for removal old or outdated wallpaper, loosing and dissolve dirt, and natural cleaning that lifts away dirt and grime on nearly any surface. No chemicals are needed, making this a safe option for a house with kids or pets.

Wallpaper Removal Kit Value Pack: Wallpaper Perforating Scoring Tool +4 inch Razor Blade Scraper Sticker Remover+ Spray Bottle
Test If Your Wallpaper Is Strippable or Traditional
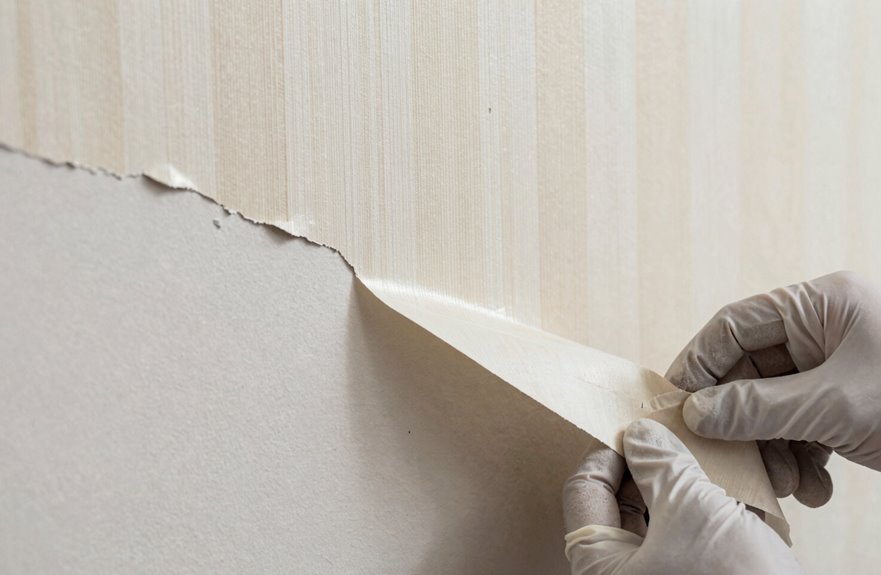
Why waste hours on the wrong removal method? Identifying your wallpaper type first saves serious effort.
Finding Your Test Area
Start at an outlet corner or hidden spot. Lift a peel edge slowly. If the backing comes off cleanly with little resistance, you have strippable wallpaper. This type typically leaves minimal adhesive residue behind.
Recognizing Traditional Wallpaper
When the surface fights back and tears instead of releasing, you’re dealing with traditional wallpaper. This variety requires scoring or soaking to break down stubborn adhesive underneath. Expect more extensive adhesive residue cleanup afterward.
Making the Call
Commit to full removal only after this quick assessment. Knowing what you’re facing keeps your project on track and protects your walls from damage.

Brand: Zinsser

IDEAL FOR ALL WALLPAPERS: Two balanced, interwoven scoring heads mounted on a pressure reactive nylon pivot arm- mild pressure for perforating thinner wallpapers, heavier pressure for perforating thicker/textured wallpapers.
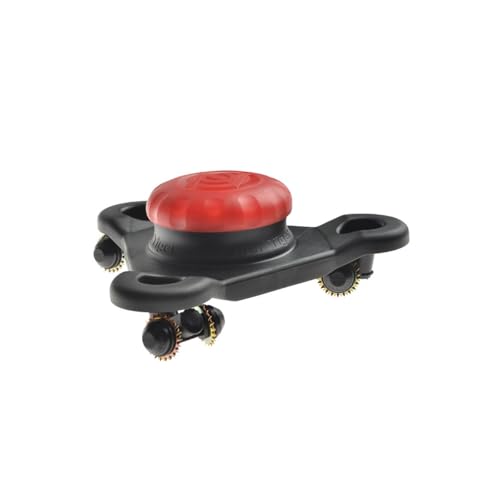
Perforates wallpaper so stripper can penetrate and dissolve adhesive
Peel Off the Top Layer by Hand
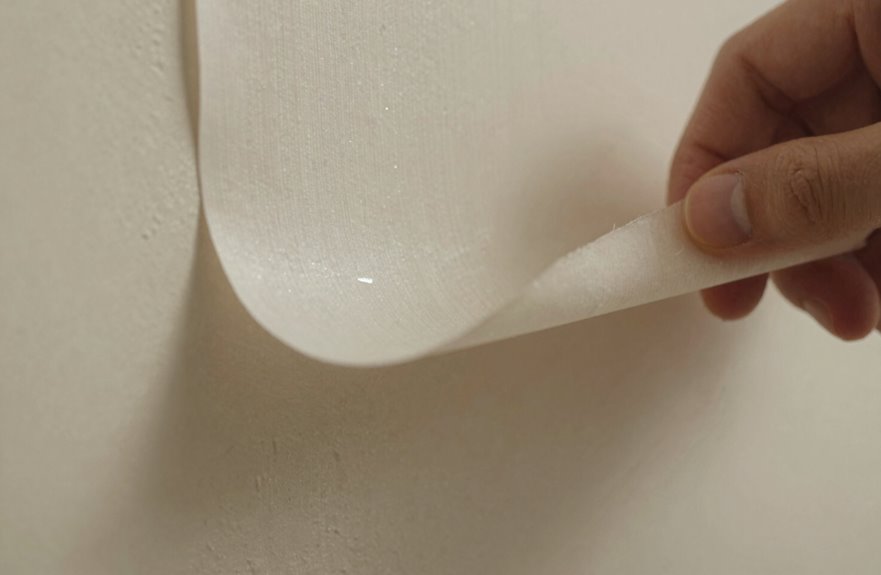
Once you’ve identified your wallpaper type, begin removing the top layer by hand, starting at the top corner of the wall. Pull downward in sections to maintain control and prevent tearing. If the top layer doesn’t peel easily, find a loose edge or corner to begin. Sometimes the backing comes with it, but this is manageable.
| Step | Action | Purpose |
|---|---|---|
| 1 | Locate loose corner | Creates starting point to peel |
| 2 | Pull downward slowly | Removes top layer cleanly |
| 3 | Work in small sections | Prevents re-adhering wallpaper |
| 4 | Re-saturate stubborn spots | Reactivates adhesive for easier removal |
Use warm water in a spray bottle for saturation when needed. This softens the adhesive beneath. Work methodically from top to bottom, ensuring each section receives attention before moving on.

6-Piece Plastic Putty Knife Set with 6 Assorted Sizes:Includes six flexible plastic putty knives in 1.5", 2", 3", 4", 6", and 8" widths to handle a variety of repair and finishing jobs. Perfect for spackling, drywall repair, patching holes, filling cracks, applying putty, smoothing caulk, scraping paint, and everyday home improvement projects. Multiple sizes provide the right tool for both detailed work and larger surface areas.

❤️【3 Pcs Includes】This Putty Knife Set of 3 with variety of size from 1.5" 3" 6" inches,The putty knife is made of high-quality plastic raw materials, with uniform color and long-lasting use

【Multipurpose】5pcs Spackling Knives Different Sizes Are Available, Perfect for Putty, Wallpaper, Applique, Backing, Repair, Paint, Plaster, Including Drywall, Plaster, Baking, Spackling, Patching, Stucco and Much More, Can Be Used to Repair All Kinds of Dents, Cracks, Holes, Spackle Tool Suitable for Any Work Project
Soak the Backing With Warm, Soapy Water
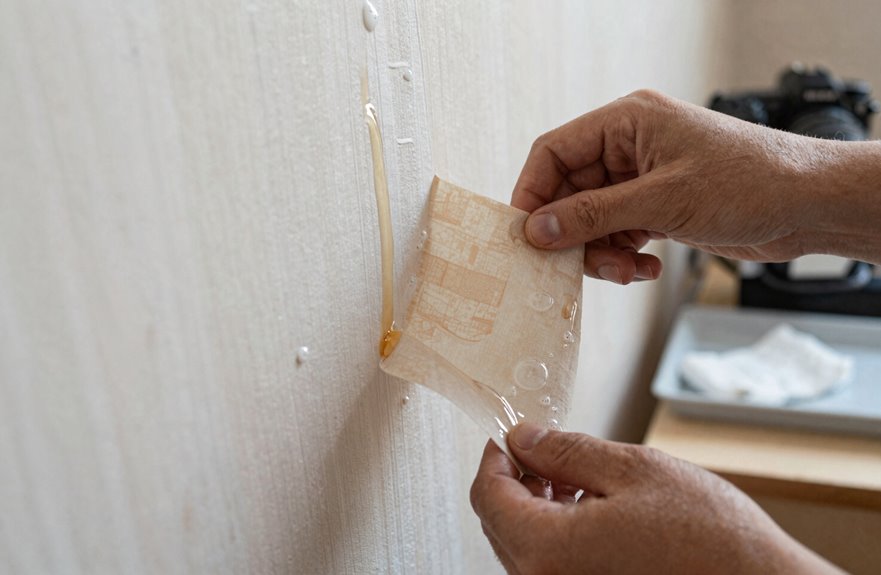
I mix warm water with a few drops of Dawn dish soap in a spray bottle, creating a solution that breaks down the adhesive holding the wallpaper backing. I apply this mixture generously across the exposed surface, ensuring complete saturation so the glue begins to loosen. I work in manageable sections, re-wetting as needed, and use a damp sponge alongside the spray bottle to speed up the softening process before I start peeling.
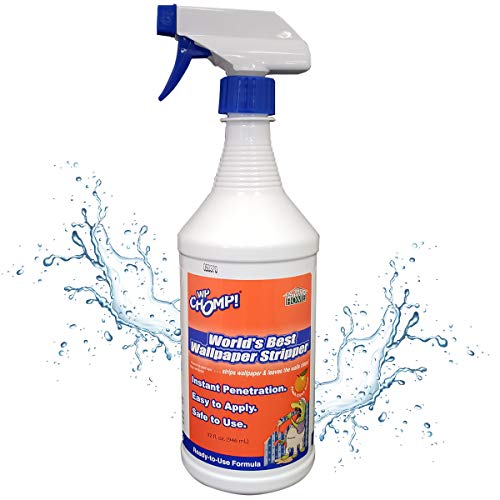
INSTANT PENETRATION IS THE KEY: chomp world’s best wallpaper stripper is the fastest-acting, pleasant-to-use wallpaper remover that makes even the toughest adhesive paste melt away in a snap; Any leftover residue won’t stand a chance against our high-quality blend of ingredients that doesn’t damage or corrode the paint on your wall


CITRUS FORMULA ONLY AVAILABLE FROM CHOMP SOLUTIONS. 1 GALLON READY TO USE: This handy 1-gallon container can re-fill trigger sprayers, be poured in garden sprayers, or used in a paint roller and tray application. Each gallon covers approximately 400 square feet. The liquid inside has a very mild citrus scent that won’t leave a funky smell in your bathroom, living room, bedroom or any other area in your house. No slow, messy gels in this product!
Mixing the Solution
Combine warm water with a few drops of Dawn dish soap to create a soaking solution. This mixture activates the adhesive beneath the wallpaper, making the backing easier to peel. For wall prep, use generous amounts of moisture to prevent gouging.
Fill a spray bottle with the solution, ensuring you can fully saturate stubborn areas. When re-saturating after initial peeling, you reactivate any remaining glue for complete removal. Alternate soaking intervals with gentle scraping, working top to bottom in small sections. This methodical approach, combining proper moisture with patience, makes the job manageable and efficient.
Applying to Backing
Where should you begin once the top layer’s removed? Soaking the wallpaper backing is your next critical move. Mix warm water with a splash of Dawn dish soap, then thoroughly saturate every inch of remaining surface. This combination works to soften adhesive effectively, breaking down that stubborn glue holding the paper to your wall.
Use a spray bottle for broad coverage, then follow with a damp sponge to ensure complete penetration. Proper soaking saves hours of frustration later. When you encounter resistant patches, re-saturate them and wait several minutes. Starting from the top, peel downward in manageable sections. With patience and the right moisture application, you’ll remove wallpaper backing cleanly without wall damage.
Scrape Stubborn Spots With a Plastic Putty Knife
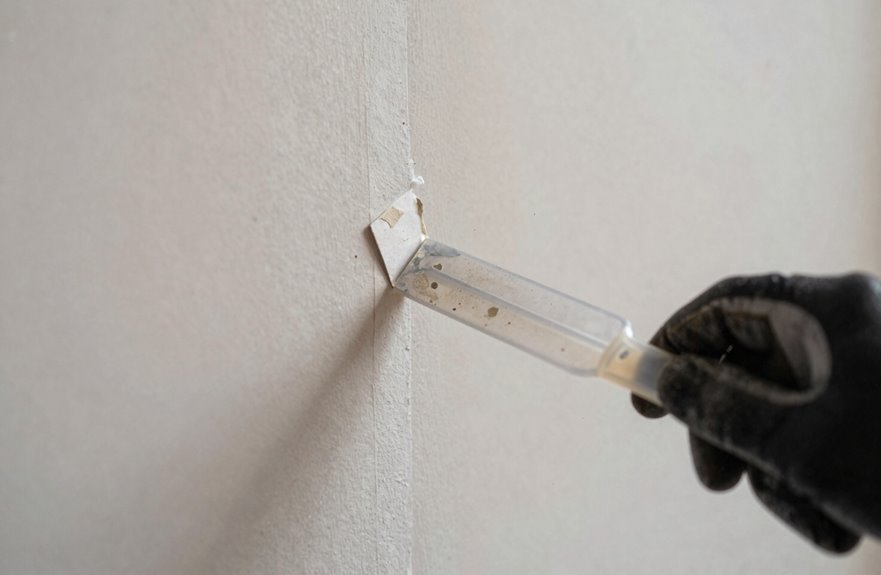
Once the backing has softened, grab your plastic putty knife and get to work on the stubborn remnants. Start at edges or seams where the backing has loosened, sliding the blade underneath to lift residual pieces. For truly stubborn spots, apply steam to further soften the area before scraping. Keep the surface damp throughout this wallpaper removal process, repeating spray and steam cycles as needed. This prevents gouging the drywall beneath. Move in slow, shallow strokes, letting the putty knife do the work without tearing the paper. While the area remains damp, lift any adhesive blobs encountered.
| Technique | Purpose | Risk if Ignored |
|---|---|---|
| Start at edges | Easier entry point | Tears backing |
| Steam application | Loosens stubborn spots | Drywall damage |
| Slow, shallow strokes | Controlled scraping | Surface gouging |
| Work while damp | Minimizes residue | Hardened adhesive |
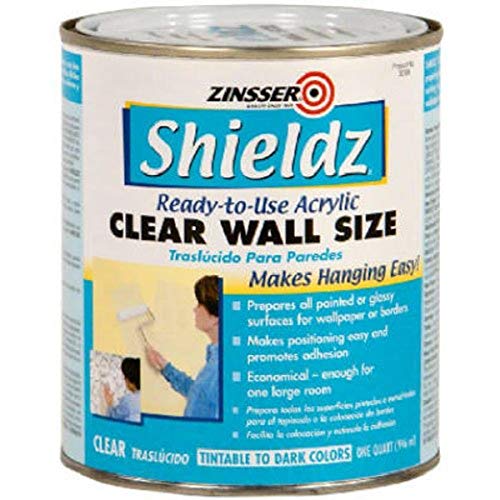
Prepares all painted or glossy surfaces for wallpaper or borders

GENERAL-PURPOSE WALLPAPER PRIMER – PRO-909 Vinyl Prep is a clear, water-based acrylic primer that prepares painted walls for wallpaper installation.

Prepares all painted or glossy surfaces for wallpaper or borders
Remove Leftover Glue With Vinegar and Water
Even after you’ve stripped away every last shred of wallpaper, a sticky film of adhesive often clings to the surface. Wallpaper adhesive responds well to a simple vinegar and hot water solution.
Mix and Apply
Combine equal parts white vinegar and hot water in a spray bottle. Saturate the wall thoroughly and let it soak for several minutes. This breaks down the glue effectively.
Scrub Away Residue
Use the rough side of a sponge or a plastic putty knife to scrub and remove glue. For stubborn spots, re-wet and repeat the soak-scrub cycle until the surface feels smooth.
Final Cleaning
Wipe with clean water to neutralize the vinegar. Follow with dish soap in hot water for thorough primer prep. The wall will be clean and ready for painting or new wallpaper.

Efficient Wallpaper Removal: Scoring and punching tool speeds up wallpaper removal, making the process quick and hassle-free

BOHO PEEL AND STICK WALLPAPER:This abstract wall paper uses olive green, sage green, terracotta, blush pink, cream and soft beige blocks with curved arch shapes, giving walls a warm modern boho look for bedroom and bathroom decor.

Just fill with clean-preferably hot water to wait for approx.25 mins and place the steam plate on your wall for about 10 seconds--the steam will penetrate the wallpaper, natural cleaning that lifts away dirt and grime on nearly any surface.
Patch, Sand, and Prime for Your Next Finish
Why rush into painting when a little prep work now prevents headaches later? Proper finish preparation separates amateur results from professional-looking walls. After wallpaper removal, I inspect every inch for damage before moving forward.
Here’s my three-step process:
- Patch imperfections – I fill gouges and torn paper with drywall compound, feathering edges for invisible repairs. Once dry, I sand smooth.
- Clean and sand – I wipe away glue residue with a damp sponge, wash with soapy water, then sand lightly to ensure a clean wall ready for priming.
- Prime strategically – I test primer in a hidden spot first, then apply INSL-X Prime Lock Plus to seal surfaces and prevent adhesive reactivation.
This systematic approach produces durable, professional results.
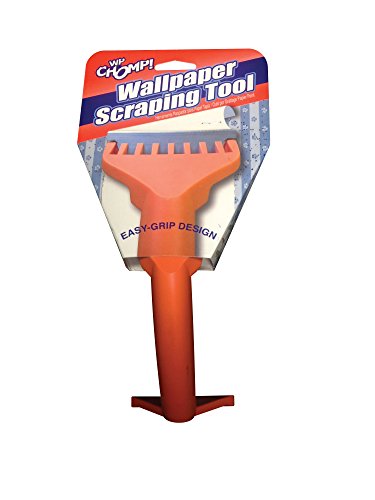
PREMIUM BLADE: Our scrapers come complete with a sharpened, dual edge blade. Sharpening the blade on both sides is an extra manufacturing step but makes removal so much quicker. Dual edge sharpened blades dramatically outperform stamped/forged blades.

Packet contents 1 pc wallpaper scoring and punching tool speeds up wallpaper stripping and removal processes.

STRIP WALLPAPER FAST: The ROMAN Scoring Tool is designed to help remove all types of wallpaper and borders