I paint over wallpaper by first checking if it’s worth saving. Testing a spot with water-based primer reveals whether it turns tacky, which means I’d need to remove it instead. I secure loose edges with Maxbond PVA Glue, sand vinyl surfaces with 120-grit paper, and fill damage with PAL Contract Filler. I seal stains with Resene StainLock, then apply Resene Vinyl Wallpaper Sealer or Behr All in One Primer Sealer before rolling on two coats of low-sheen Behr Premium Plus. I test for tackiness between coats, since vinyl plasticisers can cause stickiness for up to three weeks. The details below walk you through each decision point.
Is Your Wallpaper Worth Painting Over? (Quick Assessment)
Why wrestle with stubborn wallpaper when painting over it might save you hours of frustration? Deciding to paint over wallpaper starts with honest evaluation.
Quick Assessment Checklist
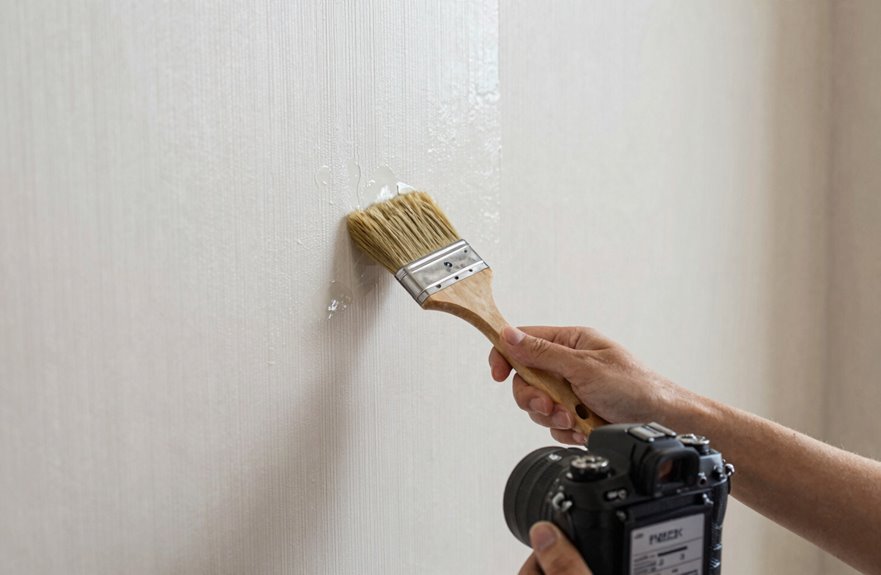
First, test a small hidden area with water-based primer. If it turns tacky, stop immediately; incompatibility means removal is unavoidable.
Examine edges and seams carefully. Minor lifting doesn’t disqualify the project; simply secure loose sections with adhesive before sealing.
For long-standing installs, consider time investment realistically. Sometimes removal damages drywall more than preservation.
Essential Prep Step
Always lightly sand the surface with 120-grit paper. This roughens the vinyl or glossy finish, ensuring primer bonds properly without sliding off.
Painted wallpaper won’t achieve perfection. Up close, seams may remain visible, but smooth finishes from normal viewing distance satisfy most spaces.
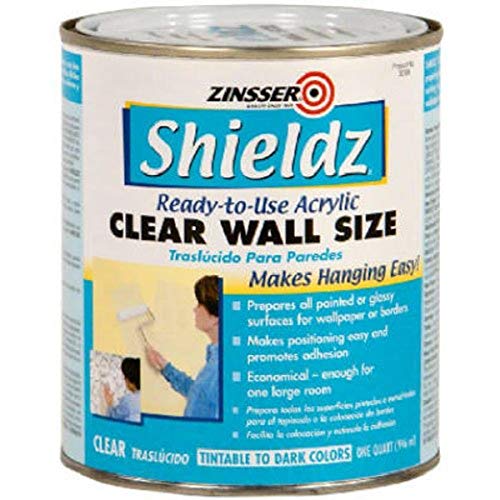
Prepares all painted or glossy surfaces for wallpaper or borders

GENERAL-PURPOSE WALLPAPER PRIMER – PRO-909 Vinyl Prep is a clear, water-based acrylic primer that prepares painted walls for wallpaper installation.
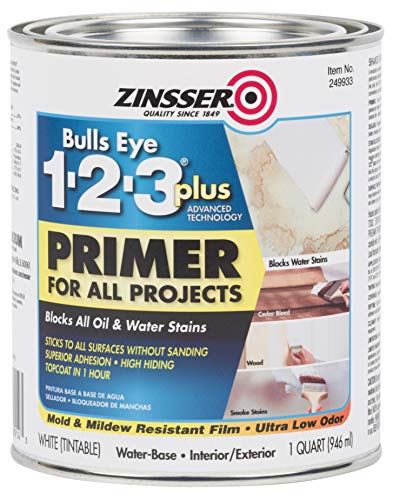
The product is QT INT/EXT LTX Primer
Check for These 5 Wallpaper Problems Before You Start
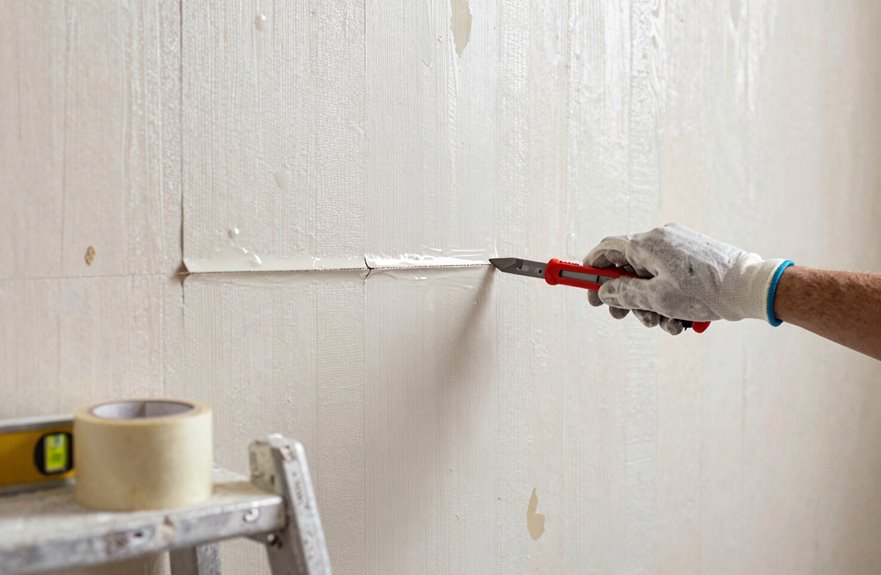
Before I start painting, I’ll check for loose edges that need glueing down, repair any surface damage like tears or bubbles, and identify stains that require sealing to prevent bleed-through. These three problems (loose edges, surface damage, and stain sealing needs) are the most common issues I encounter when preparing wallpaper for paint. I’ll walk you through how to spot and fix each one so your paint job lasts.


Prepares all painted or glossy surfaces for wallpaper or borders

Loose Edges Check
Where exactly should you look when preparing wallpaper for paint? Start at the edges. Loose edges and lifting seams are your biggest enemies here.
Where to Inspect
- Corners and seams – where two wallpaper strips meet
- Ceiling and baseboard edges – high-stress areas prone to peeling
- Around windows and doors – temperature changes cause separation
- Behind radiators – heat accelerates adhesive failure

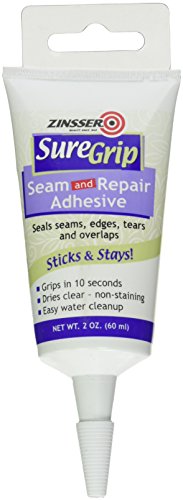
EASY TO APPLY: Squeeze tube makes application simple

Seam and repair adhesive
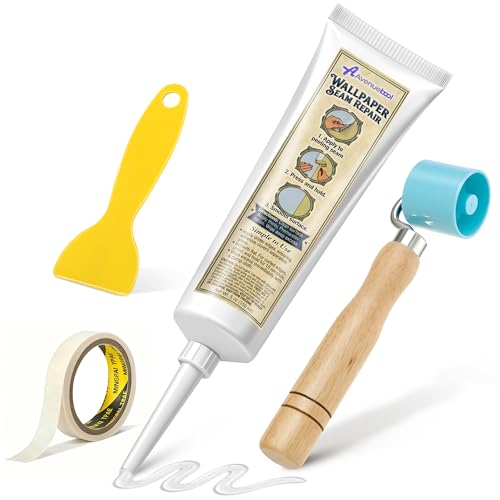
Complete Wallpaper Seam Repair Kit: This all-in-one kit includes 5 oz wallpaper glue with precision nozzle, seam roller, scraper, and masking tape to fix loose seams, lifting edges, and small tears. The water-based adhesive provides strong, long-lasting bonding to secure curling edges and damaged areas, ideal for restoring clean seams in kitchens, bedrooms, living rooms, and bathrooms
What You’re Hunting For
Run your fingertips along every edge, feeling for air pockets or tackiness. If you find lifting sections, don’t just press them down. Apply Maxbond PVA Glue underneath, working it in with a small brush. Wait for full adhesion before moving forward.
Skipping this step means your paint job fails within months.
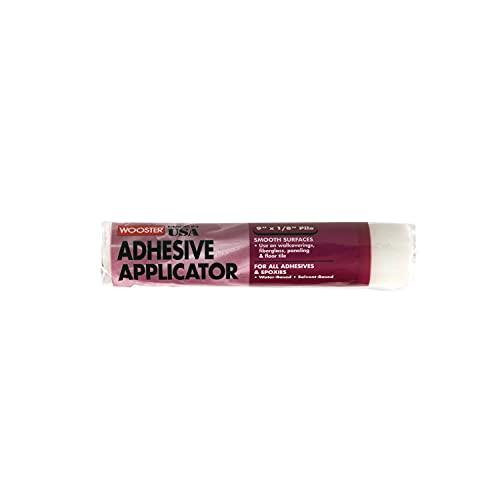
Extra-short white fabric provides smooth application
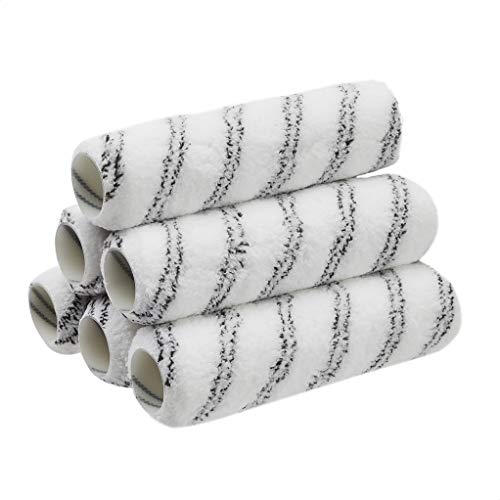
Efficient Performance: 3/8-inch nap holds an ample amount of paint for time-saving convenience and fast, even paint application

Paint Roller kit 10 Pack: 2 inch foam paint roller covers 6 pack, 2 inch plastic paint tray, 2 inch paint tray liners 2 pack, small paint roller frame
Surface Damage Repair
Once you’ve secured the loose edges, address these four remaining problems that can compromise your paint job if left unaddressed.
Peeling Seams and Bubbled Areas
Cross-cut bubbles with a utility knife, reseal edges with Maxbond PVA Glue, and press surrounds using a putty knife handle. This prevents lumps beneath your paint.
Dents and Nail Holes
Fill imperfections with PAL Contract Filler, let it dry completely, then sand lightly with 220-grit sandpaper. Smooth surfaces accept paint evenly.
Water Stains and Crinkles
Seal water stains, crayon, and pen marks with Resene StainLock or Resene Waterborne Sureseal before painting. Skipping this step causes stains to bleed through.
Addressing these issues now produces professional results suitable for sharing with fellow DIYers.
Stain Sealing Needs
Five common wallpaper problems can ruin your paint job if you don’t catch them early.
Stain Sealing Needs
Water stains, crayon marks, and pen ink bleed straight through fresh paint. Seal these trouble spots with Resene StainLock (D408) or Resene Waterborne Sureseal (D42a) before rolling on colour.
Vinyl Tackiness Check
Vinyl wallpaper hides a sneaky problem. Plasticisers can make surfaces tacky weeks later. Test first by brushing a colour testpot over vinyl areas and waiting. Tackiness can take up to three weeks to surface, so allow adequate time before proceeding with paint application.
Loose Edges and Damage
Glue lifting edges with Maxbond PVA Glue. For dents and holes, fill with PAL Contract Filler, then sand lightly with 220 grit once dry.
Gather Tools and Materials for Painting Over Wallpaper
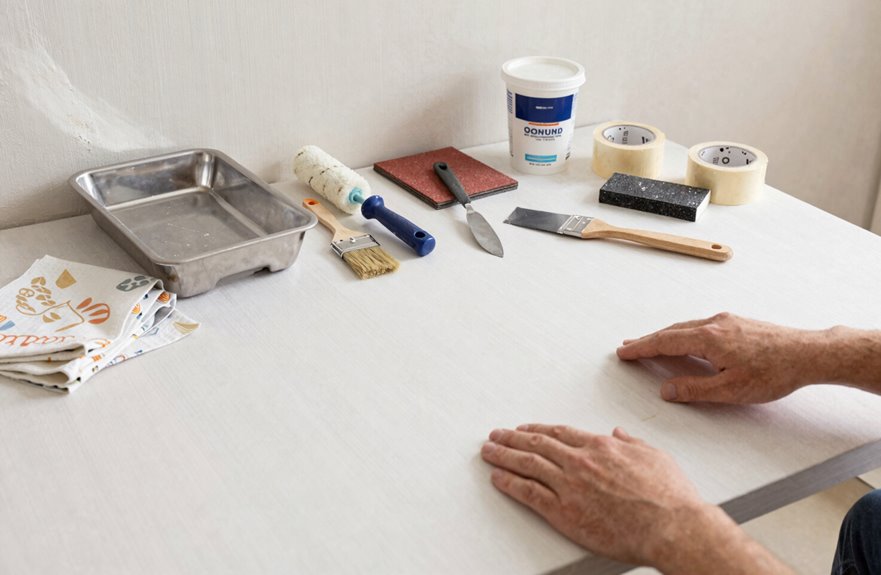
I’ll gather the essential painting supplies, surface preparation tools, and protective gear items before starting this project. You’ll need a vacuum or dust wipe for cleaning, drop cloths for protection, and quality paint rollers with a water-based primer-sealer and paint. Make sure every product’s label confirms it’s compatible with wallpaper surfaces.
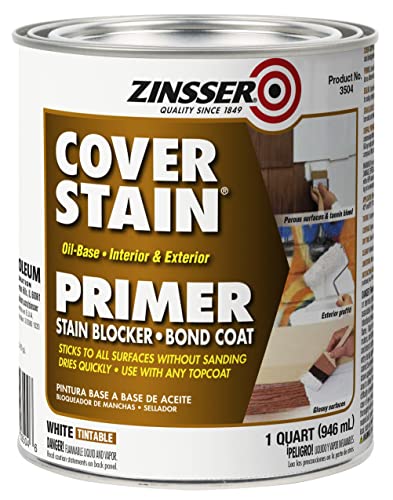
Cover stain, QT, Oil based stain killer primer/sealer

Get ultimate hiding power indoors and out with Zinsser Cover Stain Primer

Helps prevent stain bleed-through
Essential Painting Supplies
What exactly do you need to paint over wallpaper without creating a mess? This guide covers the essentials so you won’t feel lost in the hardware store aisles.
Core Painting Materials
You’ll need Behr All in One Primer Sealer and Behr Premium Plus Paint & Primer in One for your water-based topcoat. Grab a paint tray, roller, and brush for smooth, efficient coverage.
Surface Protection
Protect your floors with drop cloths or old sheets. Paint spills happen, and planning ahead prevents costly cleanup.
Repair Supplies
Keep sheetrock mud or ready-made spackling nearby to fill dents and defects before priming.
Alternative Sealers
For vinyl or stained surfaces, consider tackfree sealers like Resene StainLock or Resene Vinyl Wallpaper Sealer. Multiple options exist for different surface types.
Surface Preparation Tools
Surface preparation demands the right equipment before a single brush touches the wall.
Essential Tools
A vacuum or shop vac clears dust and debris from every corner. Drop cloths shield floors and furniture from drips during sealing and painting. A paint tray, roller, and quality brush are necessary for application, while shop towels handle spills and wipe-downs.
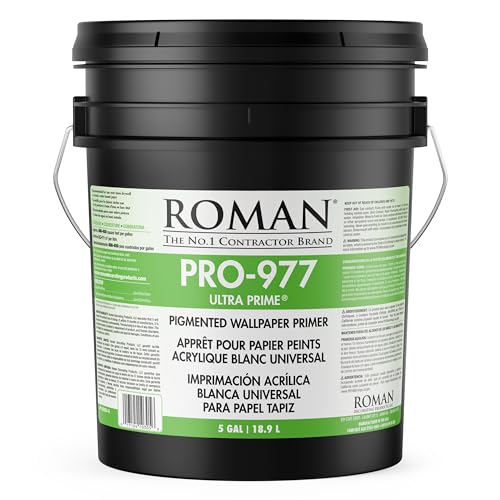
IDEAL DRYWALL PRIMER - ROMAN White Acrylic Primer is excellent for priming over bare drywall and painted surfaces. Ready to hang wallcoverings after approximately 4 hours dry time.
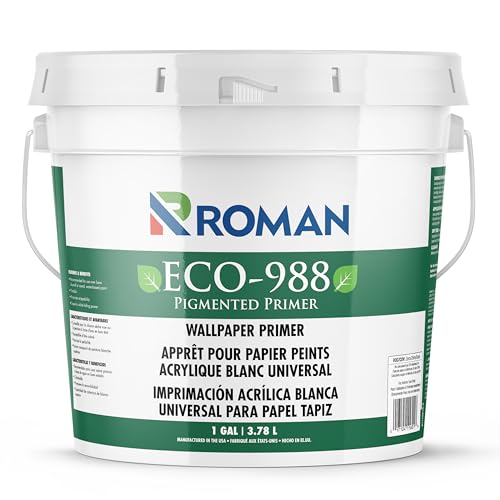
VERSATILE PIGMENTED PRIMER - ECO-988 is ideal for priming bare drywall and sound painted surfaces, for use in new construction or with permeable or micro-vented wallcoverings.

COLORS BY ANNIE SLOAN: This bright yellow Chalk Paint color is inspired by the development of Chrome Yellow pigment – the first non-earthy yellow used in 19th Century English drawing rooms – as well as the yellow found in Chinese hand-painted wallpaper. It’s also a great fifties vintage color.
Primers and Paints
Behr All in One Primer Sealer locks down the wallpaper surface, followed by Behr Premium Plus Paint & Primer in One for the finish coat. Both are water-based and formulated for this exact job.

Use to prime interior surfaces such as walls, doors, trim, plaster, concrete and more

Provides maximum corrosion resistance

Prepares all painted or glossy surfaces for wallpaper or borders
Repair and Sealing Supplies
PAL Contract Filler repairs dents and holes. Maxbond PVA Glue secures lifting edges. For problem surfaces, keep Resene StainLock or Waterborne Sureseal on hand, plus Resene Vinyl Wallpaper Sealer when conditions allow.

Complete Wallpaper Seam Repair Kit: All-in-one wallpaper seam repair adhesive kit includes 2 tubes of 5 oz wallpaper glue, 2 precision applicator nozzles, 2 scrapers, 2 rolls of masking tape, and 1 seam roller. Everything you need to fix loose wallpaper seams, lifting edges, and small tears in one convenient set

Repair quickly – The extra strong wallpaper repair adhesive is ideal for repairing torn wallpaper, lifted edges and overlapping seams quickly and effectively.
Brand Name: Rust-Oleum
Testing Steps
Run tackiness tests with color samples before committing to the full application.

Complete 4" Mini Paint Roller Kit: This all-in-one professional painting kit includes (5) high-density foam roller covers, a sturdy 4-inch roller frame, a deep-load paint tray, and a disposable tray liner. Perfect for small projects and touch-ups, it saves you time and money—no need to buy components separately

Efficient Performance: 3/8-inch nap holds an ample amount of paint for time-saving convenience and fast, even paint application

The patterned paint roller is made of high quality, durable soft rubber and great to give your walls a painted wallpaper look.
Protective Gear Items
Before I gather anything else, I’ll suit up with the right personal protective equipment. Safety glasses shield my eyes from dust and debris when I’m sanding or scraping wallpaper edges. Disposable gloves keep my hands clean during repairs and priming. A dust mask protects me from airborne particles and any chemical fumes from sealants or adhesives.
| Protective Item | Purpose |
|---|---|
| Safety glasses | Eye protection from dust and debris |
| Disposable gloves | Hand protection during repairs and painting |
| Dust mask | Respiratory protection from particles and fumes |
I’ll check that my mask fits snugly before starting. Ventilation matters too, so I’ll open windows and run fans. These steps reduce exposure to hazardous particles and chemical vapors while keeping the project moving forward efficiently.
Secure Loose Edges and Fix Surface Damage
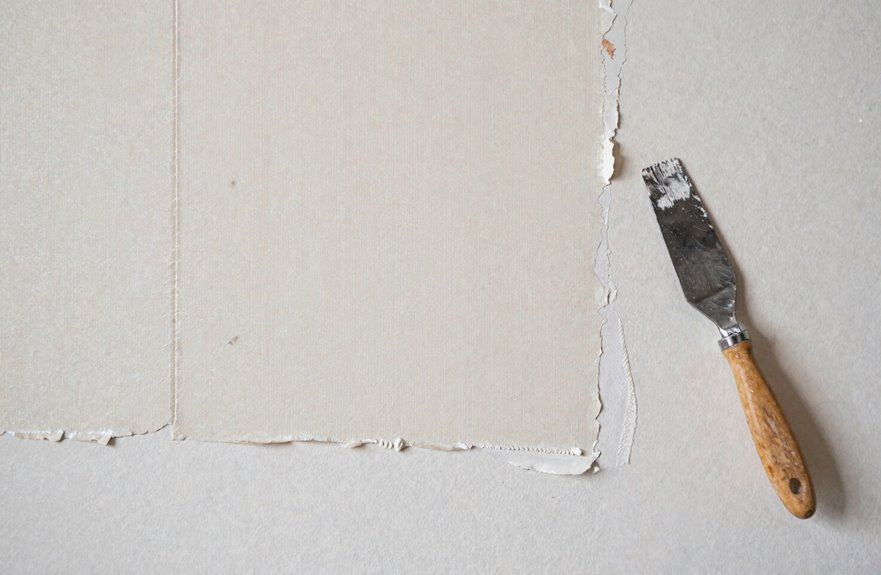
If you want your paint job to last, you’ll need to address every flaw in the wallpaper before opening a can of primer. Skipping this step invites peeling, bubbling, and callbacks you don’t need.
Flawed wallpaper guarantees a failed paint job—prep first, or expect peeling, bubbling, and expensive callbacks.
What to check first:
- Loose edges requiring Maxbond PVA Glue, pressed firmly until set
- Dents or holes needing PAL Contract Filler, then 220-grit sanding
- Stains from water, crayon, or ink sealed with Resene StainLock or Waterborne Sureseal
- Lifted edges after priming, which you re-glue, cross-cut bubbles, and reseal
When you stop holes or work at skirting junctions, press surrounding areas with your putty knife handle to prevent lumps that ruin a flat finish. This preparation is what separates professionals from amateurs.
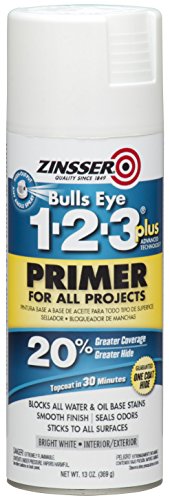
Interior/exterior use on new or previously painted Drywall, concrete, wood, masonry, metal and glossy or difficult surfaces

Ideal for use to kill pesky odors on all painted or unpainted interior surfaces including subfloor, wood floors, cabinets, plaster, drywall, metal, masonry, PVC and more

Exterior/Interior use previously painted drywall, cured plaster, wood, metal, concrete and more
Choose the Right Primer for Your Wallpaper Type
Primer selection directly affects paint adhesion. Poor primer choice results in peeling within months.
Standard Vinyl Wallpaper
Apply Resene Vinyl Wallpaper Sealer on eligible surfaces before any topcoat. This creates the necessary bond.
Metallic Printed Patterns
These require special attention. Seal them with Resene Sureseal (D42) or Resene Enamel Undercoat (D44) prior to painting.
Critical Testing Step
Test colour with a testpot first. Check specifically for tackiness from vinyl plasticisers. If tackiness appears, wait up to three weeks or longer before continuing.
Final Preparation
Glue down edges and lifting areas, then seal as needed. This ensures a smooth finish before topcoat application.
Apply Primer That Actually Seals Wallpaper
I’ll walk you through how to select a primer that seals your wallpaper, test whether it’s working, and apply it with proper technique. First, match your primer to your wallpaper type: use Resene Vinyl Wallpaper Sealer for solid and paper-backed vinyl, or Resene Sureseal for metallic patterns. You’ll know it’s sealing effectively when your testpot shows no tackiness after drying. Roll it on evenly without overworking the surface for optimal results.
Primer Selection Criteria
Why does primer choice matter so much when painting over wallpaper? The wrong primer lets seams bubble, patterns bleed through, and hours of work crumble. Selecting the correct primer prevents these failures and produces lasting results.
Always match your primer to your wallpaper’s specific challenges:
- Use Resene Vinyl Wallpaper Sealer on eligible surfaces to create that foundational seal before any topcoat goes on
- Seal metallic printed patterns first with Resene Sureseal or Resene Enamel Undercoat to prevent finish issues
- Address water stains or pen marks with Resene StainLock or Resene Waterborne Sureseal before priming
- Cross-check room flowcharts and product compatibility to ensure your primer system matches both wallpaper type and topcoat
Test for tackiness after application, since vinyl plasticisers can cause stickiness requiring up to three weeks’ wait.
Sealing Effectiveness Test
How do you know your primer actually sealed the wallpaper? Verify your sealer worked before committing to the full job.
After applying Resene Vinyl Wallpaper Sealer, conduct a simple adhesion test. Let it dry completely, then lightly press painter’s tape onto the surface and pull it away quickly. If the sealer lifts or flakes, more work is needed.
| Vinyl Type | Sealer Required | Special Consideration |
|---|---|---|
| Standard solid vinyl | Resene Vinyl Wallpaper Sealer | Check for tackiness after 3 weeks |
| Paper-backed vinyl | Resene Vinyl Wallpaper Sealer | Test with colour testpot first |
| Metallic printed patterns | Resene Sureseal or Enamel Undercoat | Apply before any other coatings |
Test with a small colour testpot specifically to catch tackiness from plasticisers. If the surface feels sticky, wait; sometimes three weeks or longer is necessary before proceeding. This patience prevents adhesion failures later.
Application Technique Tips
Where do you begin when the sealer’s ready? I start by applying Resene Vinyl Wallpaper Sealer to eligible surfaces. This locks in the layer and reduces texture telegraphing through the final coat.
I seal first, always. Vinyl plasticisers can cause tackiness, so I test with a colour pot before committing. If tackiness appears, I wait up to three weeks, sometimes longer, before continuing.
For metallic prints, I switch to Resene Sureseal or Resene Enamel Undercoat to prevent finish issues.
Process for choosing correctly:
- Test a small patch first
- Check for tackiness with a colour pot
- Allow proper curing time if needed
- Match sealer to room flowcharts
When in doubt, run a test patch and verify the sealer matches the room’s coating system.
Test for Tackiness Before Your Final Coat
Before committing to your final paint system, run a simple test with a testpot to check for tackiness.
Test first, paint later: a quick testpot check now saves you from tacky regrets later.
Vinyl wallpaper poses a hidden risk. Plasticisers within the material can cause lingering stickiness, even after sealing or painting. Brush a small testpot area and wait. Allow up to three weeks, sometimes longer, for any tackiness to surface.
If the test reveals stickiness, hold off on further coatings until the issue resolves. If the testpot dries properly with no tackiness, proceed with your chosen final paint system.
For eligible wallpaper surfaces, apply Resene Vinyl Wallpaper Sealer before any topcoat. This extra step protects the work and ensures a professional, lasting finish.
Pick the Right Paint Finish to Hide Wallpaper Seams
I choose matte or eggshell finishes because glossy paint catches light and makes every seam stand out prominently. Before committing to a full coat, I grab sample pots and test a small patch to confirm the finish doesn’t create tackiness or highlight imperfections. This preview prevents costly redos if the sheen ends up exposing flaws rather than concealing them.
Flat Finishes Hide Best
Why does that wallpaper seam still catch your eye? It’s all about light reflection, and that’s exactly why flat finishes work best when painting over wallpaper.
Flat paint minimizes sheen, which means light doesn’t bounce off those joints and edges. Matte or eggshell finishes fail on glossy wallpaper because subtle texture differences still catch light. Here’s what works:
- Flat finishes absorb light rather than reflect it, making seams virtually disappear
- Pair your flat topcoat with a high-covering primer to block translucency
- Always seal vinyl or glossy wallpaper first to reduce seam reflectivity
- Test your finish in natural and artificial light before committing
When you want walls that look seamless, flat paint delivers the smooth, unified surface you need.
Avoid High Gloss Options
High-gloss paint turns every wallpaper flaw into a spotlight.
I avoid gloss enamels entirely when painting over wallpaper. Their reflective surface catches light and amplifies every seam, texture variation, and edge line. This is especially problematic on vinyl or glossy wallpapers, where misalignment becomes glaringly obvious.
Instead, I reach for matte or satin finishes. These low-luster options diffuse light and soften seam visibility. If I notice any cling or sheen showing through, I apply a stain-blocking primer first, then follow with my low-sheen topcoat.
My go-to method: one coat of sealer or primer, then two coats of Behr Premium Plus Paint & Primer in One in a low-sheen formula. This combination minimizes contrast between seams and surrounding areas.
The right finish covers wallpaper completely, making seams and imperfections virtually invisible.
Test Samples First
Three quick tests on a hidden corner save hours of regret later. I grab a sample pot and brush a small patch behind furniture where nobody looks. This lets me check how the sheen catches light across those stubborn seams before I’m stuck with gallons of wrong paint.
What I always verify in my test square:
- Color accuracy once dry
- Seam visibility under different lighting
- Pattern ghosting through primer and topcoat
- Surface tackiness over several days
I wait up to three weeks, watching for plasticiser-related stickiness that ruins a finish. Then I jot down my findings: exact shade, sheen level, and how well seams disappeared. This documentation guides my full-room plan and prevents second-guessing when it’s time to commit.
Paint Over Wallpaper: Application Tips That Work
Before I apply any paint, I’ll make sure my wallpaper surface is properly prepared. I peel loose edges and glue them down with Maxbond PVA Glue for a smooth foundation. I seal water stains, crayon, and pen marks with Resene StainLock or Resene Waterborne Sureseal before priming. For eligible wallpapers, I apply Resene Vinyl Wallpaper Sealer to improve topcoat adhesion.
| Problem | Solution |
|---|---|
| Loose edges | Maxbond PVA Glue |
| Stains/marks | Resene StainLock or Sureseal |
| Poor adhesion | Resene Vinyl Wallpaper Sealer |
I fill dents with PAL Contract Filler, lightly sand with 220 grit sandpaper, and wipe away dust before priming. On vinyl wallpapers, I test for tackiness after coatings. If tackiness appears, I allow up to three weeks before proceeding.
Fix Bubbles, Seams, and Lifting After First Coat
Once I’ve applied that first coat of paint, I’ll inspect the wallpaper surface carefully for any bubbles, seams, or lifting edges that may have become visible.
I’ll fix lifting edges by applying Maxbond PVA Glue to both faces of the seam, waiting at least 20 minutes, then pressing or rolling them flat. For stubborn bubbles that persist, I’ll cross-cut them and reseal the edges to restore a smooth surface. I’ll stop any holes by pressing the surrounding area with the handle of a putty knife to prevent lumps.
During inspection, I check for:
- Bubbles that have formed under the paint layer
- Seams that have separated or lifted
- Edges pulling away from the wall
- Small holes needing attention before the next coat
These repairs ensure the surface stays uniform for additional work.
Apply Final Coats for Durable, Long-Lasting Coverage
After completing repairs from the first coat, I’m ready to build the final finish that protects the wallpaper and delivers lasting results.
Seal and Prime
I’ll seal eligible wallpaper with Resene Vinyl Wallpaper Sealer first. This improves adhesion and reduces peel risk. Then I’ll apply Behr All in One Primer Sealer, choosing water-based products for easier cleanup.
Apply Final Coats
I’ll roll on 1–2 coats of Behr Premium Plus Paint & Primer in One. Between coats, I’ll cross-cut any bubbles and reseal edges as needed to maintain smoothness.
Test Before Committing
If the wallpaper feels tacky, I’ll test my color with a sample pot and wait up to three weeks. This reveals problems before painting the entire room.
Proper sealing and multiple coats create durable coverage that withstands wear and maintains appearance over time.
When Can You Use the Room? Drying and Cure Times
How soon can you actually use the room? Patience here protects everything you’ve done.
Drying times depend on conditions. Primer and paint layers feel dry to touch in 1–2 hours, but full curing takes 24–72 hours per manufacturer specifications. Allow 24 hours between coats when humidity sits at 40–50%, though cooler temperatures below 60°F slow this considerably.
Watch for these environmental factors:
- High humidity above 70% extends tack time and creates soft patches
- Low temperatures delay complete drying between coats
- Insufficient airflow traps moisture in the paint film
- Rushing recoating compromises adhesion and finish quality
Many Behr products permit recoating in 2–4 hours under normal conditions. However, true hardness and durability require up to two weeks. Avoid heavy cleaning or moisture exposure during this final curing period to prevent damage to the finish.
5 Mistakes That Make Painted Wallpaper Peel or Bubble
I’ve waited out the drying times, but the real test comes months later when I spot bubbles lifting at the seams or peels creeping from the corners.
Poor Surface Prep
Skipping glued edges or filled dents creates uneven adhesion that causes bubbling beneath the paint.
Ignoring Vinyl Sealers
Unsealed vinyl wallpaper allows plasticisers to migrate into paint, leaving tackiness that weakens grip and causes cracking.
Wrong Primer Choice
Applying oil-based primer when water-based sealer is needed, or mismatching products that cannot bond properly, compromises adhesion.
Neglected Joints and Edges
Rushing past skirting and corners without edge sticking or sealing creates failure points where peeling begins.
Skipping Edge Sealing
Painting straight over unsealed joints traps air that expands into visible bubbles after the first coat.
Painted Wallpaper Lifespan: What to Expect Long-Term
To ensure longevity, painted wallpaper requires proper preparation and ongoing care. Results can last a decade or more when applied correctly, with some homeowners reporting 12+ years of durable, attractive surfaces.
Close inspection reveals that painted wallpaper may look smooth from across the room while seams and texture remain visible up close.
To maximize lifespan, follow these critical steps:
- Prime thoroughly with water-based primer to ensure adhesion
- Seal properly to prevent future peeling and bubbling
- Avoid glossy finishes that highlight imperfections
- Monitor vinyl wallpapers for tackiness and reseal edges as needed
Proper technique transforms painted wallpaper into a durable, long-term solution.