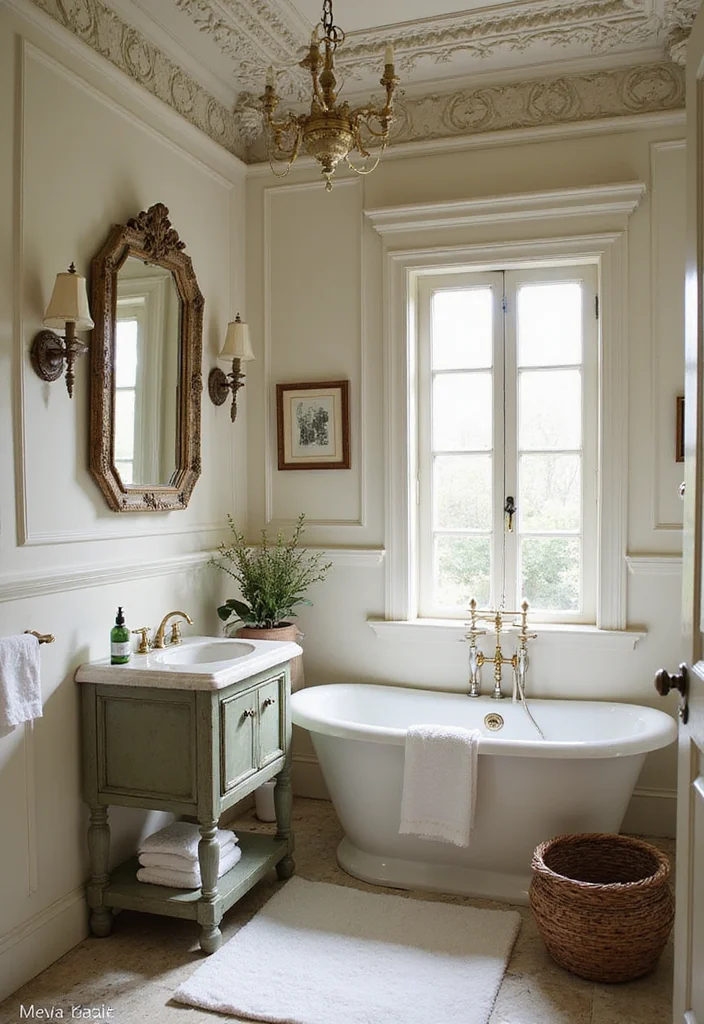
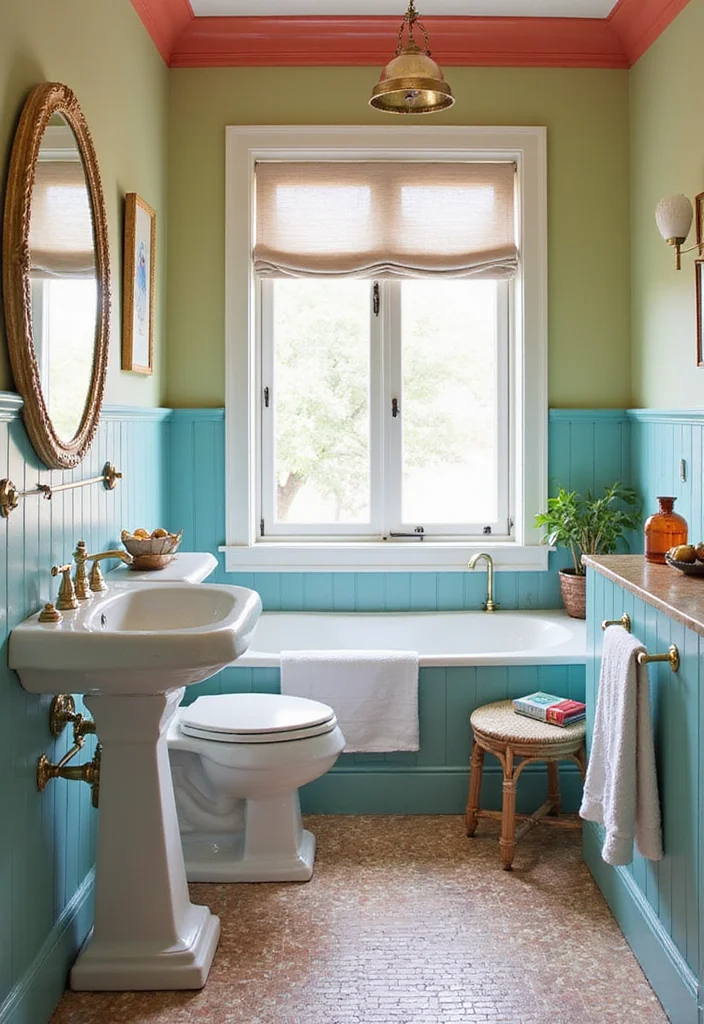
When it comes to bathroom design, small details can make a big difference. I’ve been inspired to put together this post because adding some elegant touches can elevate your space from ordinary to extraordinary. One often-overlooked element is bathroom crown molding. This decorative trim not only enhances the beauty of your bathroom but also adds a touch of sophistication that reflects your style.
If you’re someone who appreciates elegant home decor and is looking to make a statement with your bathroom, this post is for you. Whether you’re planning a full renovation or just wanting to make some simple updates, these crown molding ideas can help transform your bathroom into a luxurious retreat. You don’t need to be a design expert to implement these concepts. With a little inspiration and creativity, you can achieve stunning results.
In this article, you’ll discover 14 unique bathroom crown molding ideas that will inspire your next home improvement project. From classic white and vintage styles to modern geometric designs and rustic wood options, there’s something for every taste. You’ll learn how each style can enhance your space, as well as practical tips for incorporating these designs into your own bathroom. Let’s dive in and explore how you can add that elegant detail to elevate your bathroom.
Key Takeaways
– Explore 14 diverse crown molding styles, including classic, modern, and rustic options for a tailored look.
– Learn how crown molding can enhance the overall design and sophistication of your bathroom space.
– Find practical tips for implementing DIY upgrades that can be both stylish and budget-friendly.
– Discover how to incorporate lighting and shelving into your crown molding design for added functionality.
– Get inspired by unique ideas like curved crown molding and decorative corners to make your bathroom stand out.
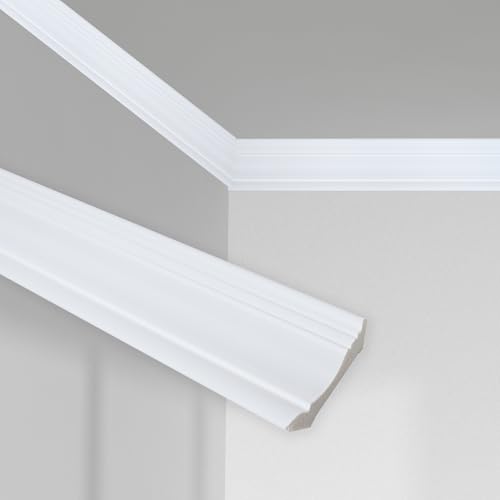
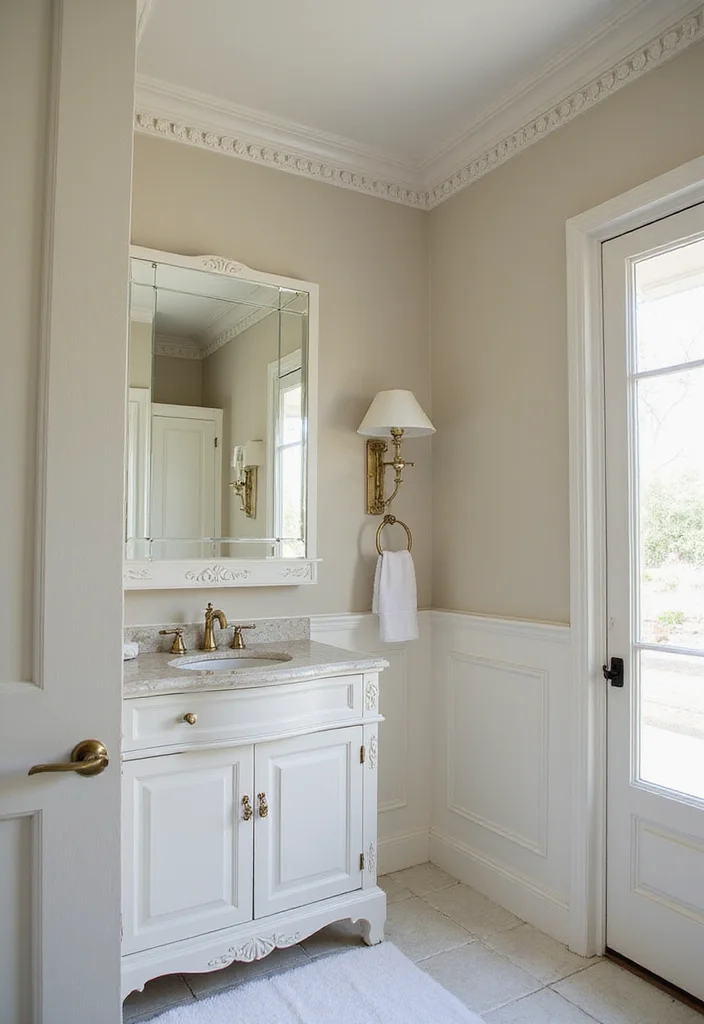
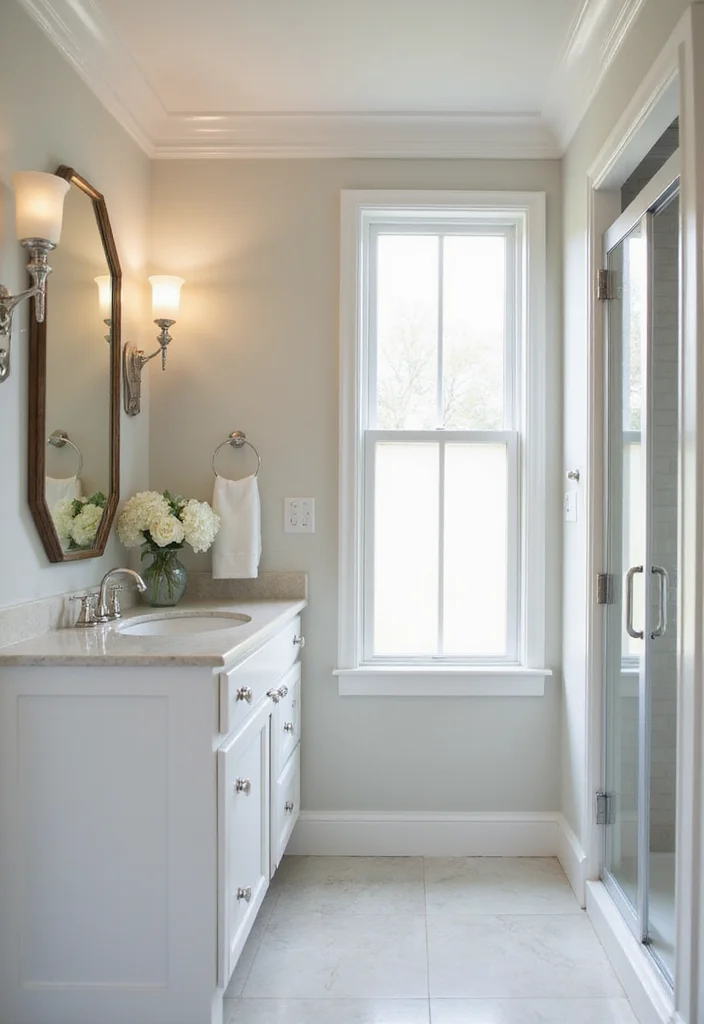
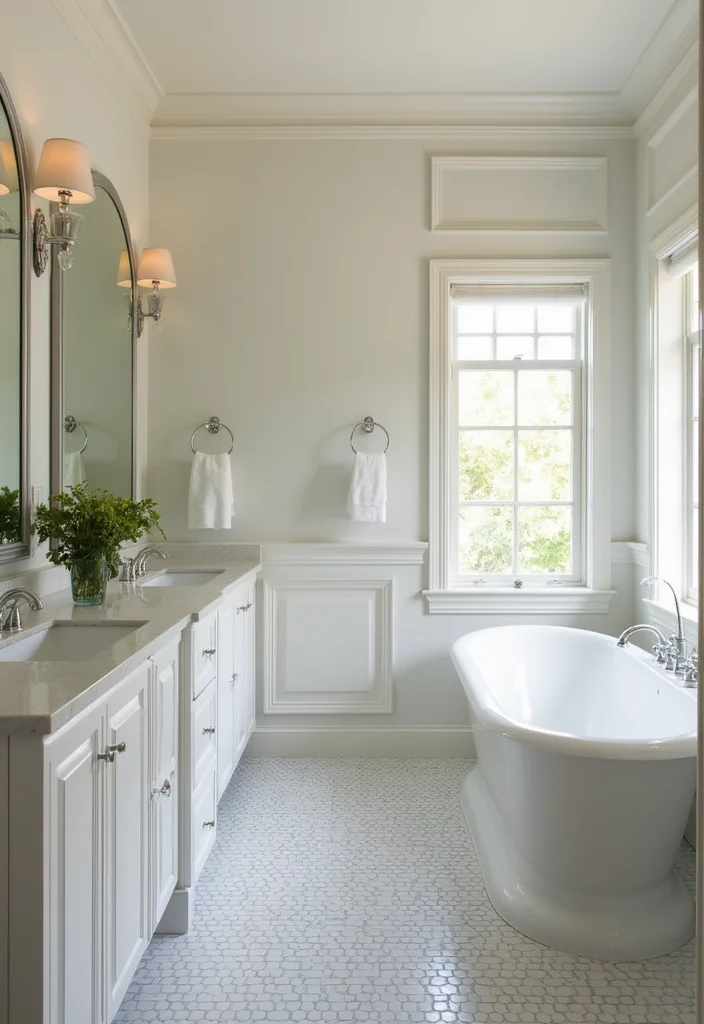
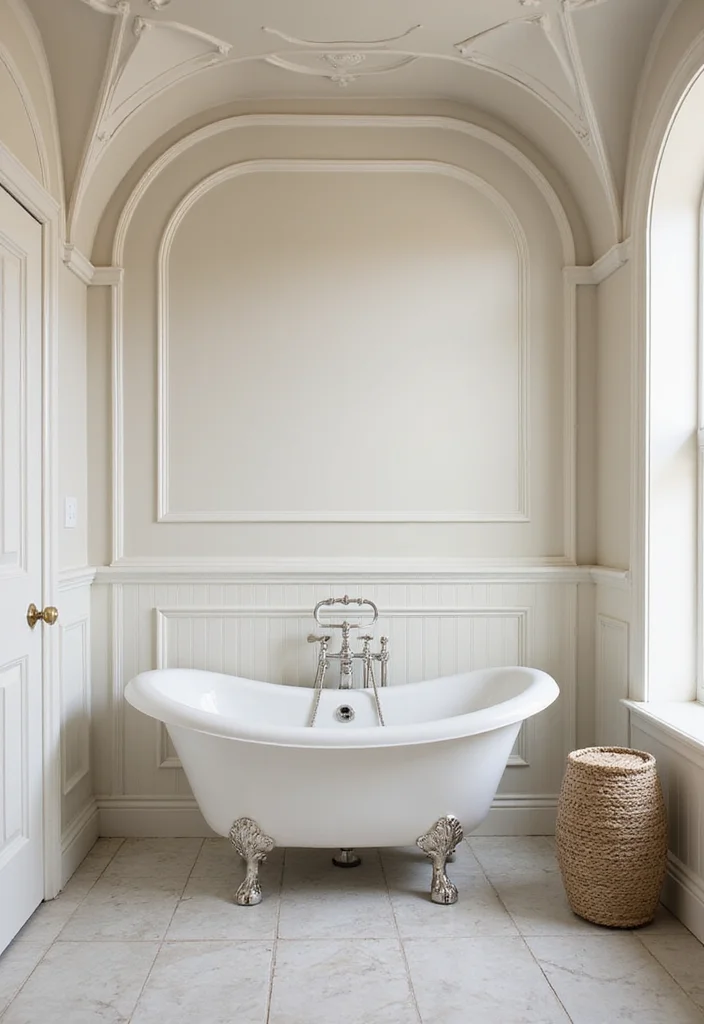
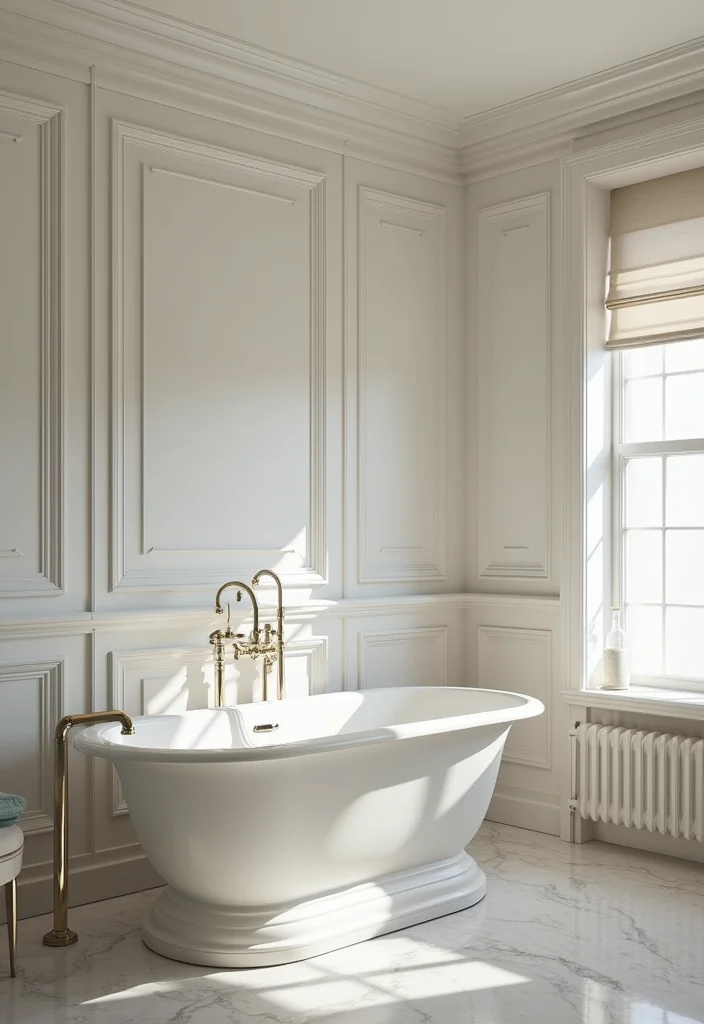
1. Classic White Crown Molding
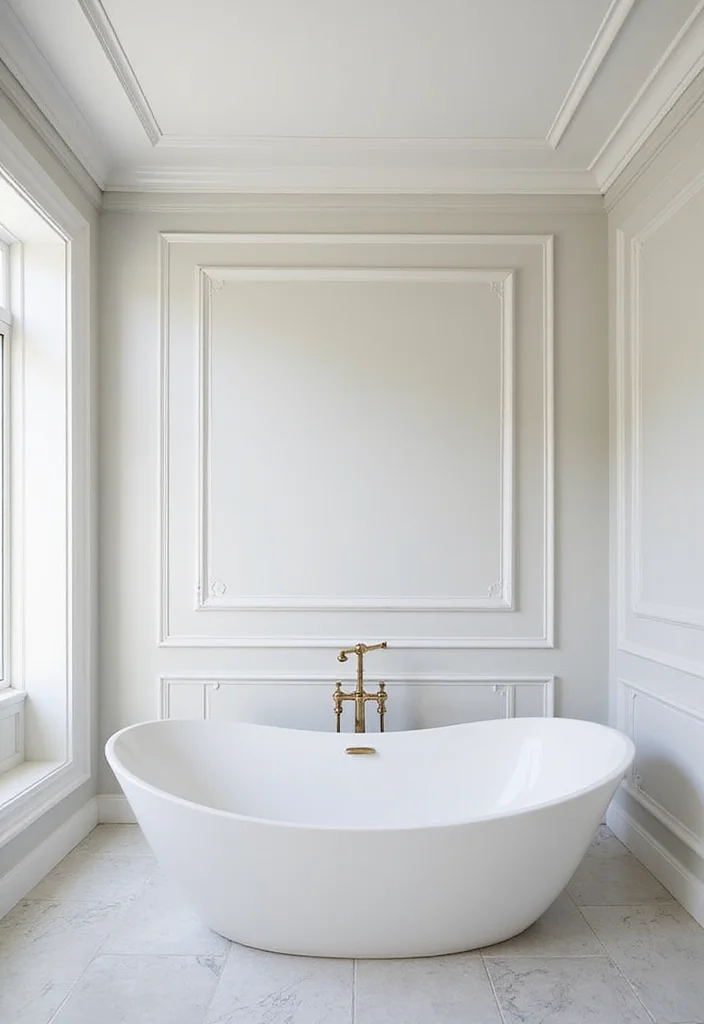
Classic White Crown Molding anchors the bathroom with timeless elegance. It adds clean lines that frame walls and ceilings. A pure white profile brightens space and creates a spa-like feel. This option works with both traditional and modern looks.
Keep it simple to let the shape shine. If you want drama, choose a thicker edge; if you prefer subtlety, go with a slim profile. Install with careful caulking and precise miters for a seamless line. A white crown reframes the room and reflects light, making it feel calm.
• Use a thicker profile for drama
• Choose crisp white paint for clean edges
• Install with precise miters and caulk
• Add soft lighting to highlight the line
White crown adds quiet polish to any bath.


2. Modern Geometric Crown Molding

Geometric crown molding brings a fresh edge to any bathroom. Sharp angles and straight lines create a sculptural frame overhead. Pinterest fans and design blogs show this style in matte black, navy, or crisp white for a bold yet clean aesthetic. It reads modern and confident.
Keep the forms simple so the room does not feel busy. Pair with sleek fixtures and minimal hardware for a coherent look. In small baths, white with a dark trim helps depth; in larger rooms, full dark can stand as a focal point. This detail adds drama while staying pared down.
• Use angular profiles for sharp interest
• Choose dark finishes for bold contrast
• Place against light walls to pop
• Align lighting with lines for unity
This style gives your bath a fashion-forward feel.


3. Vintage Style Crown Molding
Vintage Crown Molding brings character and charm to a bath. Ornate curves and classic profiles nod to earlier craft. Soft pastels or traditional white echo retro spaces, as seen in restoration blogs. It pairs well with brass fixtures and vintage accents for a cohesive vibe.
Look for period-style profiles or reproductions in the right scale. Mix old with new to keep the room lively. Use restrained color so the molding stands out. This look invites a warm, nostalgic mood.
• Use ornate profiles for authentic charm
• Choose pastel paints for vintage feel
• Pair with brass fixtures
• Add an antique vanity for cohesion
The room feels warm and nostalgic.


4. Rustic Wood Crown Molding
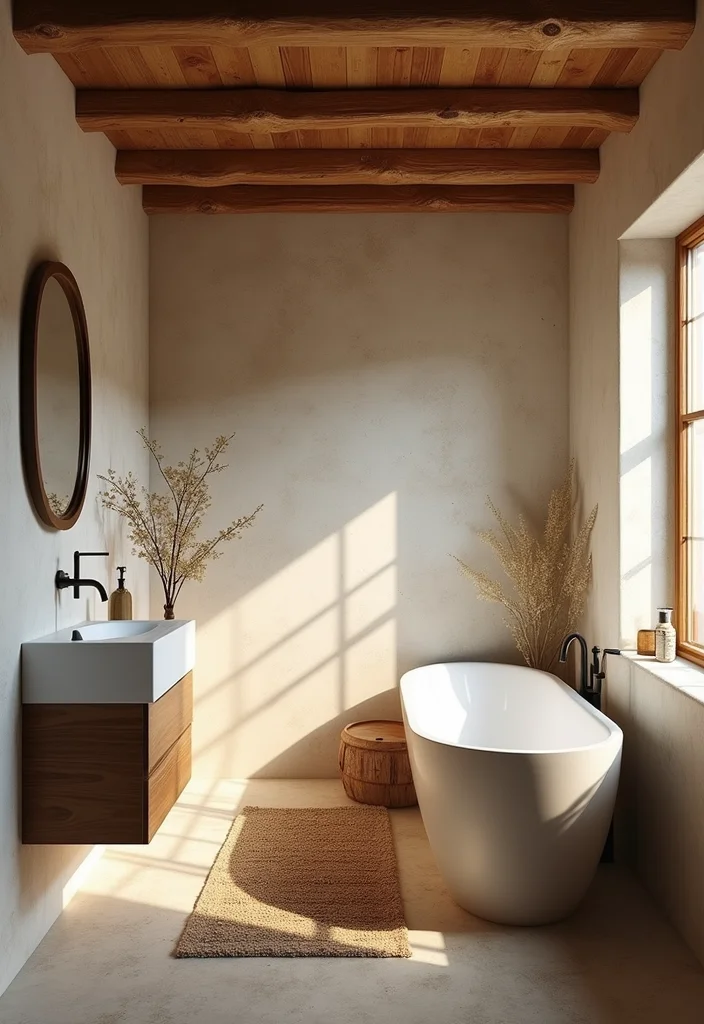
Rustic wood crown molding brings nature inside with depth and texture. It suits farmhouse and boho rooms, adding warmth and a lived-in feel. Reclaimed wood adds history and eco vibes. Pair with stone or wood surfaces for a grounded scene.
Keep finishes light or whitewashed to keep the space airy. Seal well to protect from humidity. Install with care to prevent warping in a warm bath. The result is a cozy, earthy atmosphere.
• Use reclaimed wood for history
• Choose light stain to keep airy
• Seal against moisture
• Pair with stone for harmony
It creates a warm, inviting mood.
Rustic wood crown molding brings nature inside, adding depth and texture to a bathroom crown molding setup. Reclaimed wood packs history and eco vibes, pairing with stone or wood surfaces for a grounded, cozy feel. Keep finishes light or whitewashed and seal well to protect from humidity.


5. Bold Black Crown Molding
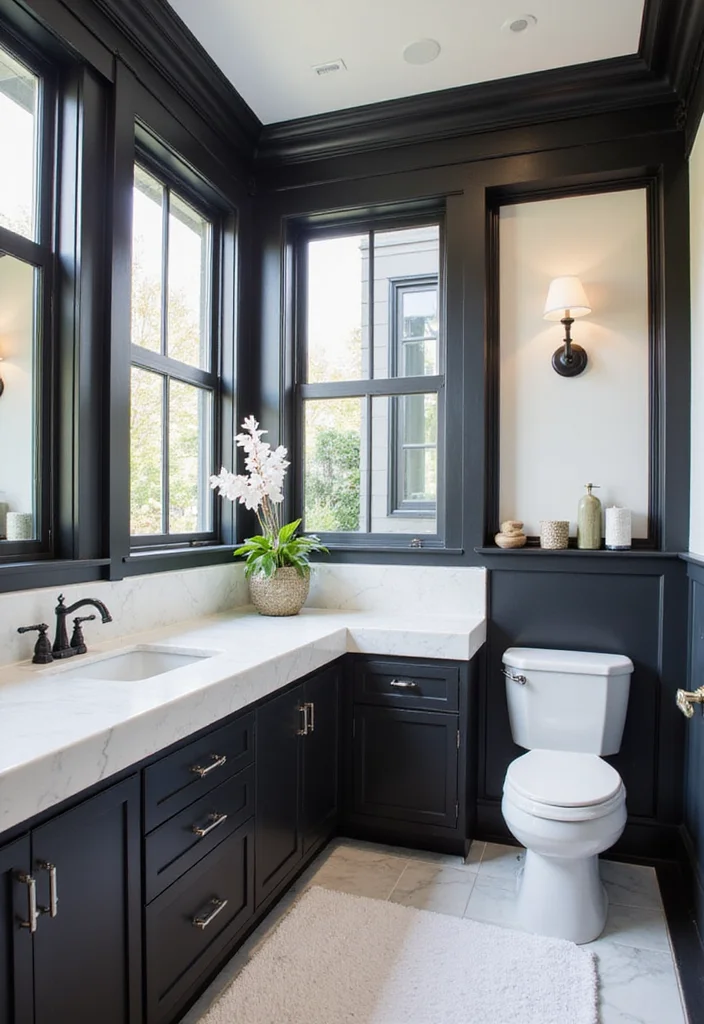
Bold black crown molding makes a strong style statement. It creates high contrast with pale walls and adds a modern edge. Pair with gold or brass fixtures for a luxe touch. The frame it creates draws the eye up and adds architecture.
Use it in small baths to gain the illusion of height. Choose a durable finish to resist humidity. Keep other trim simple to avoid crowding. The result is a chic, dramatic bathroom.
• Use matte black for depth
• Choose brass fixtures for contrast
• Install with crisp joints
• Add lighting to highlight color
It becomes a bold focal point in your bath.
Fun fact: Bold black bathroom crown molding can make a ceiling feel taller by up to 15%, especially against pale walls. Pair with brass fixtures for a luxe punch.
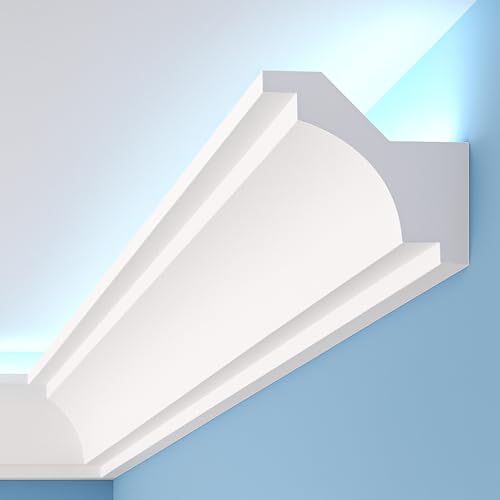
6. Crown Molding with LED Lighting
LED lighting tucked into crown molding adds a soft halo. This moves the bath toward a luxe, spa-like mood. The glow comes from behind the molding, giving a floating edge. It fits modern spaces with premium feel.
Pick dimmable LEDs to adjust mood. Warm white works best in baths. Ensure safe wiring and moisture protection. Use this glow for late nights or morning routines.
• Use dimmable LED strips
• Choose warm white
• Install with proper wiring and sealing
• Place for even glow along ceiling
The glow makes the room feel calm and premium.


7. Crown Molding with Decorative Corners
Decorative corners add a refined touch to a plain crown. Corner blocks give the look of custom millwork. Choose intricate or simple forms to match your taste. These small details lift the finish to a high-end feel.
Match the corner style to your fixtures for unity. Keep the scale in line with room height. Use the same color as the crown or a subtle contrast for emphasis. This helps the space feel crafted.
• Use corner blocks with molding
• Choose designs to fit space
• Match hardware for unity
• Place corners at key joints
It elevates the room with a crafted look.


8. Crown Molding with Built-in Shelves
Built-in shelves inside crown molding marry form and function. They add storage without stealing space. In smaller baths, they hold decor and daily items. Clear glass shelves keep the area open; solid shelves add texture.
Set shelf heights to fit what you use most. Use clear or light shelves to stay airy. Mind the weight and anchor securely. This combo feels practical and stylish.
• Use shelves within the molding
• Choose glass options for openness
• Place at eye level
• Add decor to soften look
This setup keeps items handy while looking neat.
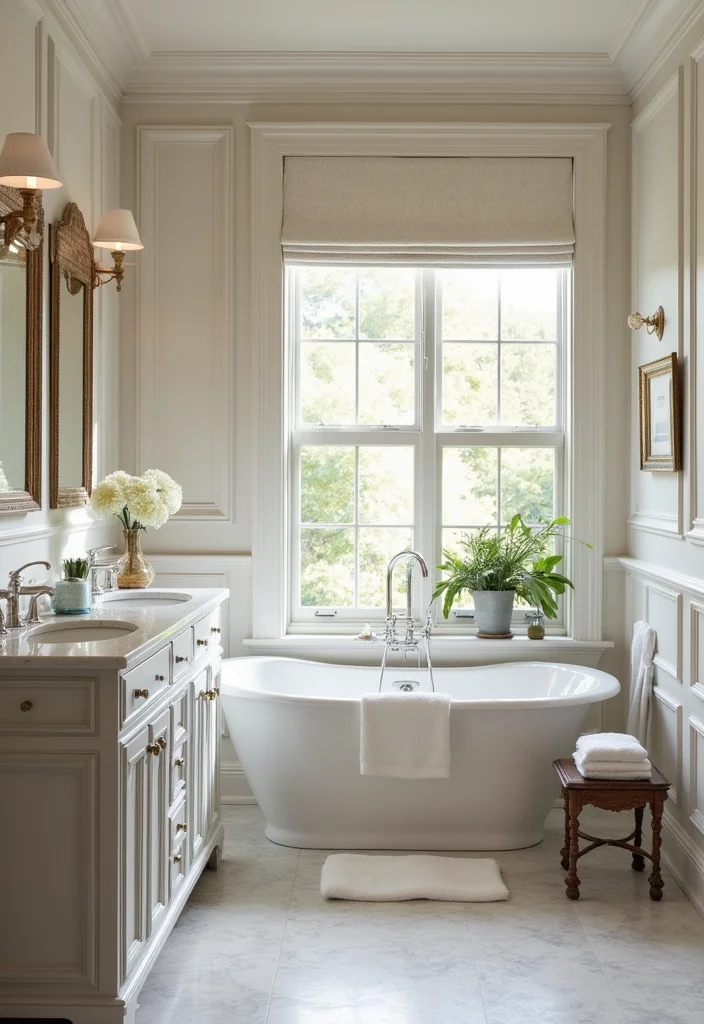
9. Crown Molding with Wainscoting
Wainscoting with crown molding adds depth and form. The layered look makes ceilings feel taller and rooms feel refined. Try contrast colors for drama or go all neutral for calm. This works well in traditional or transitional spaces.
Plan moldings to sit well with the wall height. Align colors with wall panels for harmony. Test two color swatches before painting. The result is a classic, polished space.
• Use contrasting colors for drama
• Match scale to wall height
• Install clean lines
• Add chair rail for cohesion
The effect is a classic, elevated finish.


10. Curved Crown Molding
Curved crown molding softens edges with gentle arcs. It adds a romantic, whimsical feel. It suits baths with round tubs or features. Light pastels help the curves read as elegant.
Pair with round mirrors and curved sinks to unify. Ensure the curve is sturdy and well supported. A smooth finish highlights the shape. It creates a graceful, flowing space.
• Use curved profiles for romance
• Pair with round fixtures
• Choose light pastels
• Seal for moisture protection
The curves bring a graceful flow.
Curved bathroom crown molding brings a romantic, spa-like glow to bathrooms. Use gentle arcs with round mirrors and light pastels, and ensure sturdy support and moisture protection for lasting elegance.


11. Minimalist Crown Molding
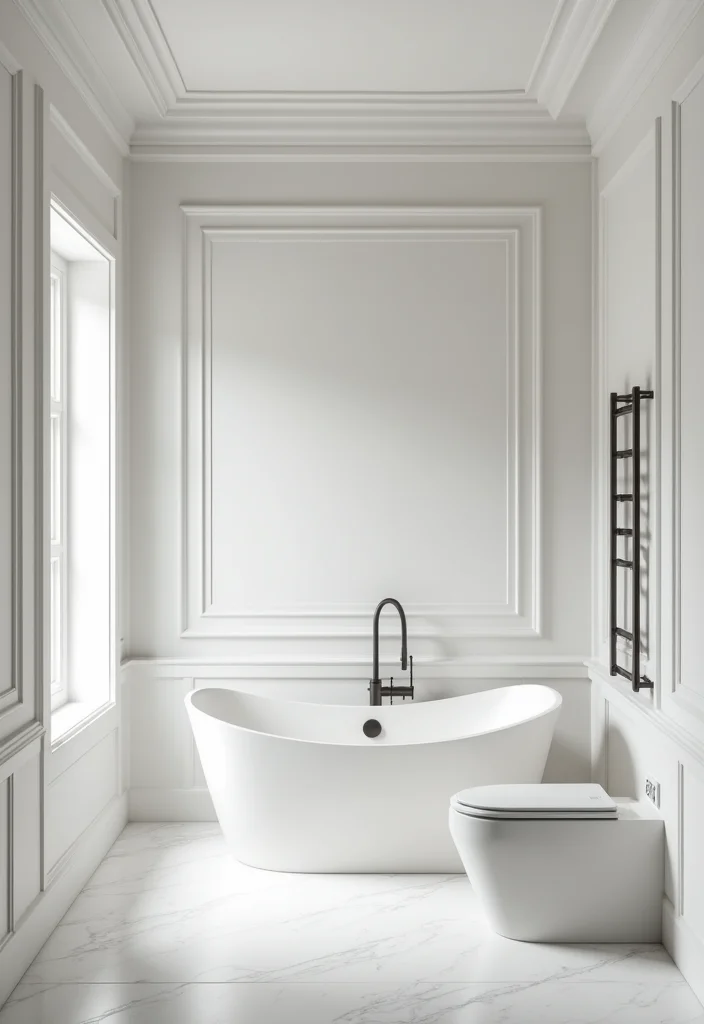
Minimal crown molding keeps lines clean and rooms calm. It fits modern baths with open space. A slim profile adds just enough detail without crowding. Neutral tones make the space feel bigger and brighter.
Keep profiles slim and edges sharp. Pair with sleek fixtures. Let lighting play a role in the design. The result is a serene, uncluttered vibe.
• Use a slim profile
• Choose neutral white
• Pair with flat panels
• Add hidden lighting
Simple lines make the space feel easy and fresh.

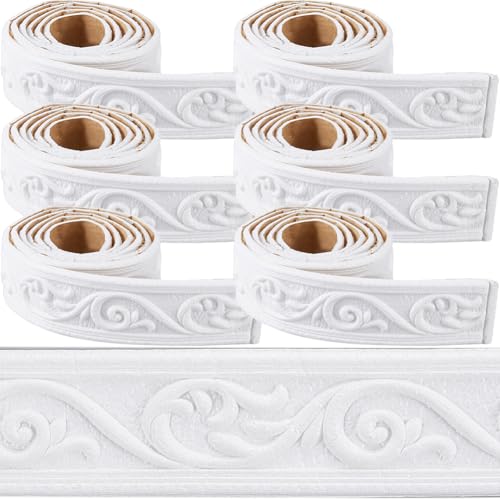
12. Crown Molding with Intricate Carvings
Carved crown molding shows skill and luxury. Floral motifs or classic patterns catch the eye from across the room. It shines in tall ceilings where the detail can be seen. A touch of color on the carvings helps them pop.
Balance the heavy detail with simple walls. Keep other trim clean to avoid overload. Pick a color that helps depth. The look reads as art and craft.
• Use detailed carvings for depth
• Paint to highlight depth
• Pair with minimal walls
• Install in tall spaces
It reads as a crafted piece in your bath.
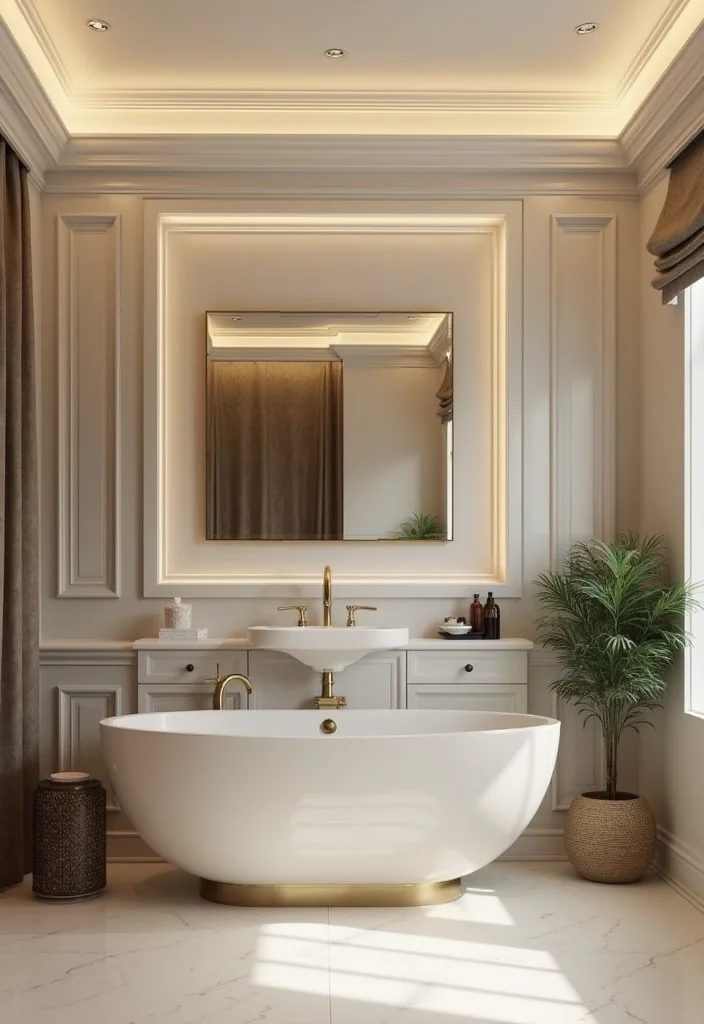
13. Crown Molding with Dimensional Layers
Dimensional crown molding adds depth with layered surfaces. The multi-tier look creates drama and shadow. Try different tones on each layer for interest. Bigger rooms handle the extra detail well.
Line each edge cleanly. Use lighting to highlight the layers. Choose fixtures that frame the tiers. The bath feels rich and architectural.
• Use layered profiles for depth
• Alternate tones for contrast
• Align each layer precisely
• Pair with bold lighting
The space feels built with care.
14. Crown Molding with Color Accents
Color accents give crown molding its own personality. A bold shade against a pale ceiling or wall makes it pop. It fits playful or eclectic rooms, adding life. The color helps tie in other decor pieces.
Repeat the hue in towels or accessories to unify. Test color swatches on a small trim area first. Pick a paint that tolerates humidity. The result is a lively, memorable detail.
• Use bold color on molding
• Repeat color in accessories
• Test swatches first
• Choose moisture-friendly paint
Color accents wake up a bath with personality.
Conclusion
Choosing the right bathroom crown molding can significantly impact your space, adding personality and elegance.
From vintage charm to modern sophistication, there’s a style for every taste and design preference.
Incorporate these ideas into your next home improvement project and watch your bathroom transform into a luxurious oasis.
Note: We aim to provide accurate product links, but some may occasionally expire or become unavailable. If this happens, please search directly on Amazon for the product or a suitable alternative.
This post contains Amazon affiliate links, meaning we may earn a small commission if you purchase through our links, at no extra cost to you.
Frequently Asked Questions
What crown molding styles work best in a luxury bathroom to add elegant detail?
Choosing the right crown molding styles is key to a luxury bathroom design. For a high-end look, start with classic profiles like ogee, dentil, or a clean step-back that echoes traditional or modern elegance.
Consider scale: wider profiles feel more opulent in tall rooms; slim profiles work better in smaller baths. Material matters in a bathroom: moisture-resistant options like PVC, polyurethane, or pre-primed MDF resist warping and are easier to clean.
Finish choices influence the vibe: a crisp white is timeless for bathroom design, while a painted or stained finish can coordinate with cabinetry and tile. You can even add a backband or a light shadow line to create depth without clutter, elevating your elegant home decor.
Measure ceiling height and wall length accurately to ensure the crown molding proportion feels luxurious rather than cramped. This is a great DIY bathroom upgrade, or you can hire a pro for a flawless finish.
How do I choose the right bathroom crown molding for a small room or a bathroom with a low ceiling?
To pick the right crown molding for a small or low-ceiling bathroom, keep proportion in mind.
Opt for shallower profiles (1/2″ to 1″) and minimal ornamentation so the space remains airy.
Scale your molding to ceiling height; in rooms under 8 feet, avoid heavy, chunky profiles.
Choose moisture-resistant materials like vinyl or polyurethane that handle humidity and are easier to fit in tight corners.
Consider painting the molding the same color as the ceiling or walls to minimize visual mass and create a seamless look in bathroom design.
If you’re DIY-ing, double-check corner cuts with a coping saw and use a flexible caulk in joints to handle slight movement. The goal is to add architectural detail without making the room feel smaller.
Is it feasible to DIY bathroom crown molding, or should I hire a pro for a premium finish?
DIY or hire a pro? Both can work.
If you’re comfortable with basic carpentry, measuring, mitre cuts, and nail setting, you can install bathroom crown molding yourself as a DIY bathroom upgrade.
Gather a miter saw, nail gun or finishing nails, a level, and water-resistant caulk. Use moisture-resistant materials, like pre-primed MDF or polyurethane for bathrooms, and seal all joints to prevent mold.
Finish your work with a clean paint job using a moisture-resistant enamel or satin finish. However, for complex bathrooms, high ceilings, curved walls, or matching existing tile profiles, hiring a pro ensures a premium finish, clean miters, perfect alignment, and a watertight seal—essential for long-term elegance in bathroom design and home improvement. Pro installers can also ensure proper expansion gaps and painting that resists humidity while keeping the look cohesive with other crown molding styles.
What quick upgrades can elevate bathroom crown molding to a luxurious look?
Start with a fresh coat of crisp white paint or a color that matches the ceiling to create a seamless, hotel-like finish.
Add a backband for extra depth without a heavy profile, or pair with a slim dental moulding for a refined edge.
Install a discreet LED strip behind the crown to cast a soft glow onto the tile and vanity, highlighting the molding and creating ambiance in elegant home decor.
Use a shadow line by painting the wall behind the molding a shade darker to create depth while keeping the profile slim. For DIY bathroom upgrades, seal all joints and use moisture-friendly finishes that wipe clean easily. With these small steps, your bathroom design gains a luxe, cohesive look centered on bathroom crown molding.
How do I maintain and protect bathroom crown molding to keep it looking elegant over time?
Maintain crown molding in a bathroom by regular cleaning with a mild soap solution and a soft cloth to remove moisture and soap residue.
Check joints for gaps and reseal with mildew-resistant caulk every season.
If humidity is high, use an exhaust fan or dehumidifier to protect the wood or polyurethane from swelling and mold.
Re-paint or re-stain every few years to refresh color and guard against humidity damage, and choose enamel paints or polyurethane that stand up to moisture.
Inspect corners for cracking and re-caulk as needed to keep the finish solid. Good upkeep helps maintain the look of luxury bathroom crown molding and contributes to an upscale bathroom design.
Related Topics
bathroom crown molding
luxury bathroom
elegant home decor
DIY bathroom upgrades
crown molding styles
home improvement
modern design
interior accents
easy installation
bathroom makeover
trending decor
timeless elegance